Let this be a safety lesson to anyone wanting to make their own slingshot. This is a dangerous tool, meant to be used in a responsible way :).
October 2016
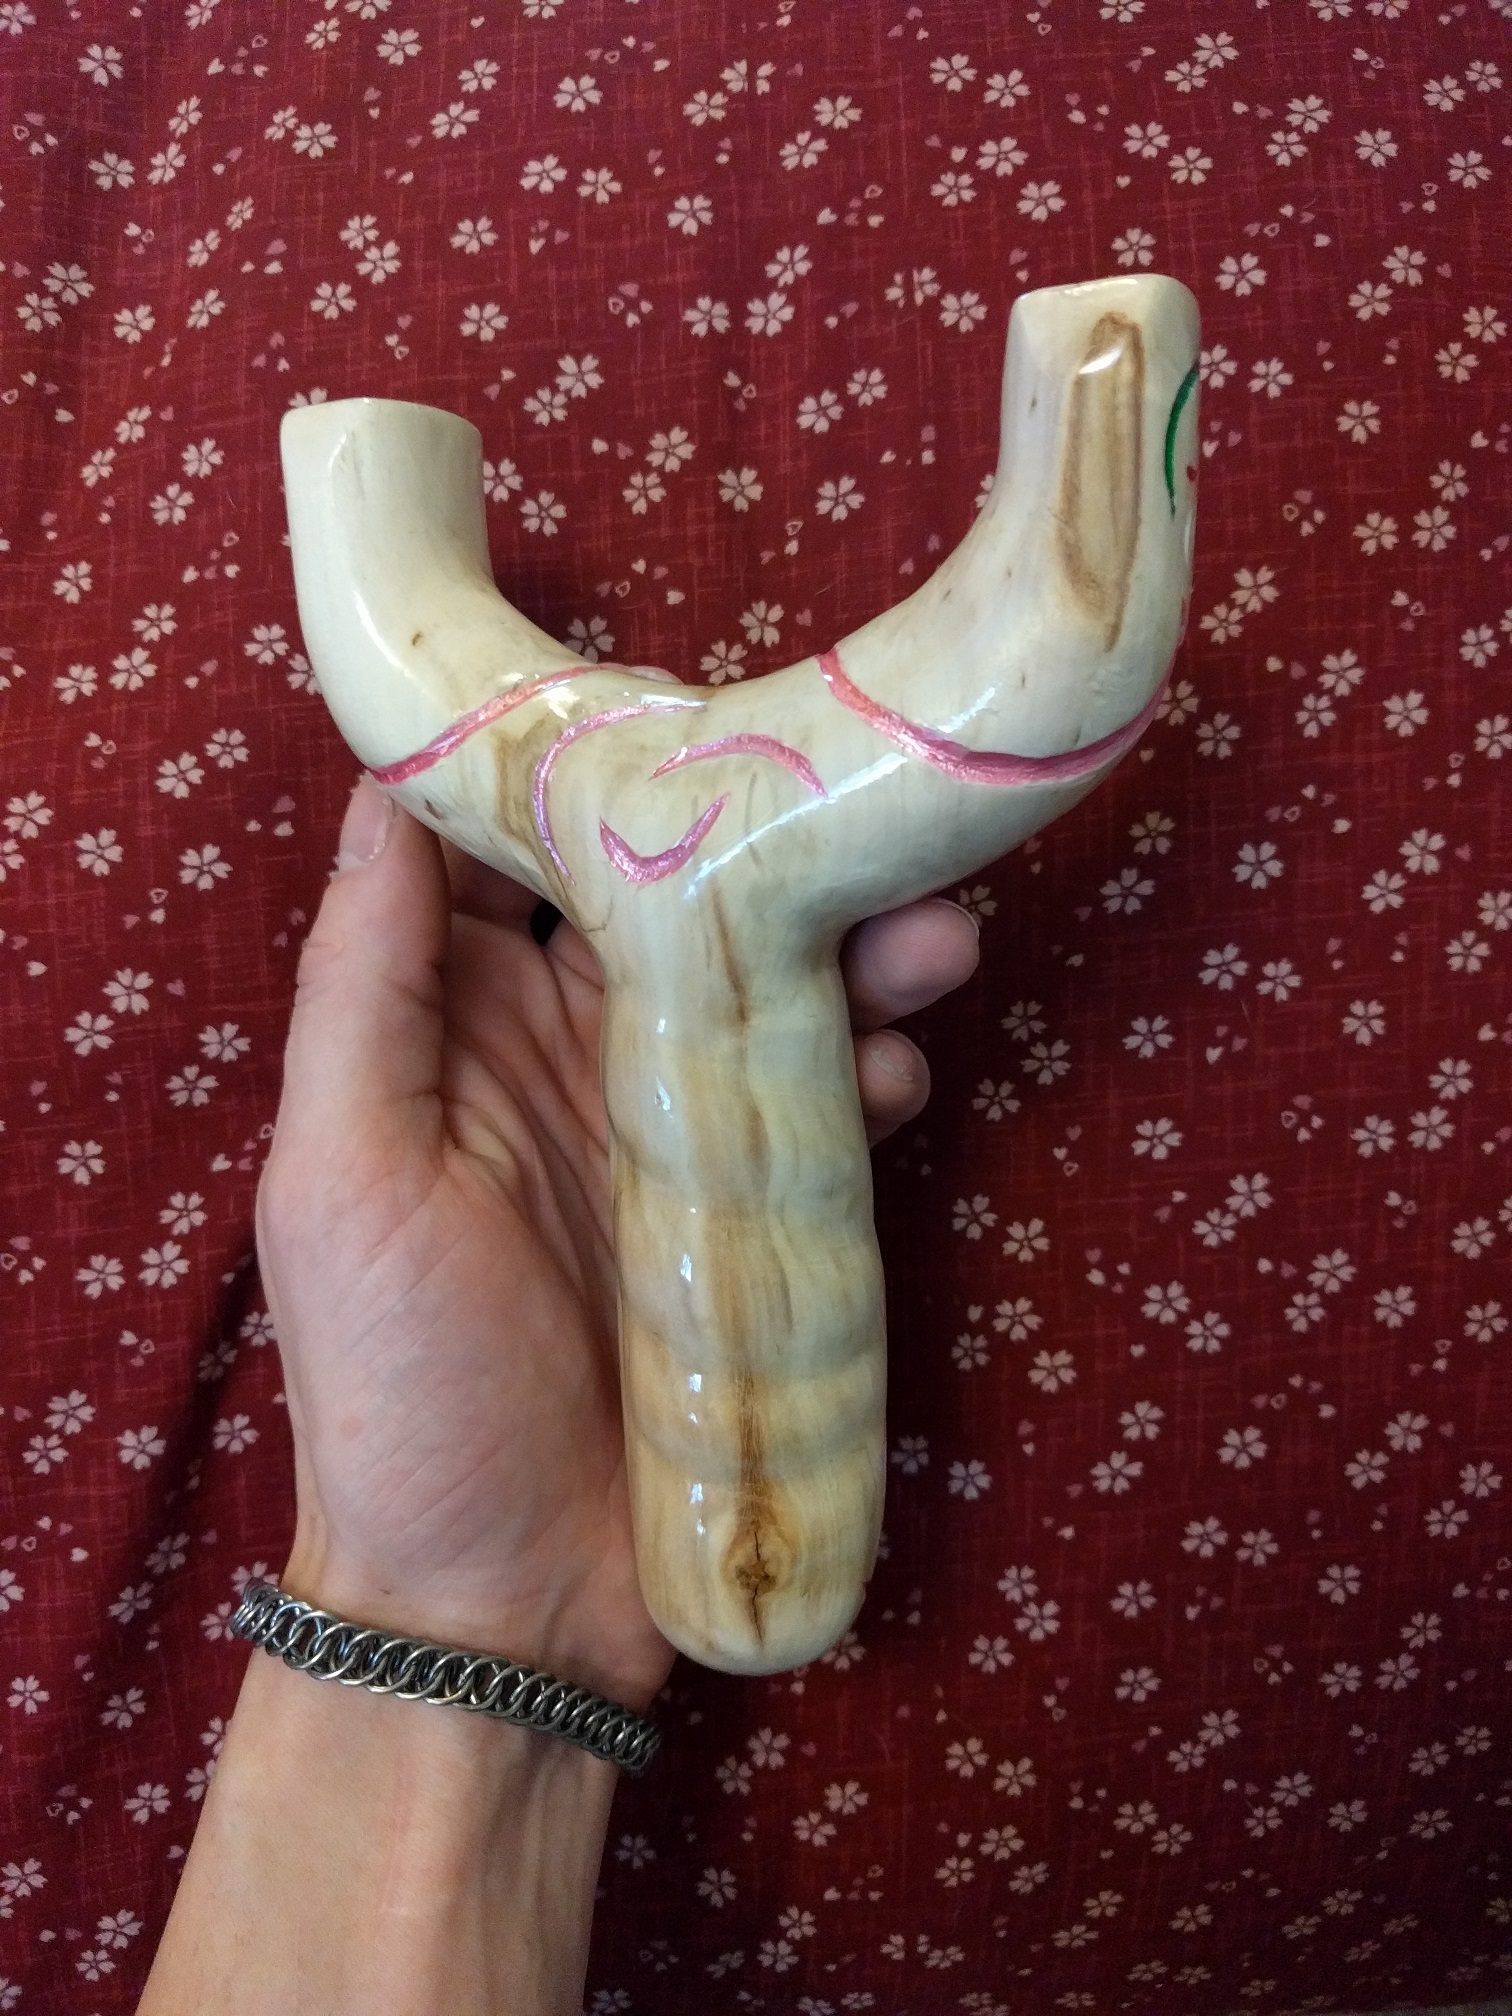
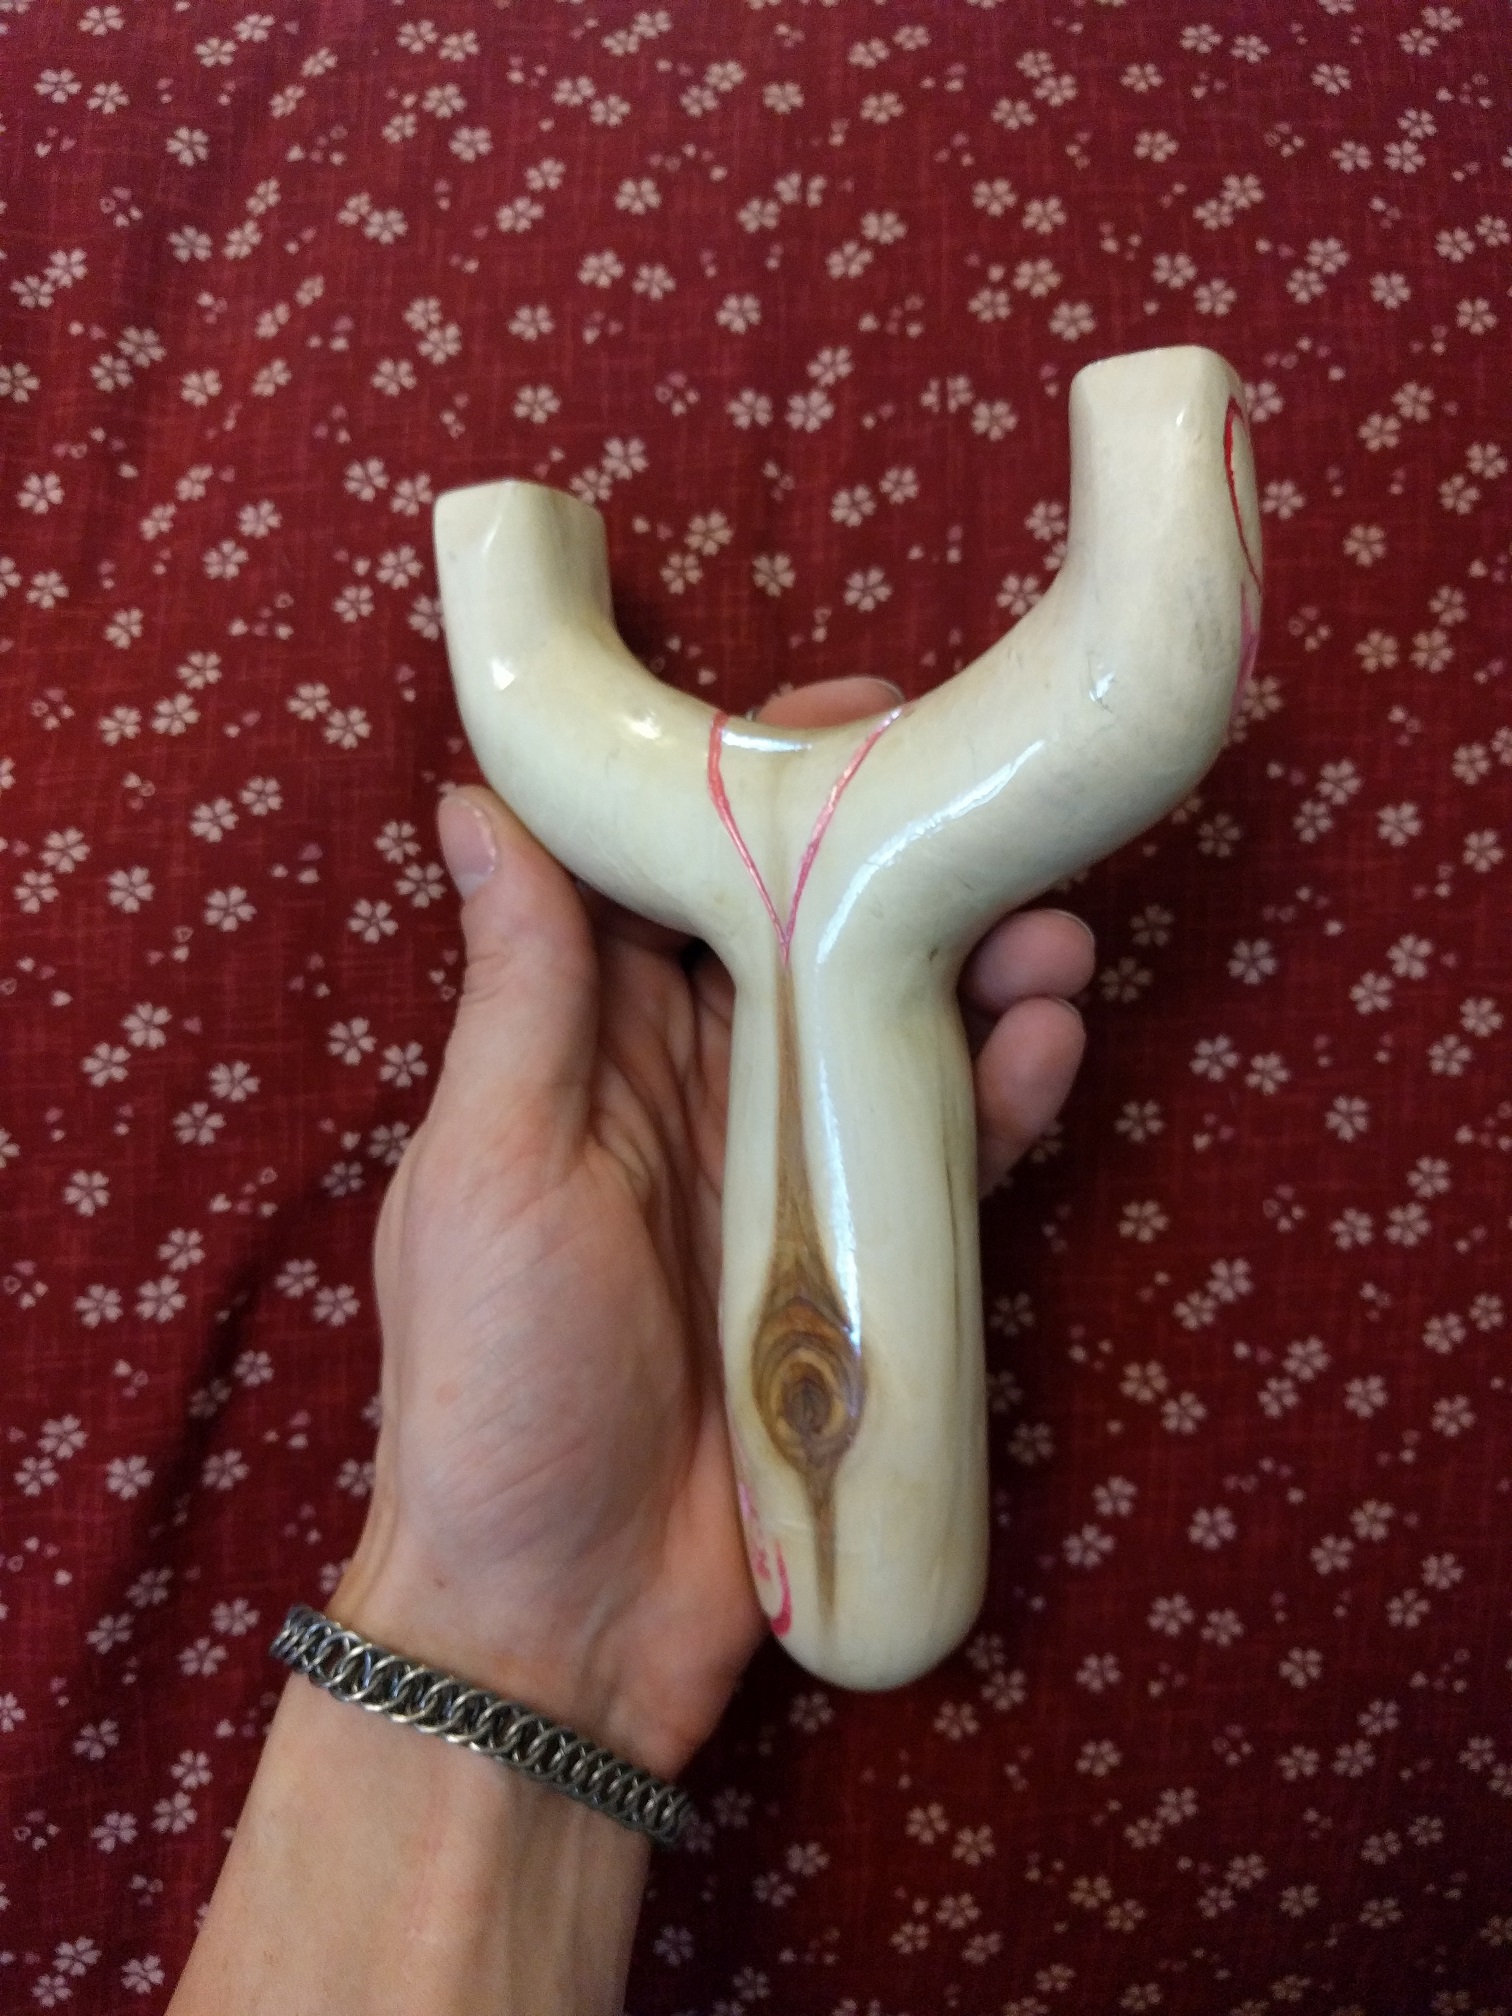
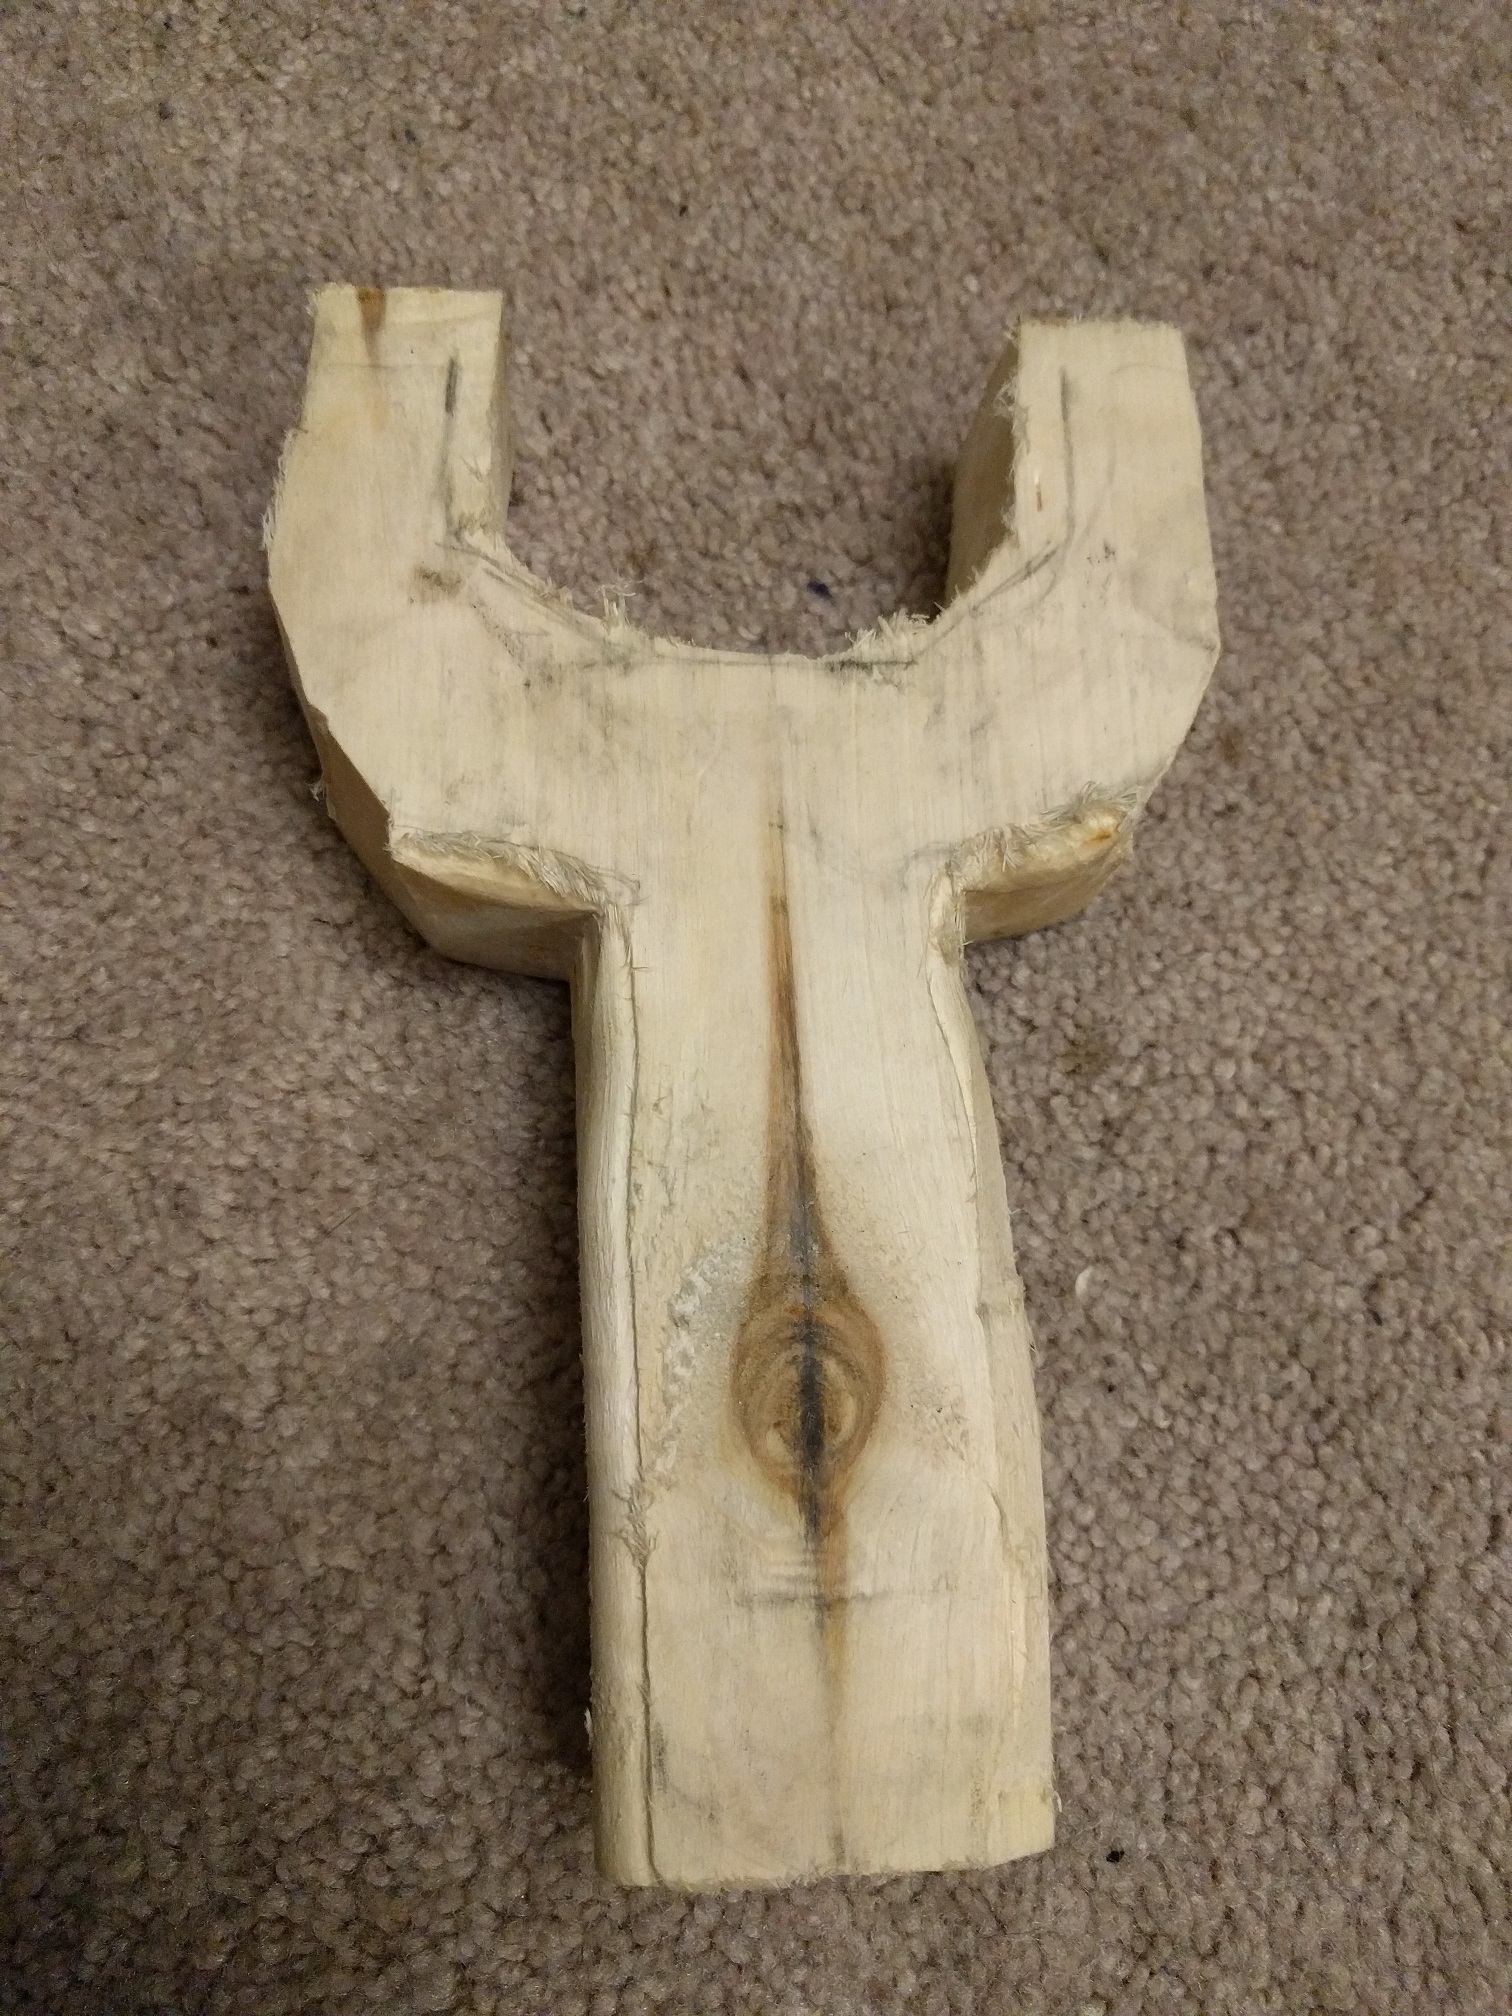
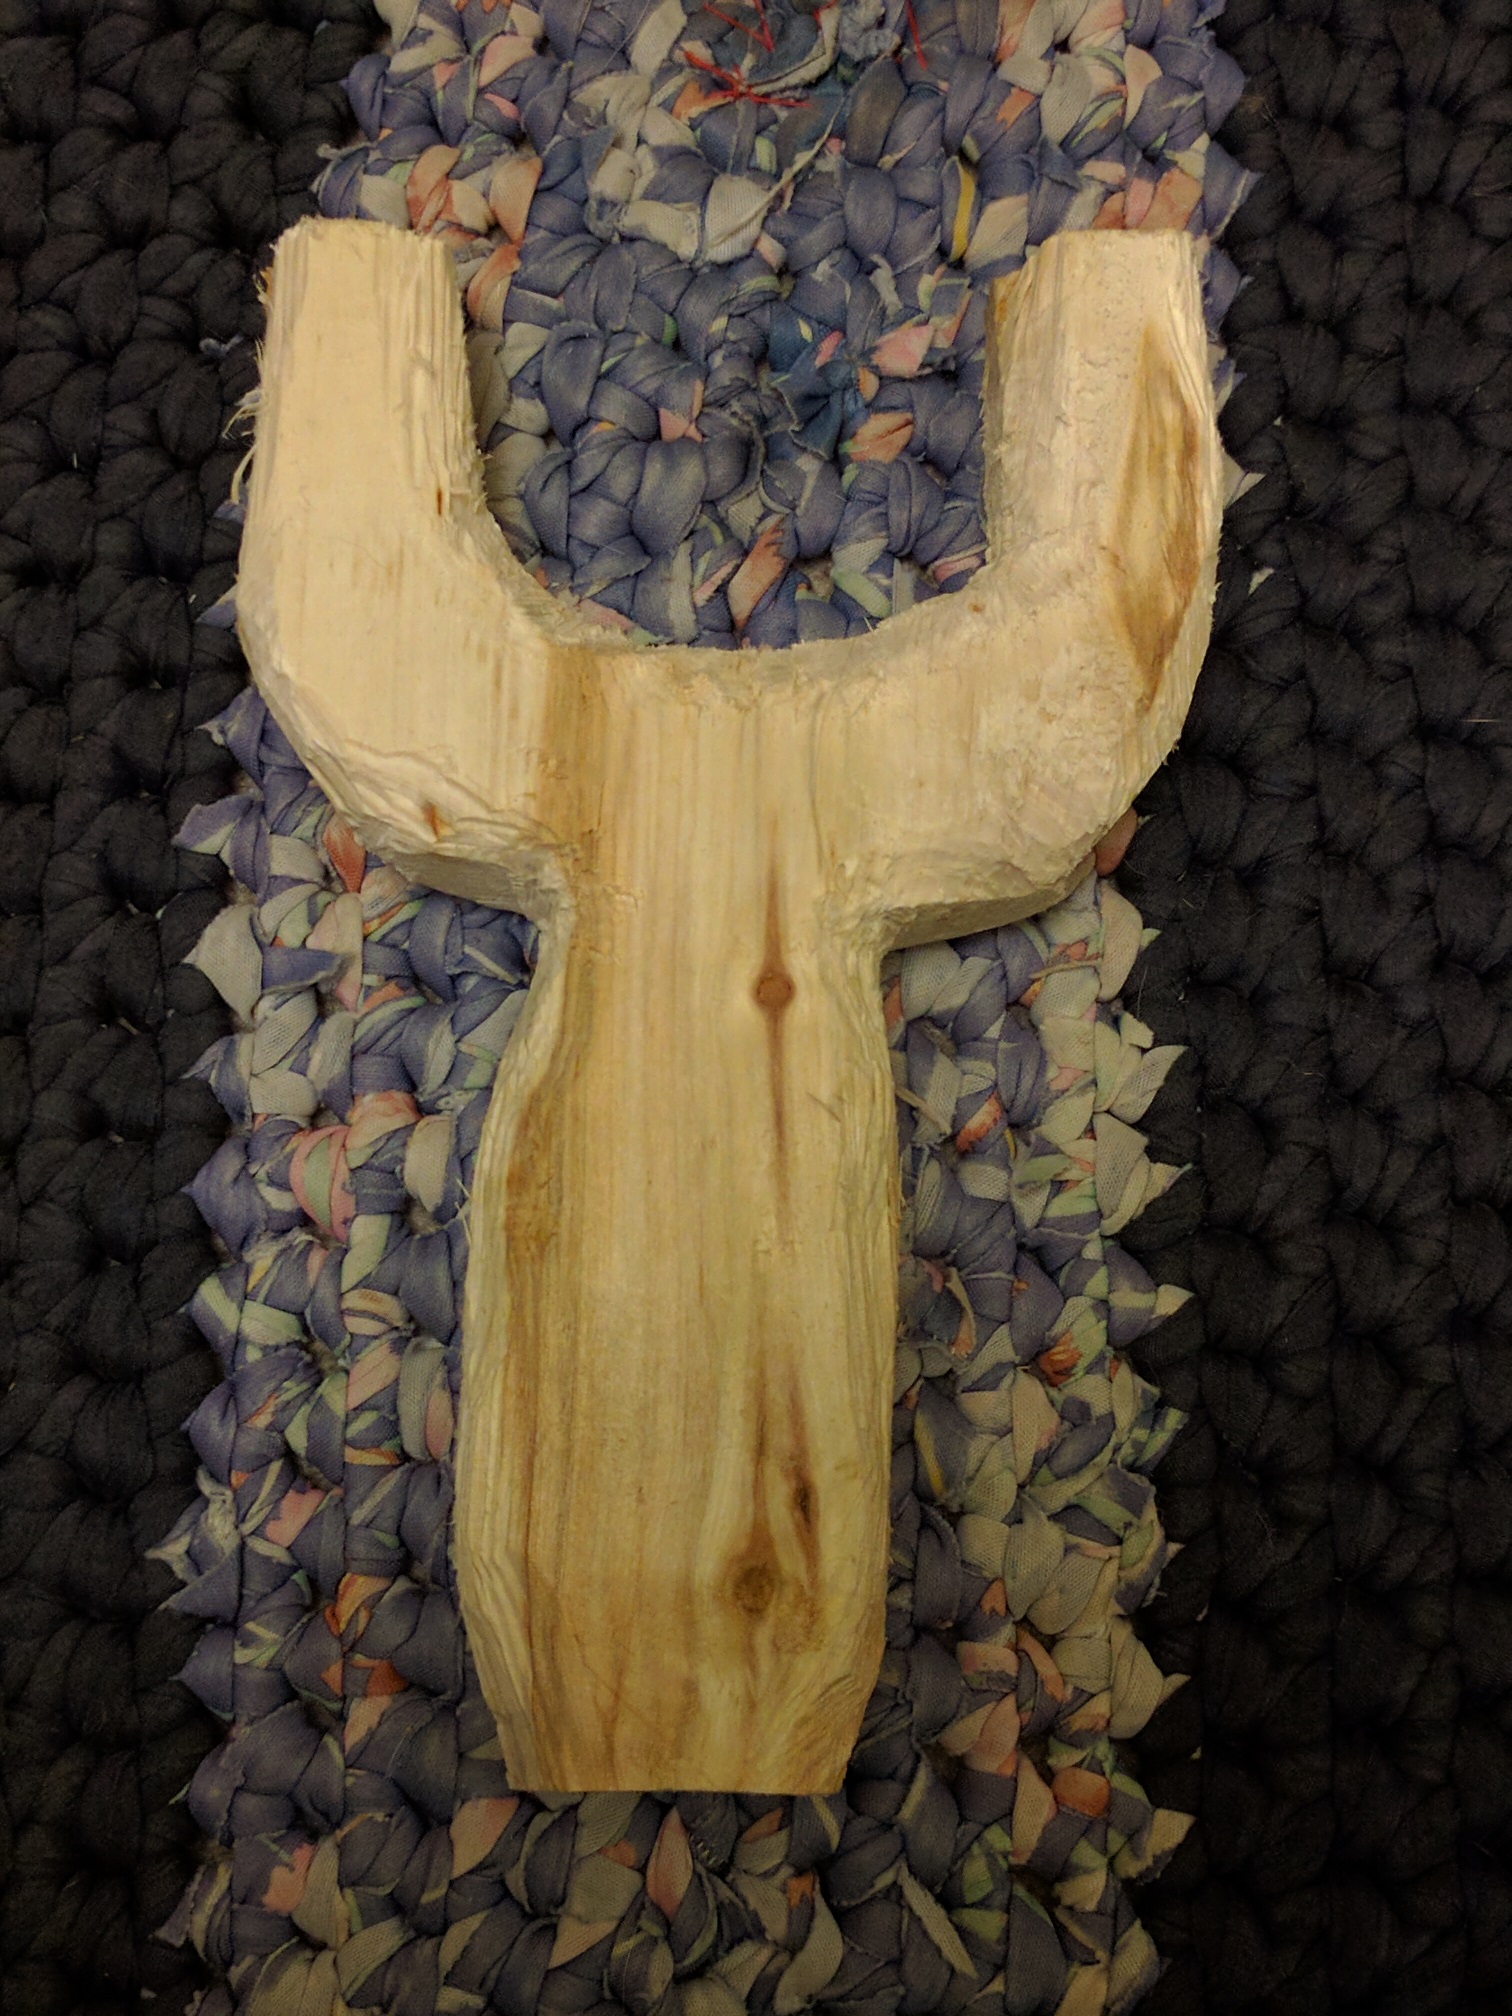
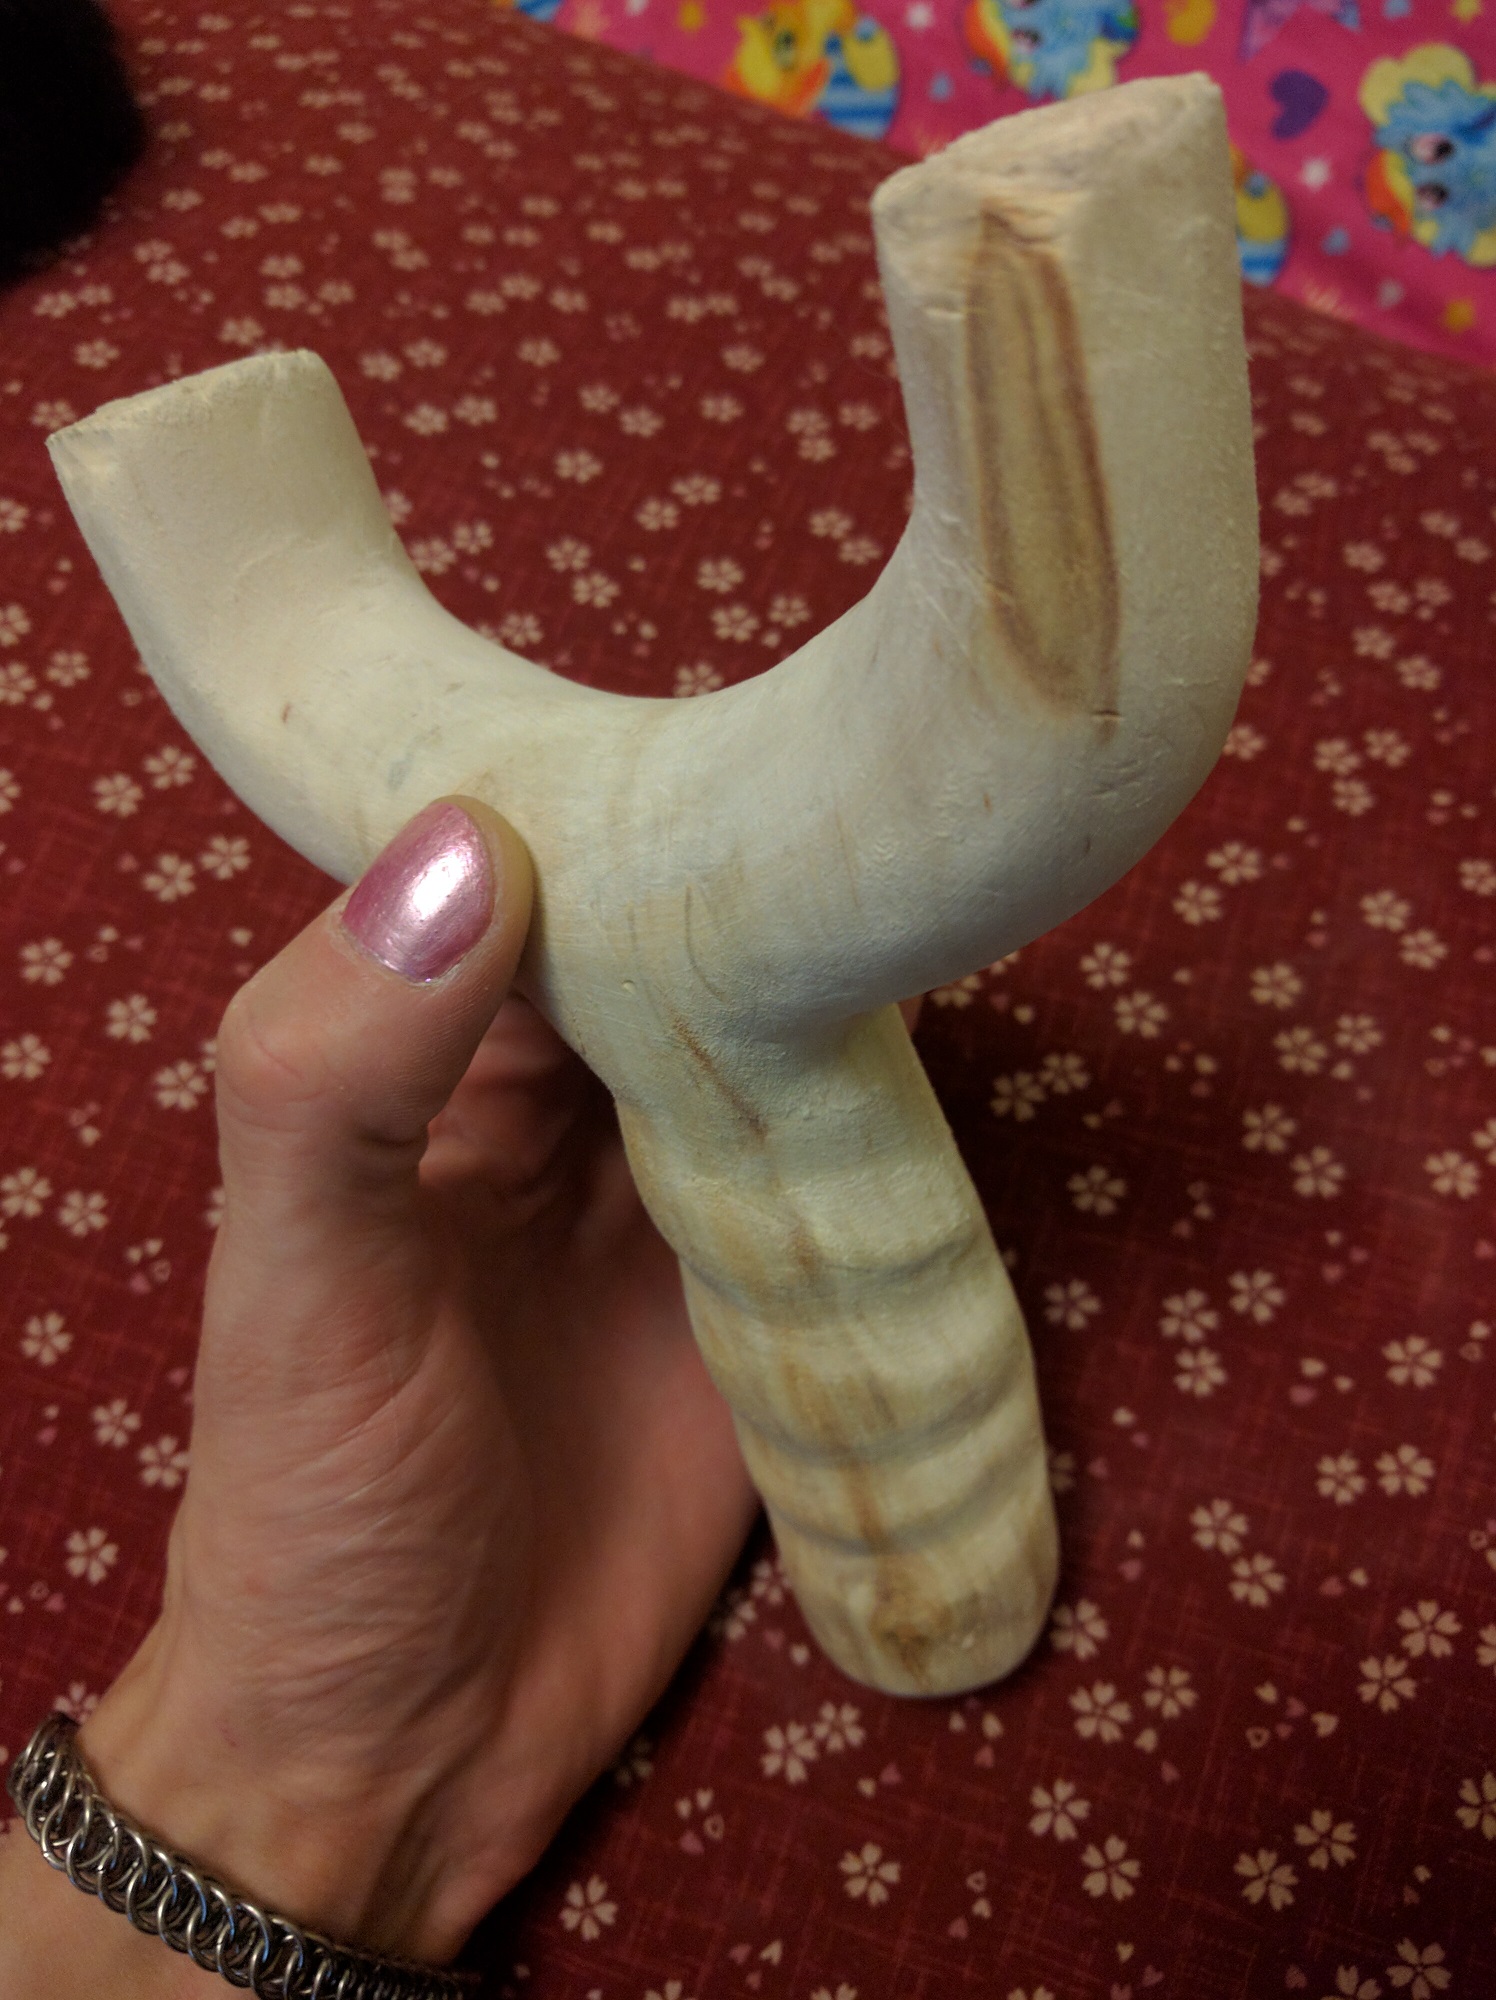
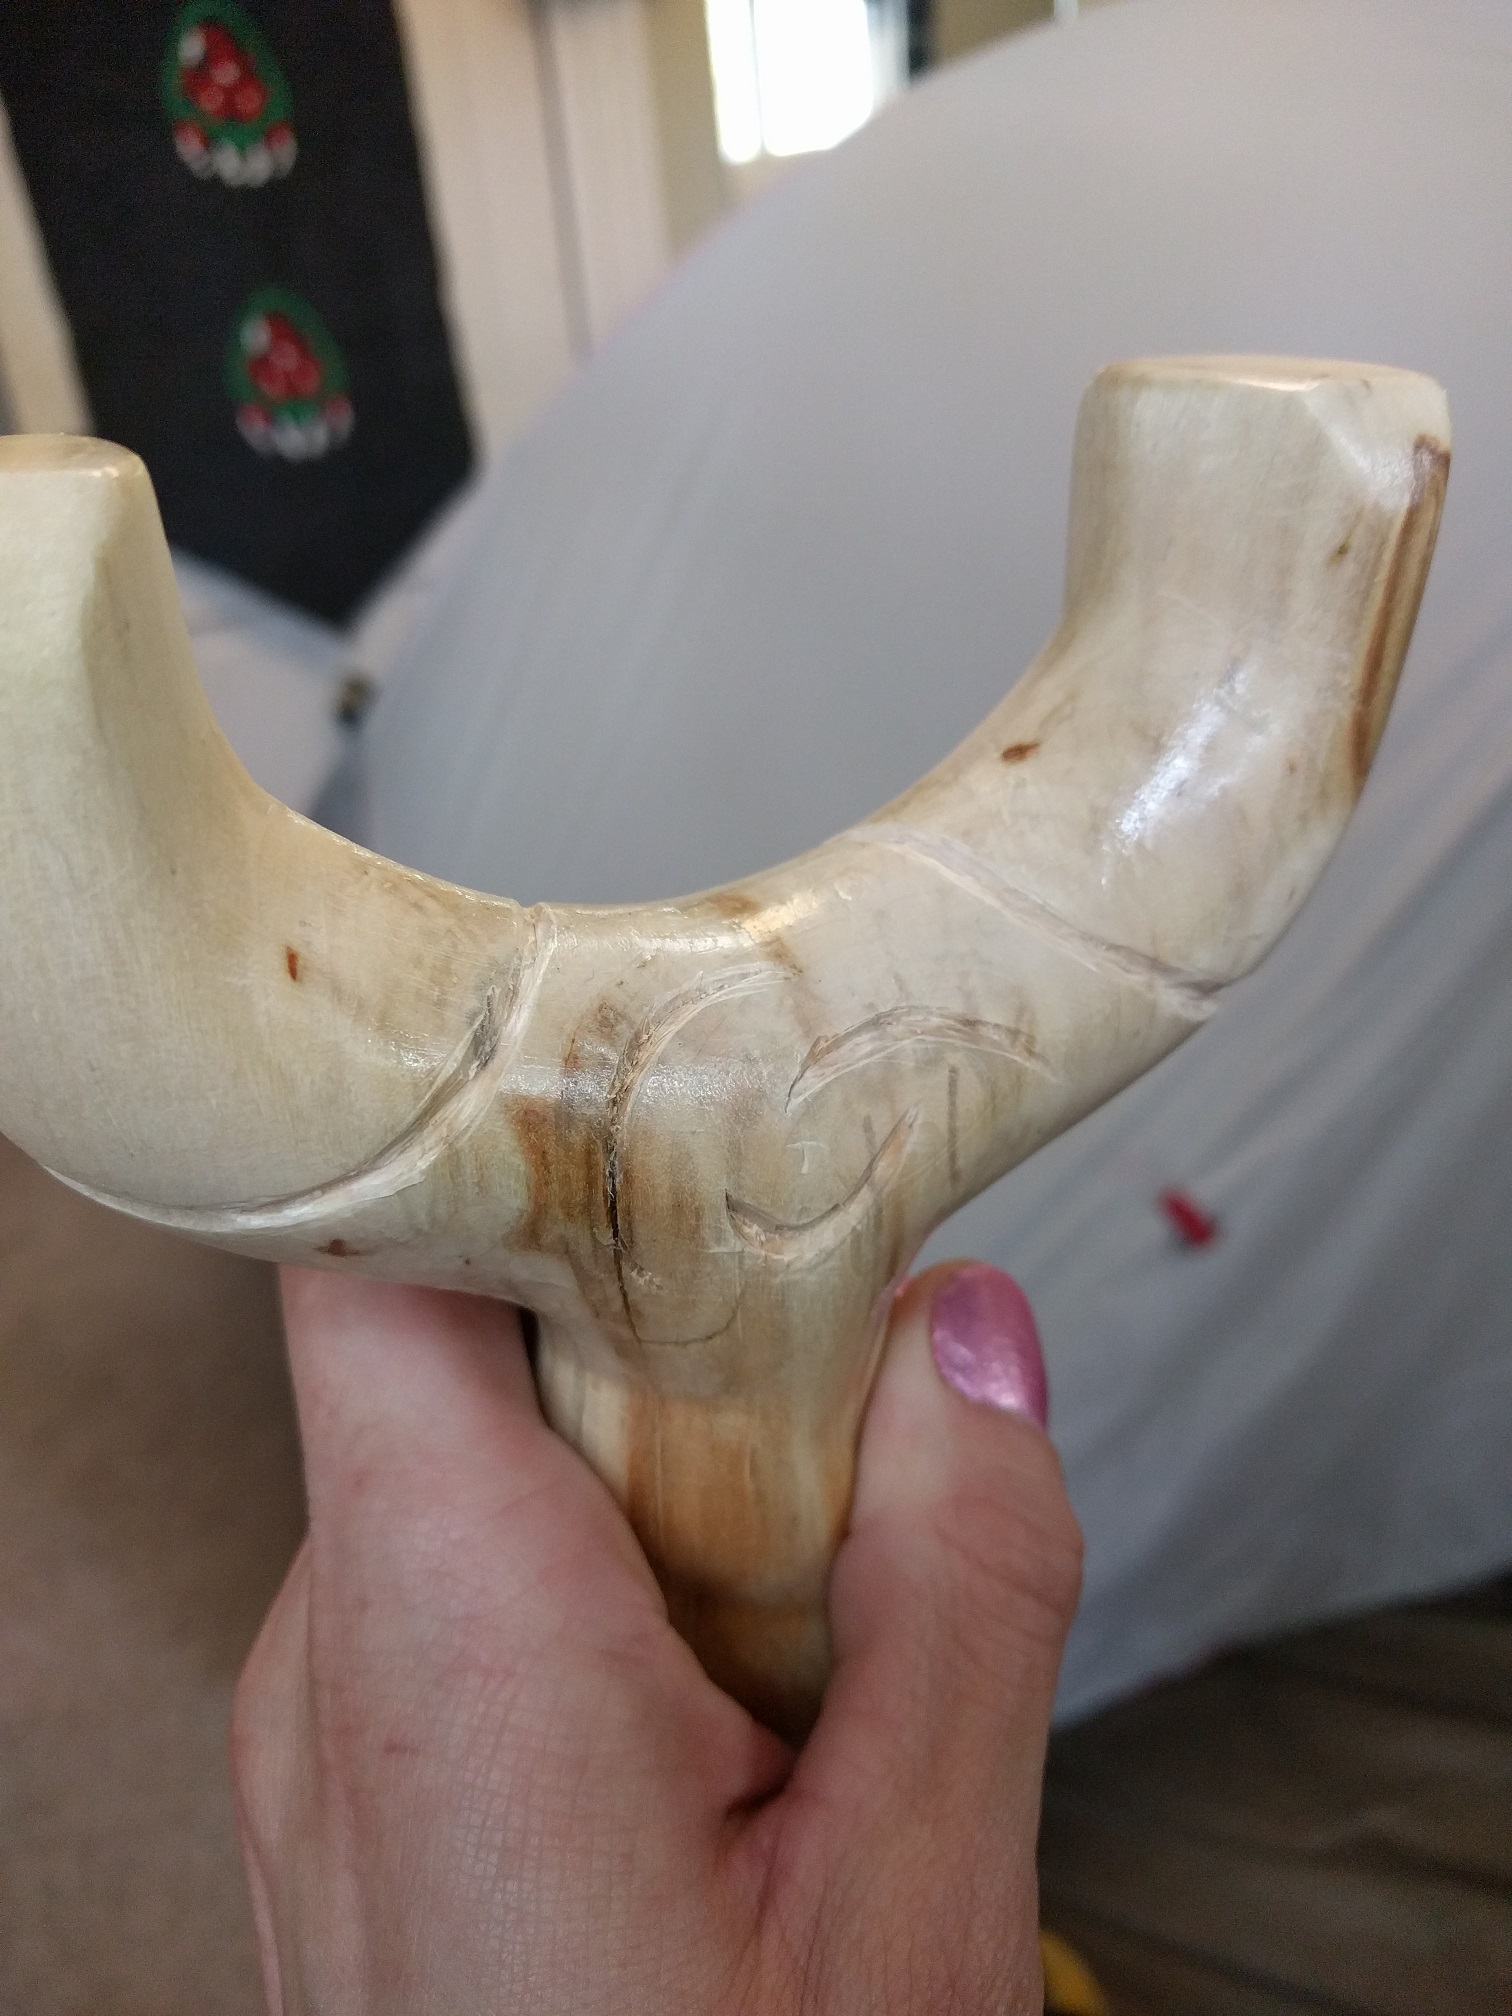
| Had I been thinking ahead, I should have taken a picture of the Poplar log, cross-section after splitting it with an axe, and maybe a few pics from sending it through a plane to get it down to an inch and a half width slab. But I didn't think to, so you can google what one looks like here :P. A good friend invited me one day to play with his spinning wheels of death (aka: garage full of woodworking tools), so I jumped at the opportunity as I had been attempting to make a slingshot from a piece of wood found on the beach. The tree was felled at his parents' place in Southern Manitoba, and then hauled to his yard to be repurposed (we spent much of the afternoon working the rest of the tree down to useable planks). Inside of that, I managed to get my small slab of Poplar shaped down to a rough 'Y' shape (see pics). |     |
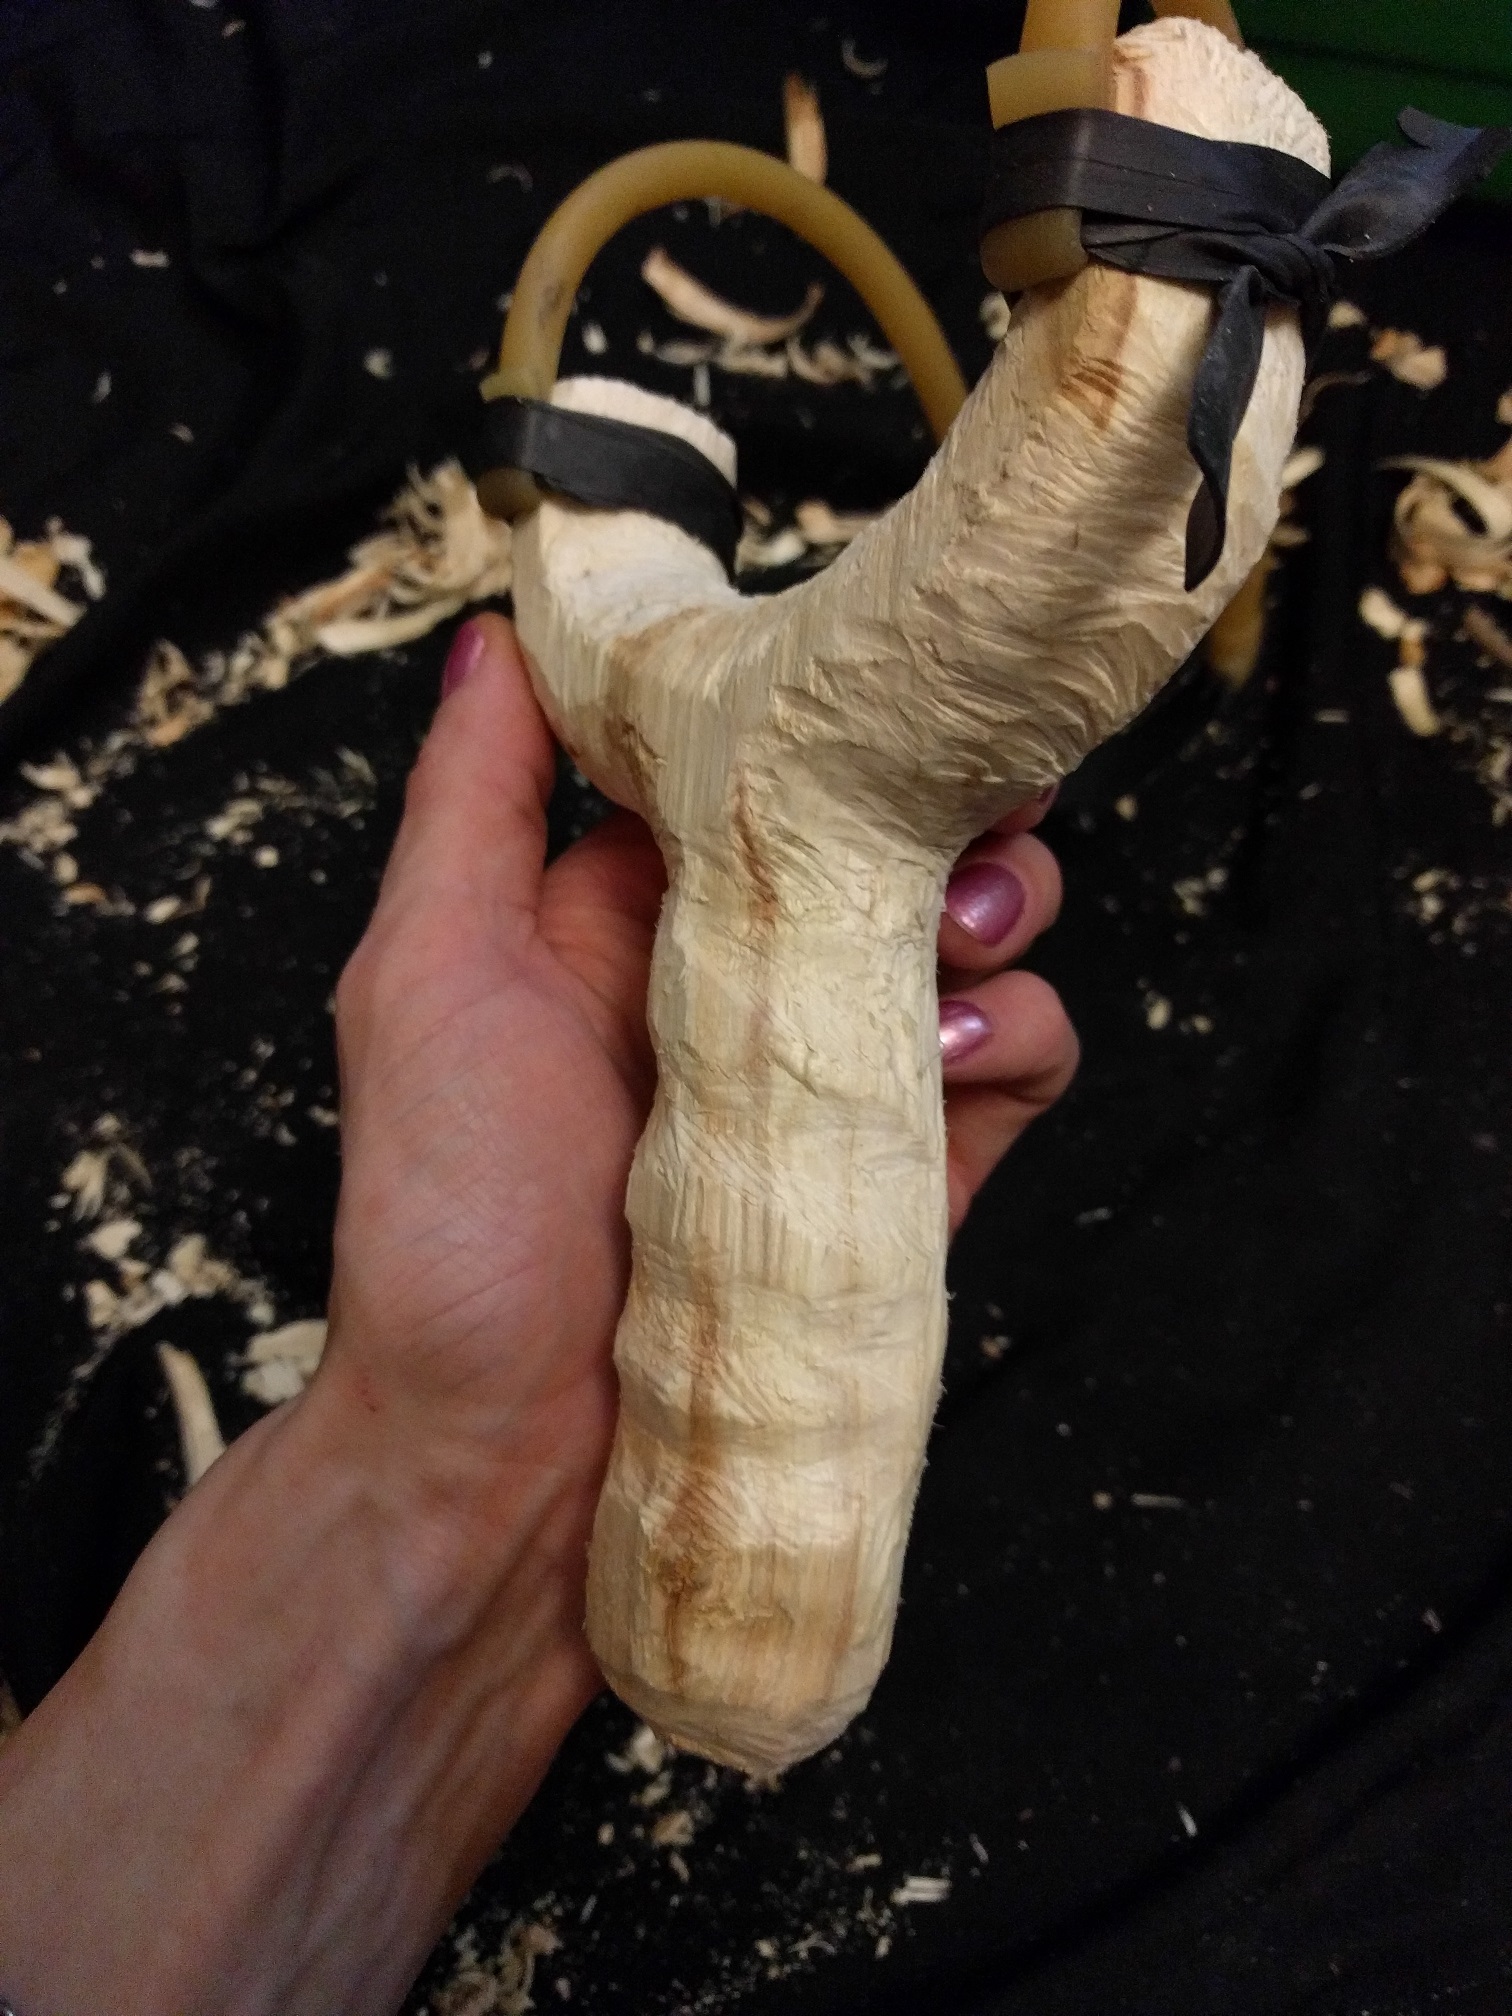
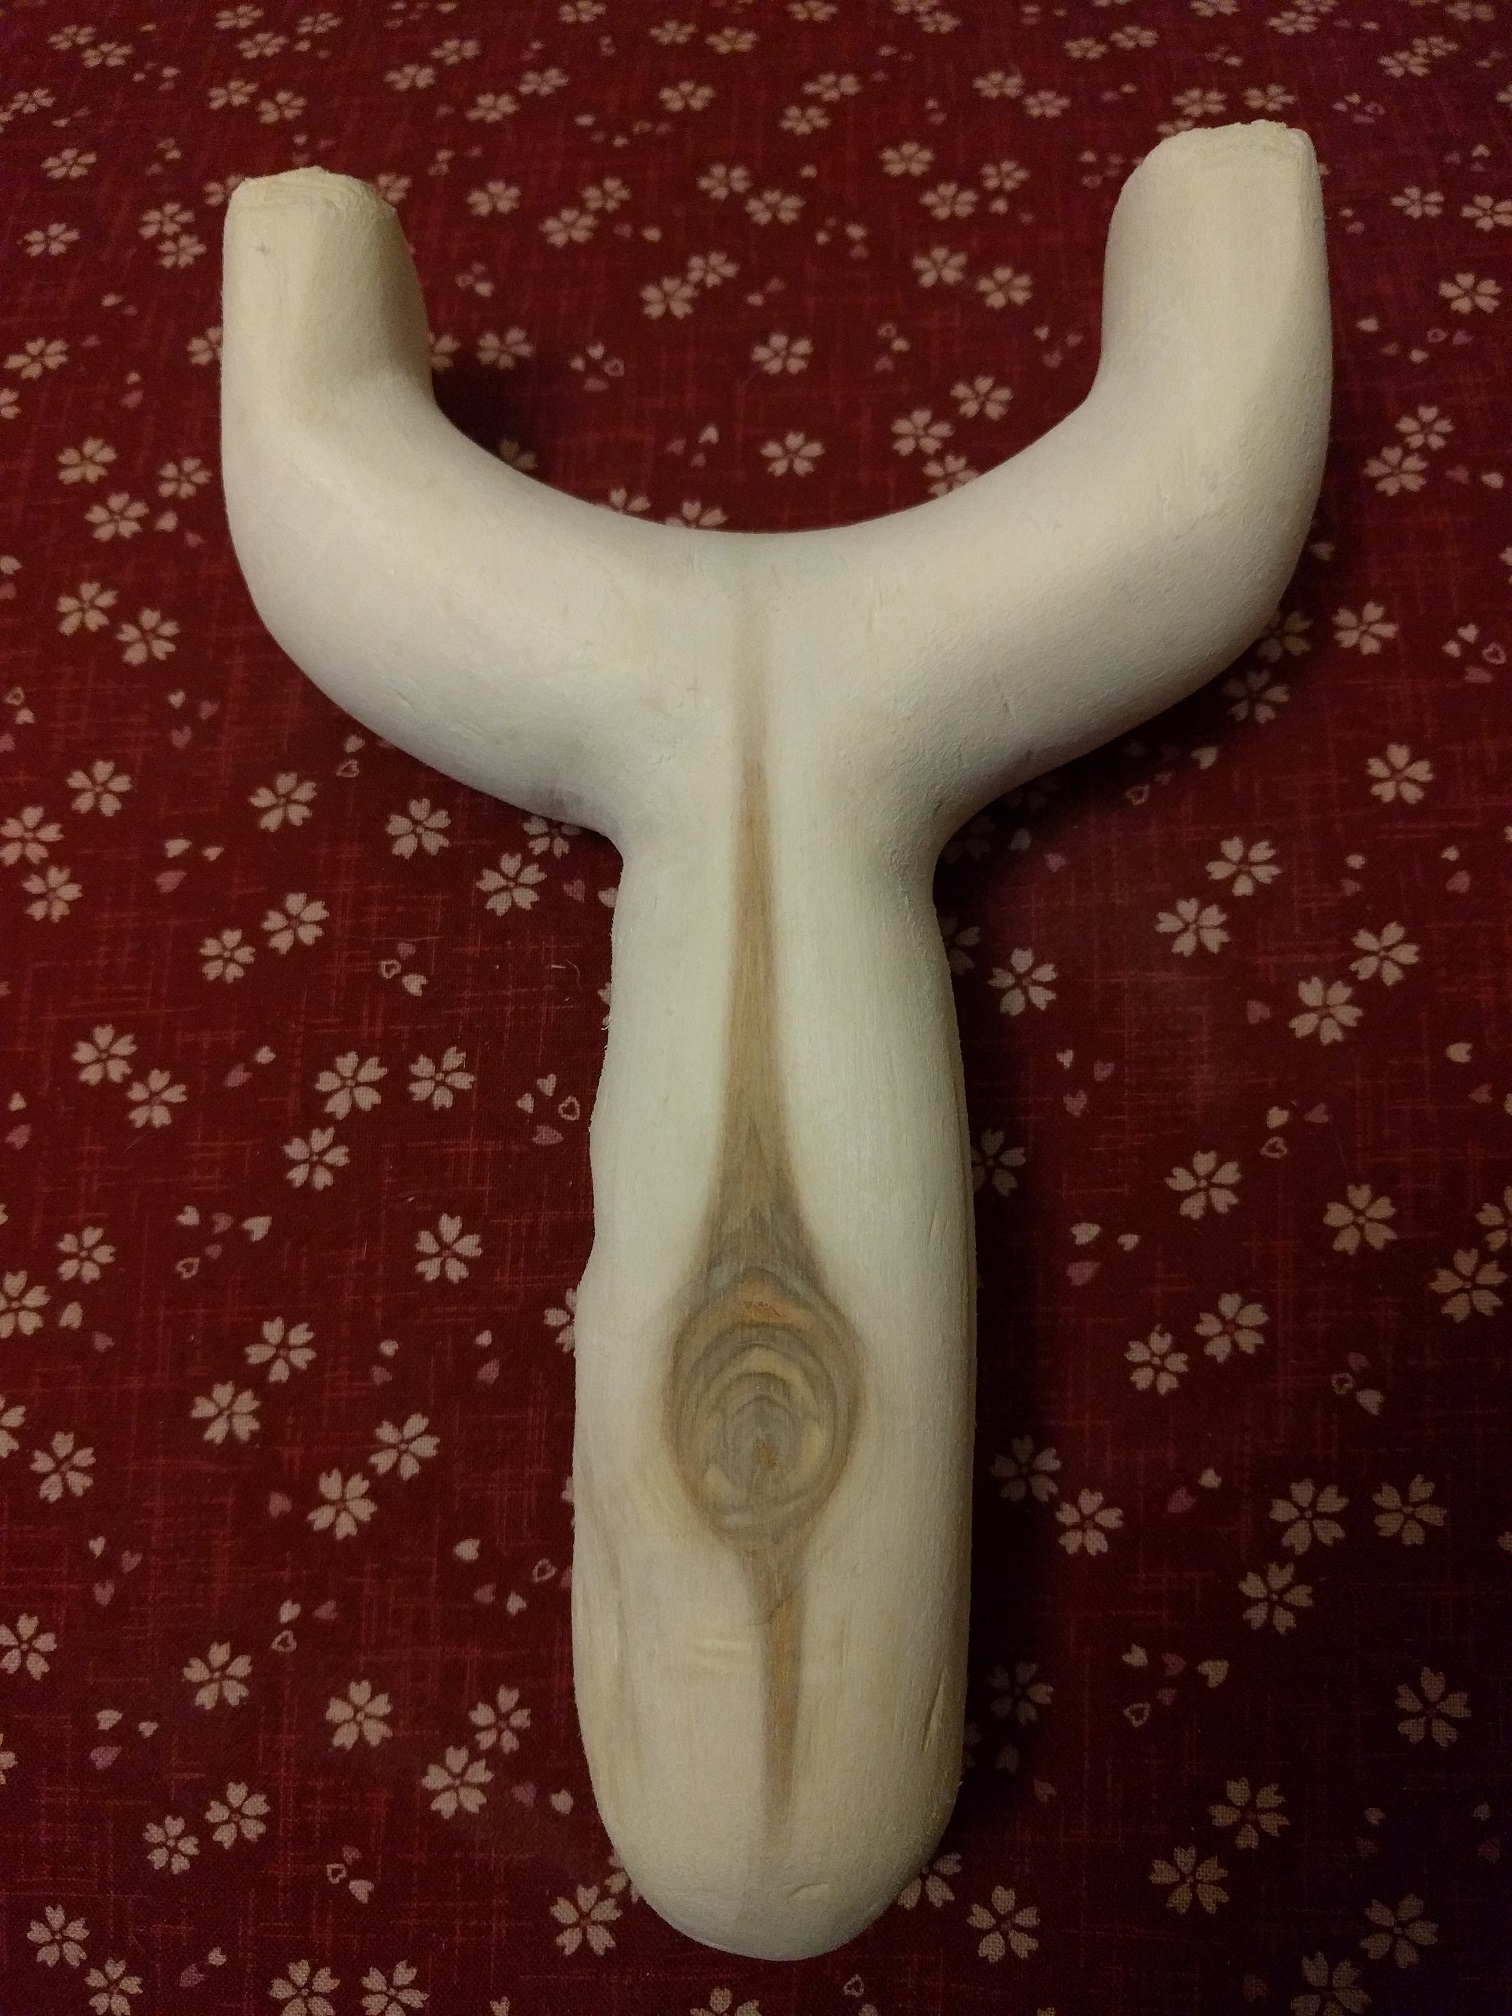
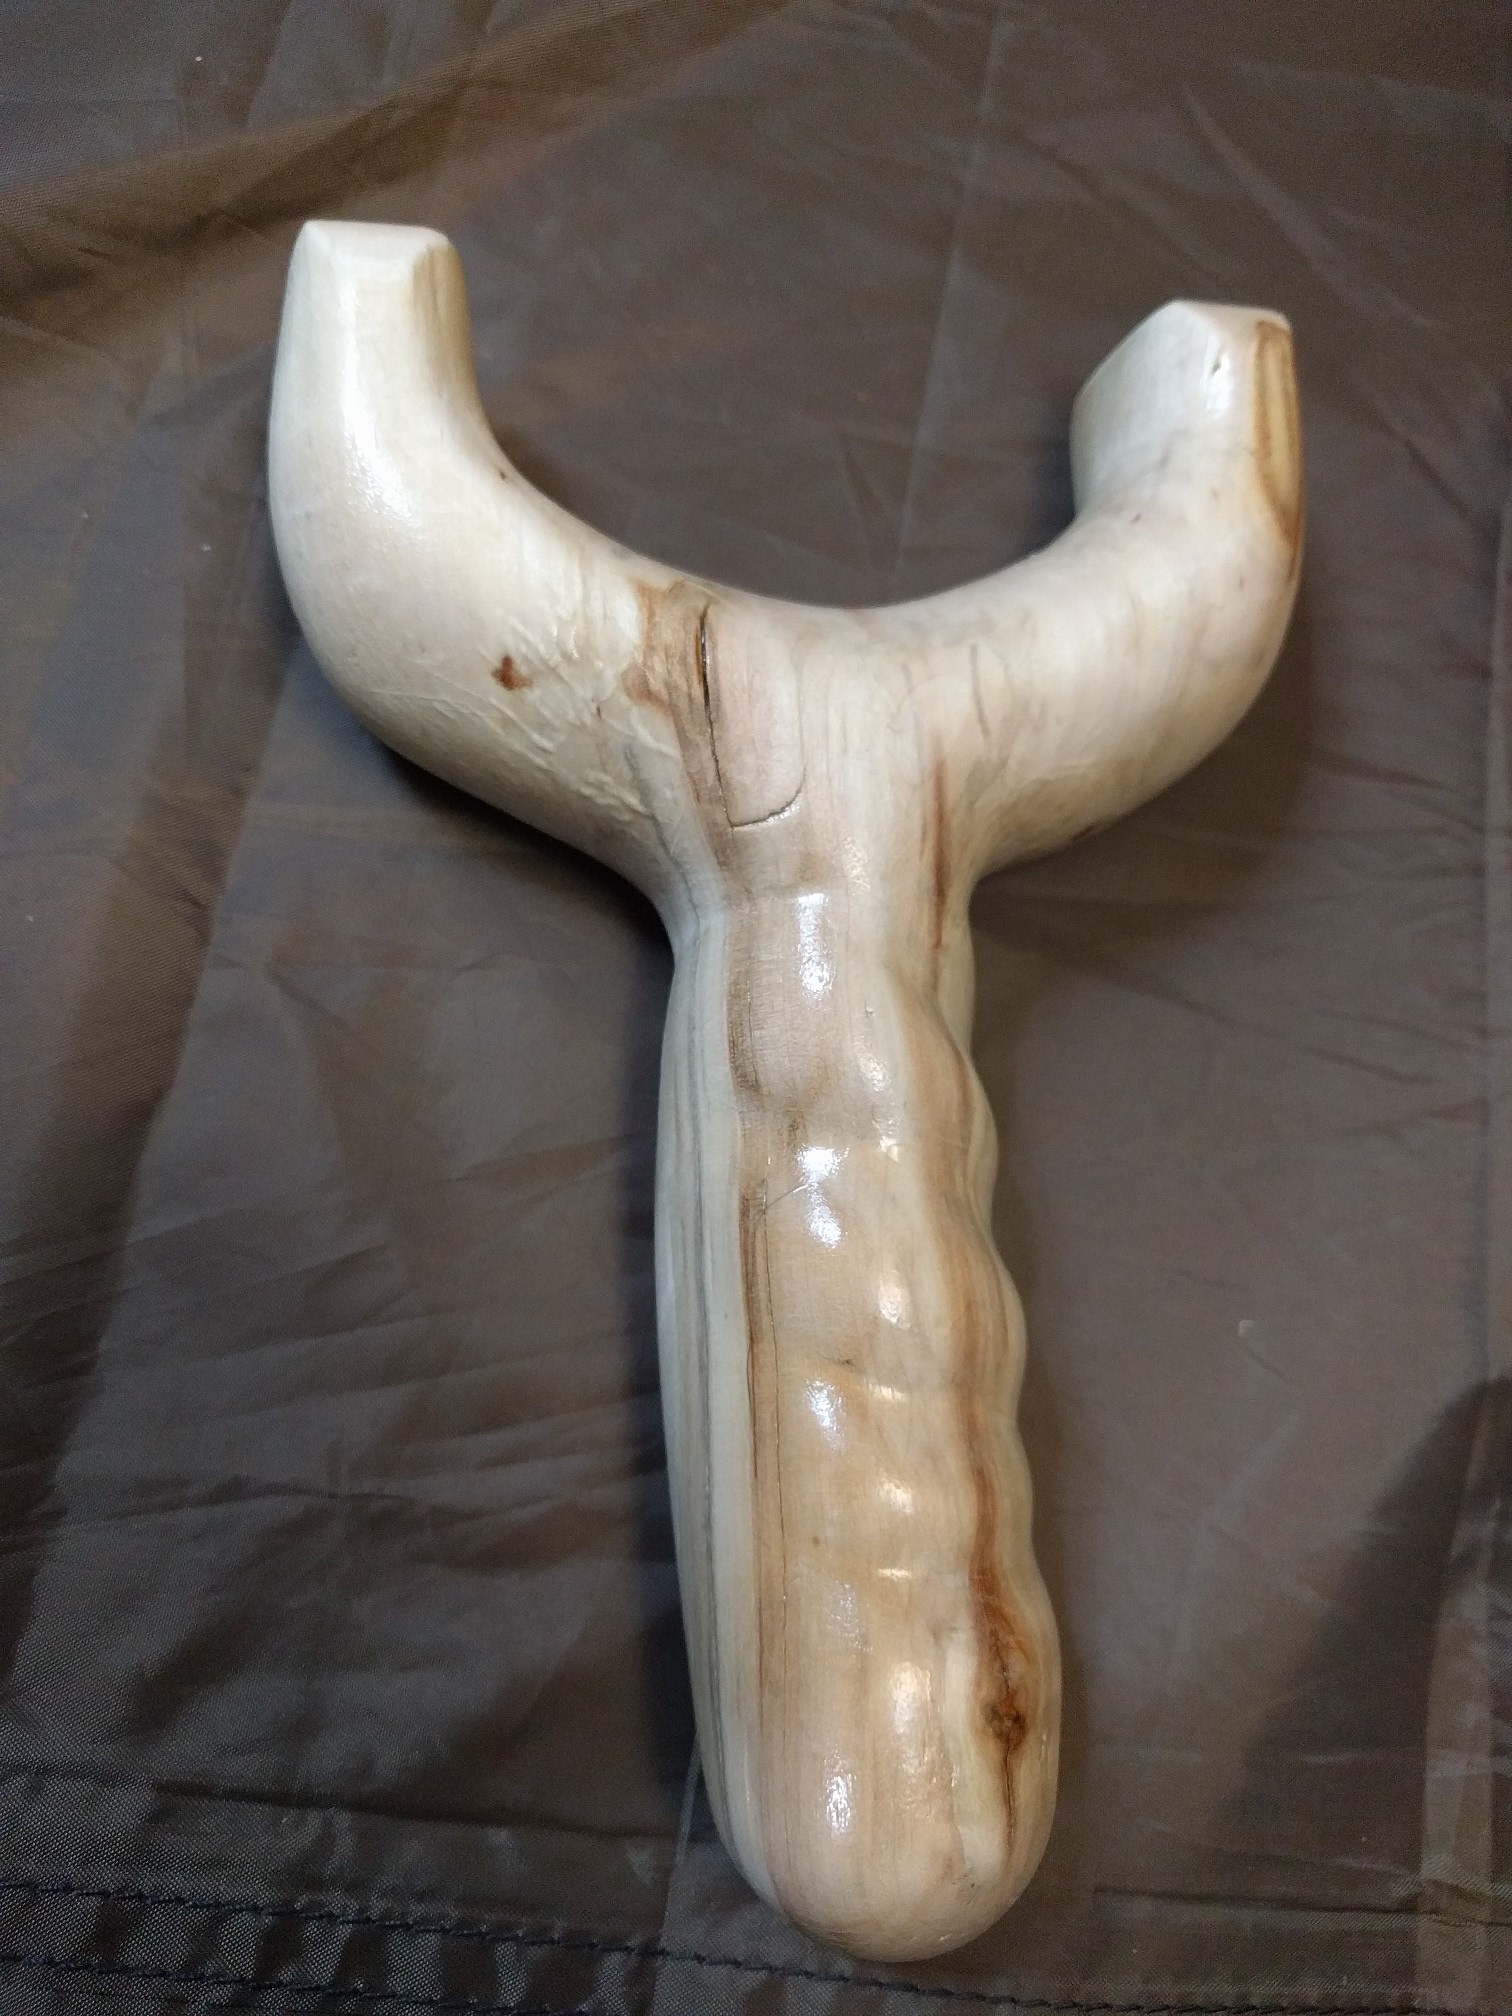
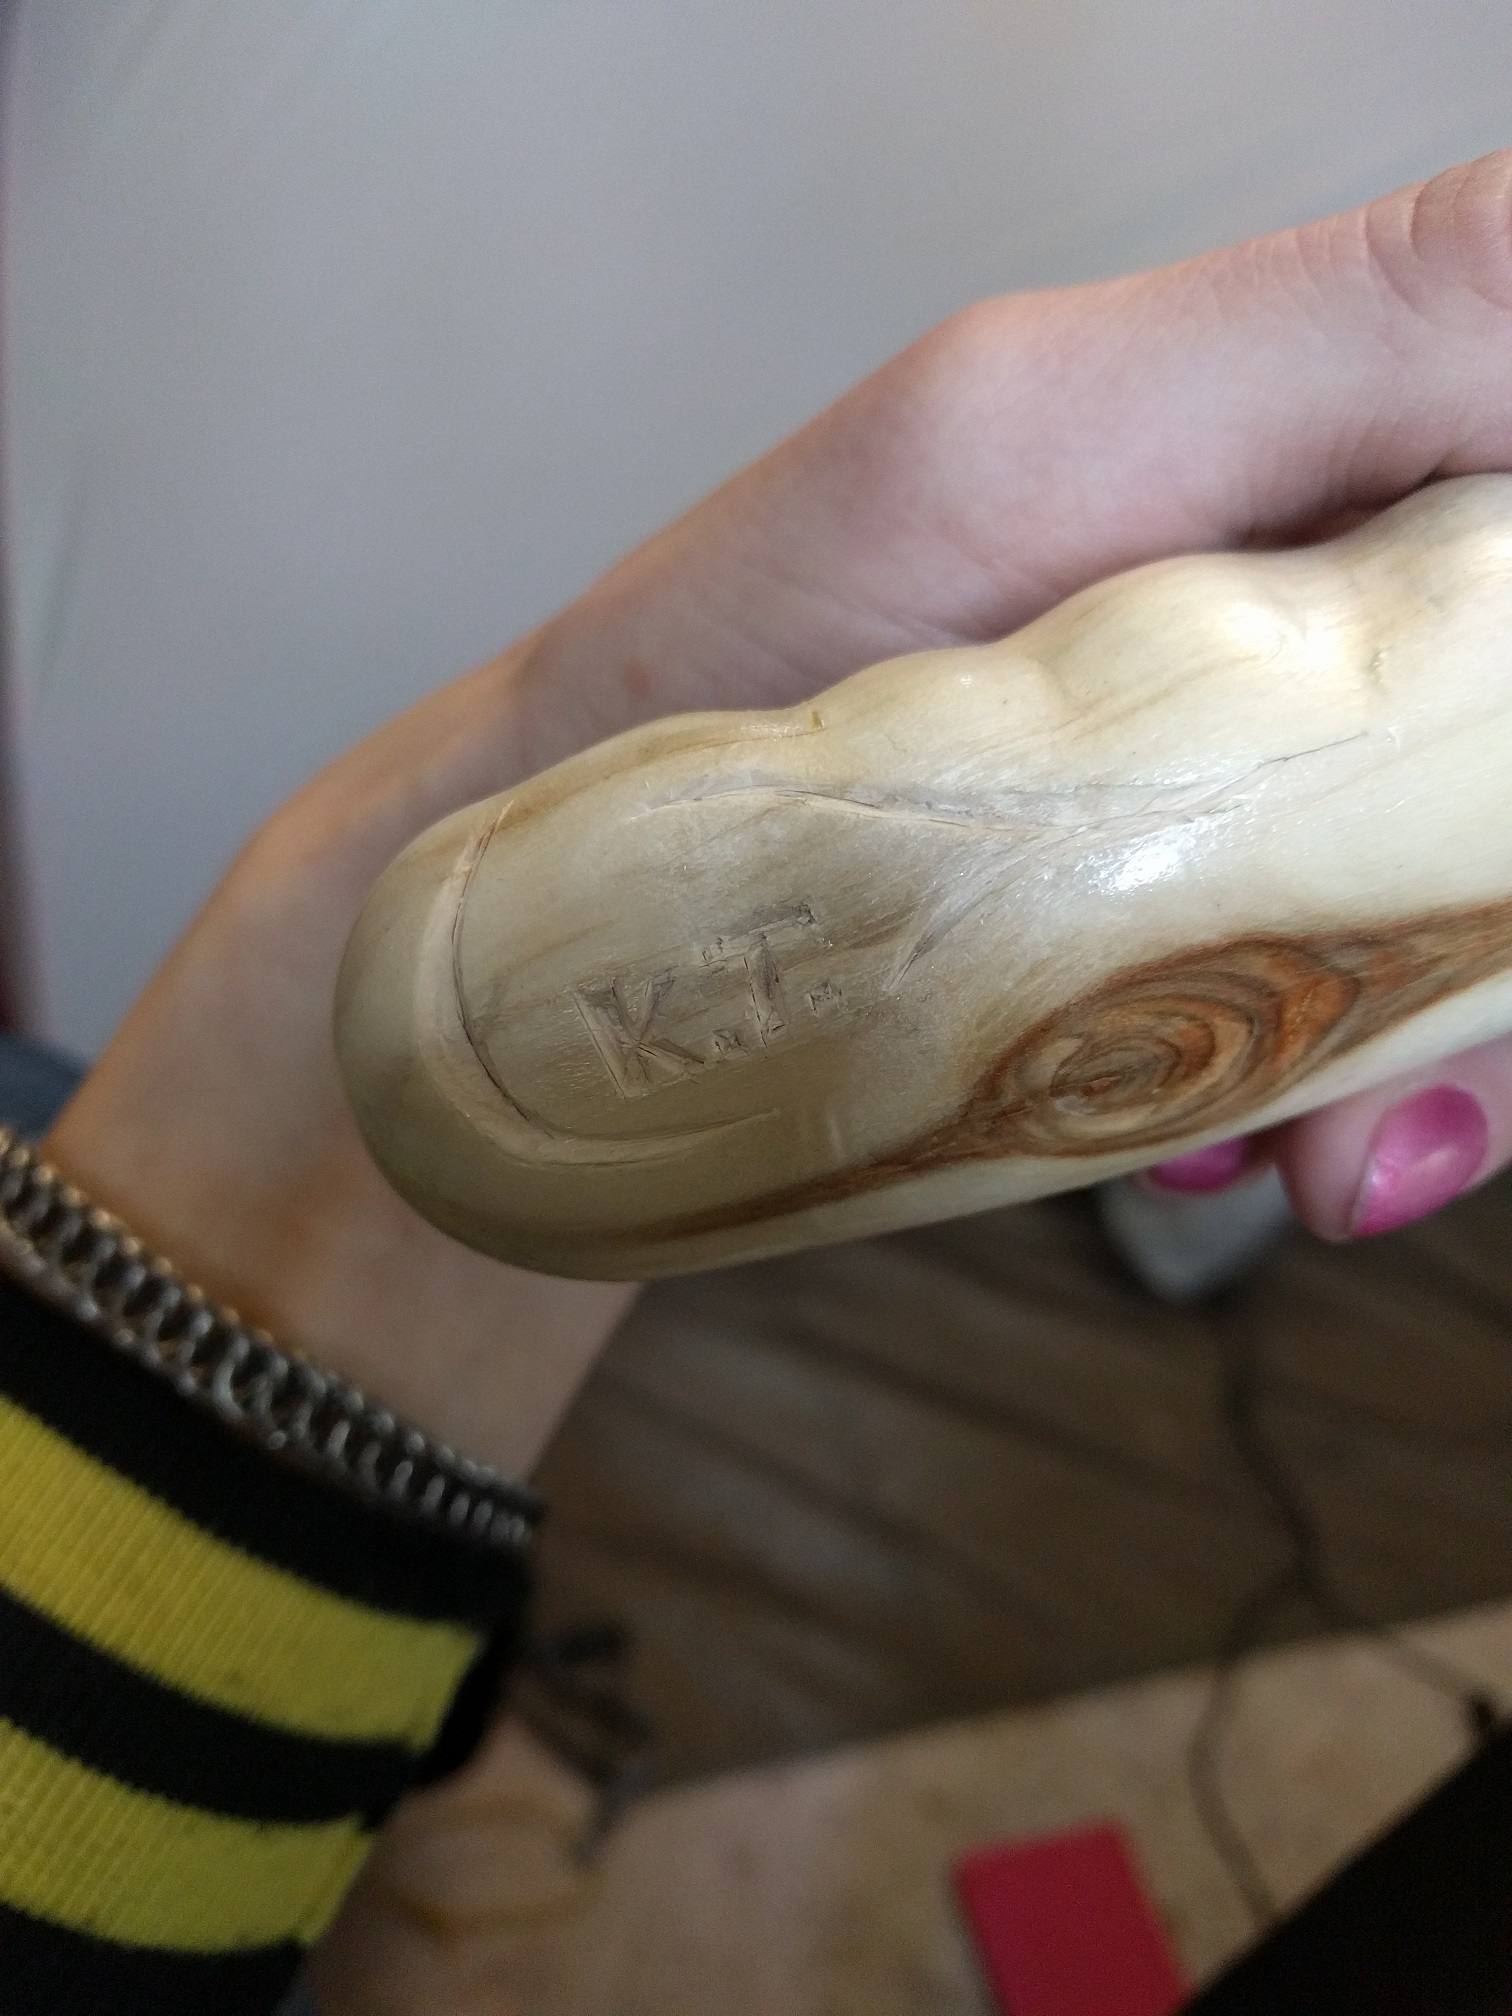
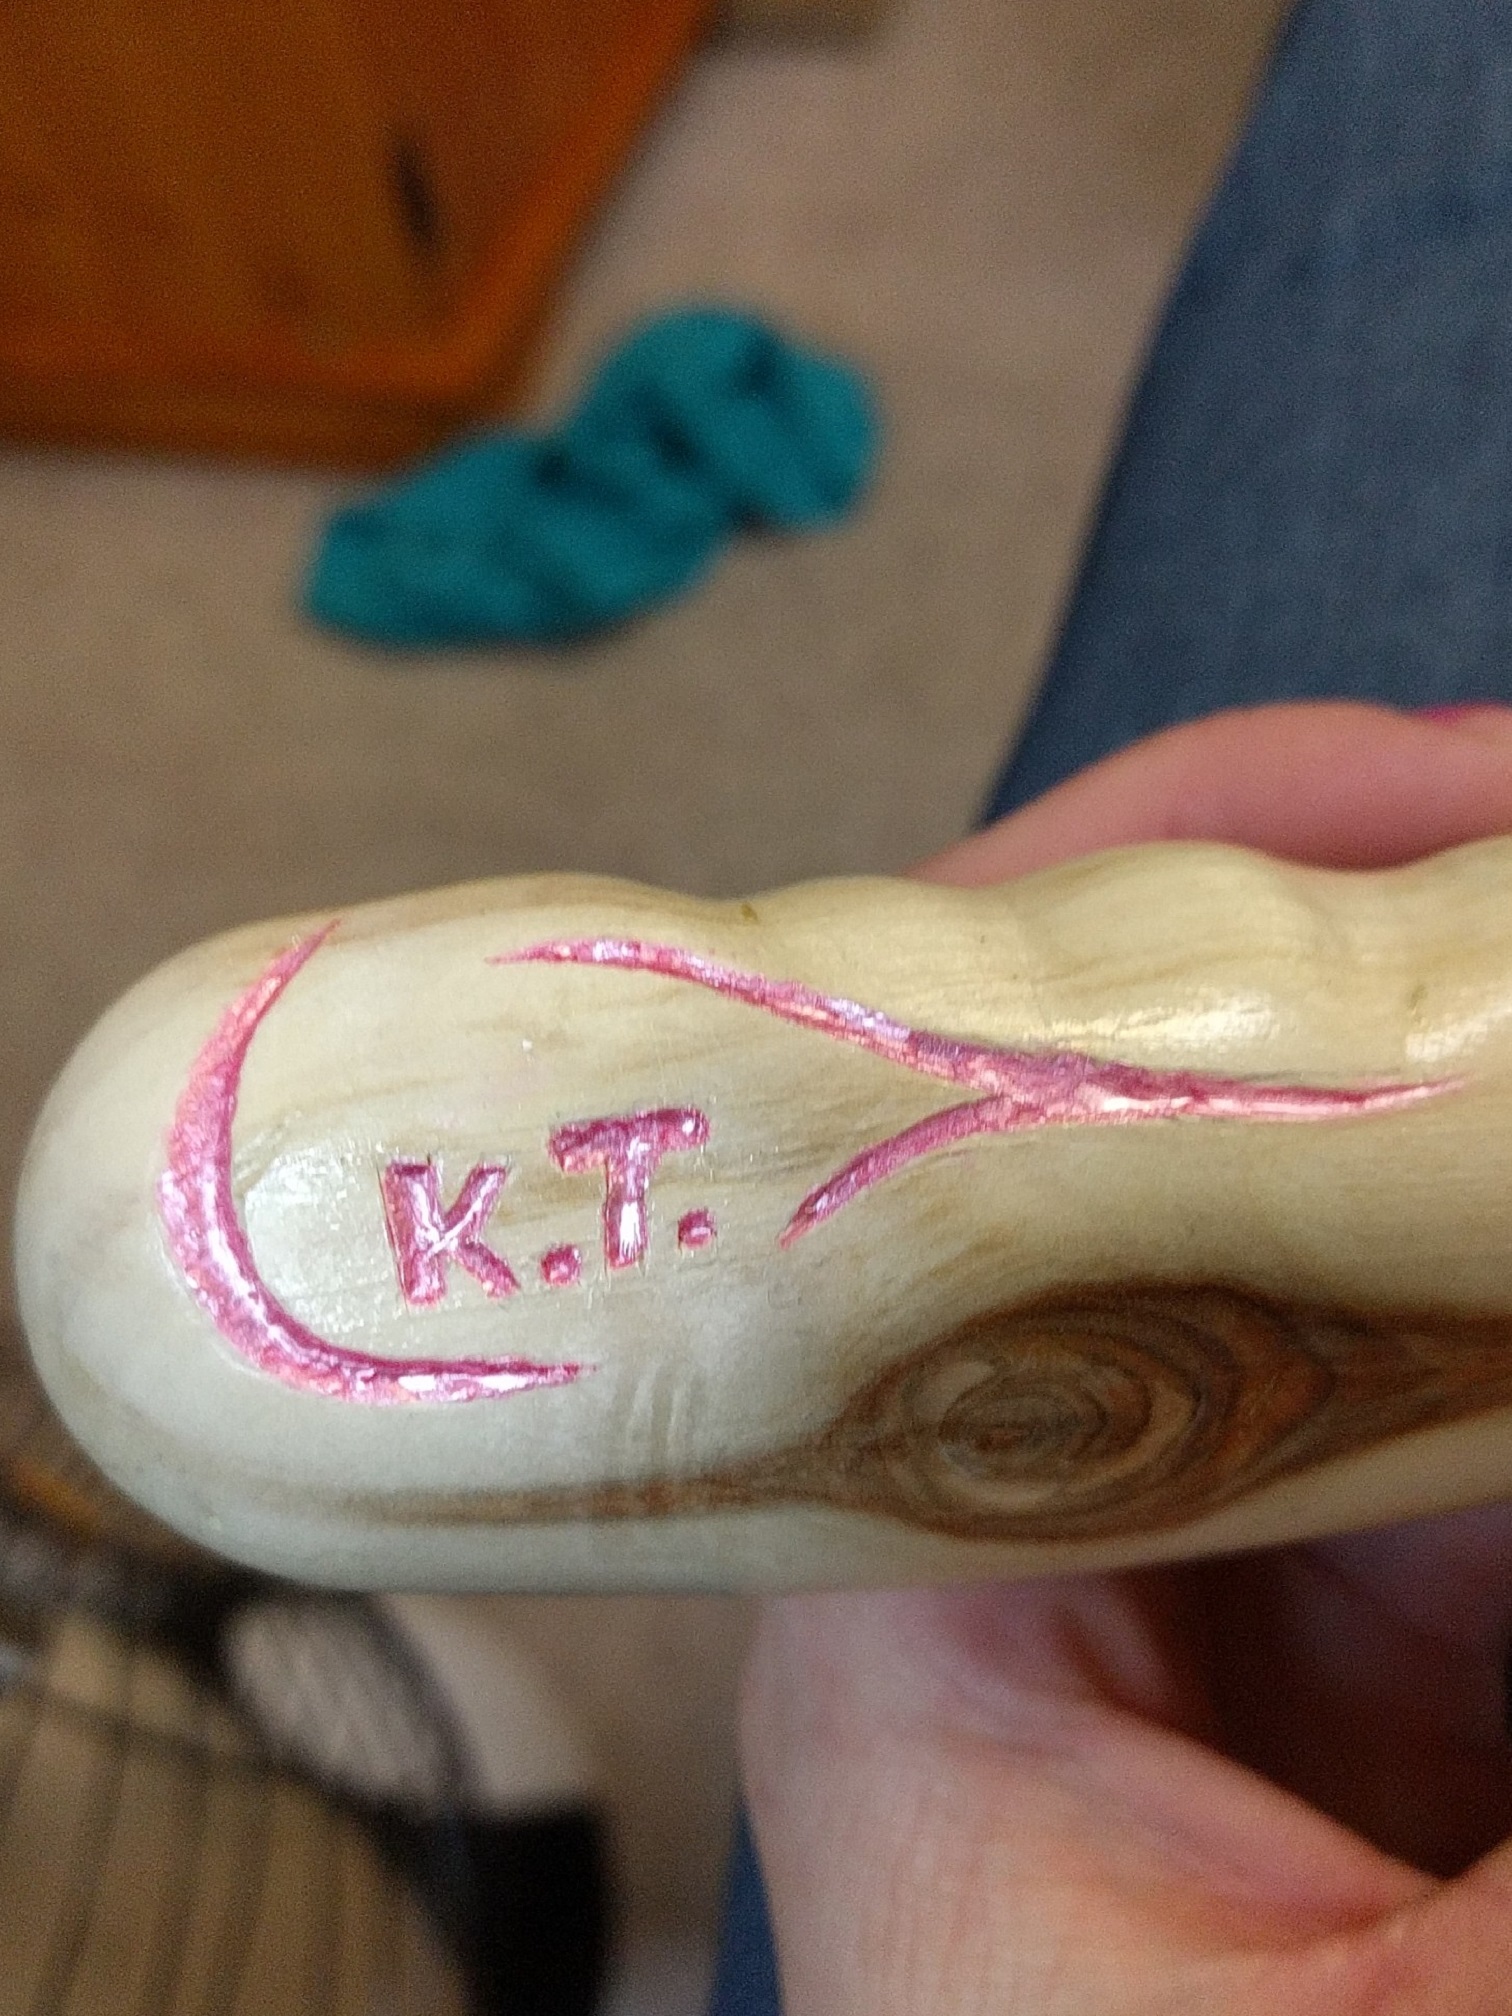
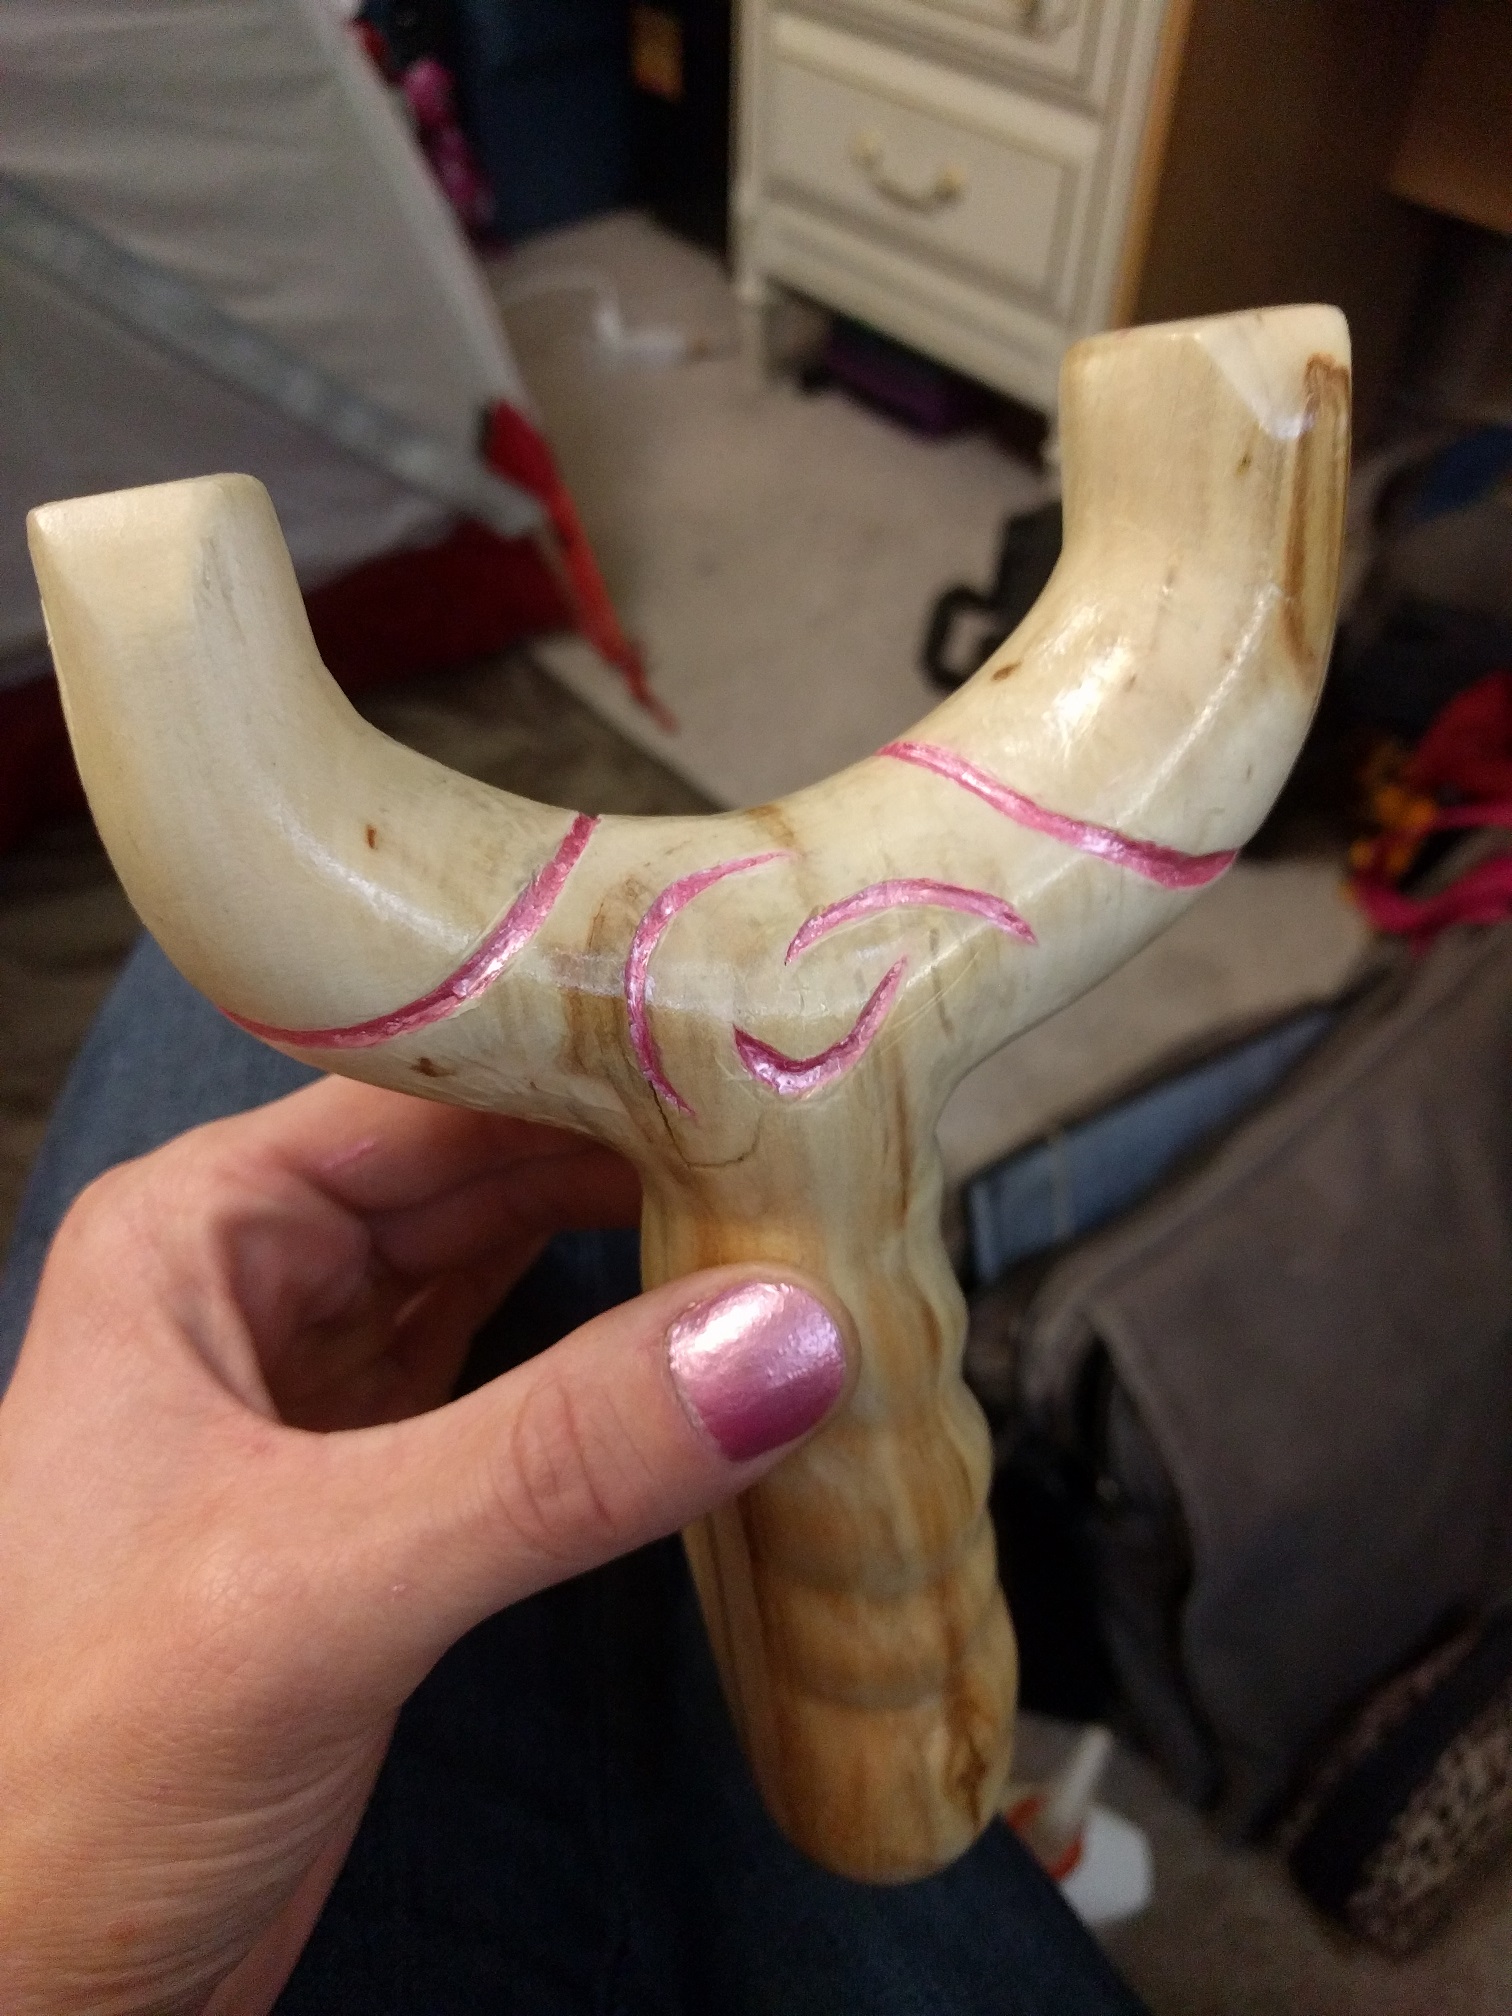
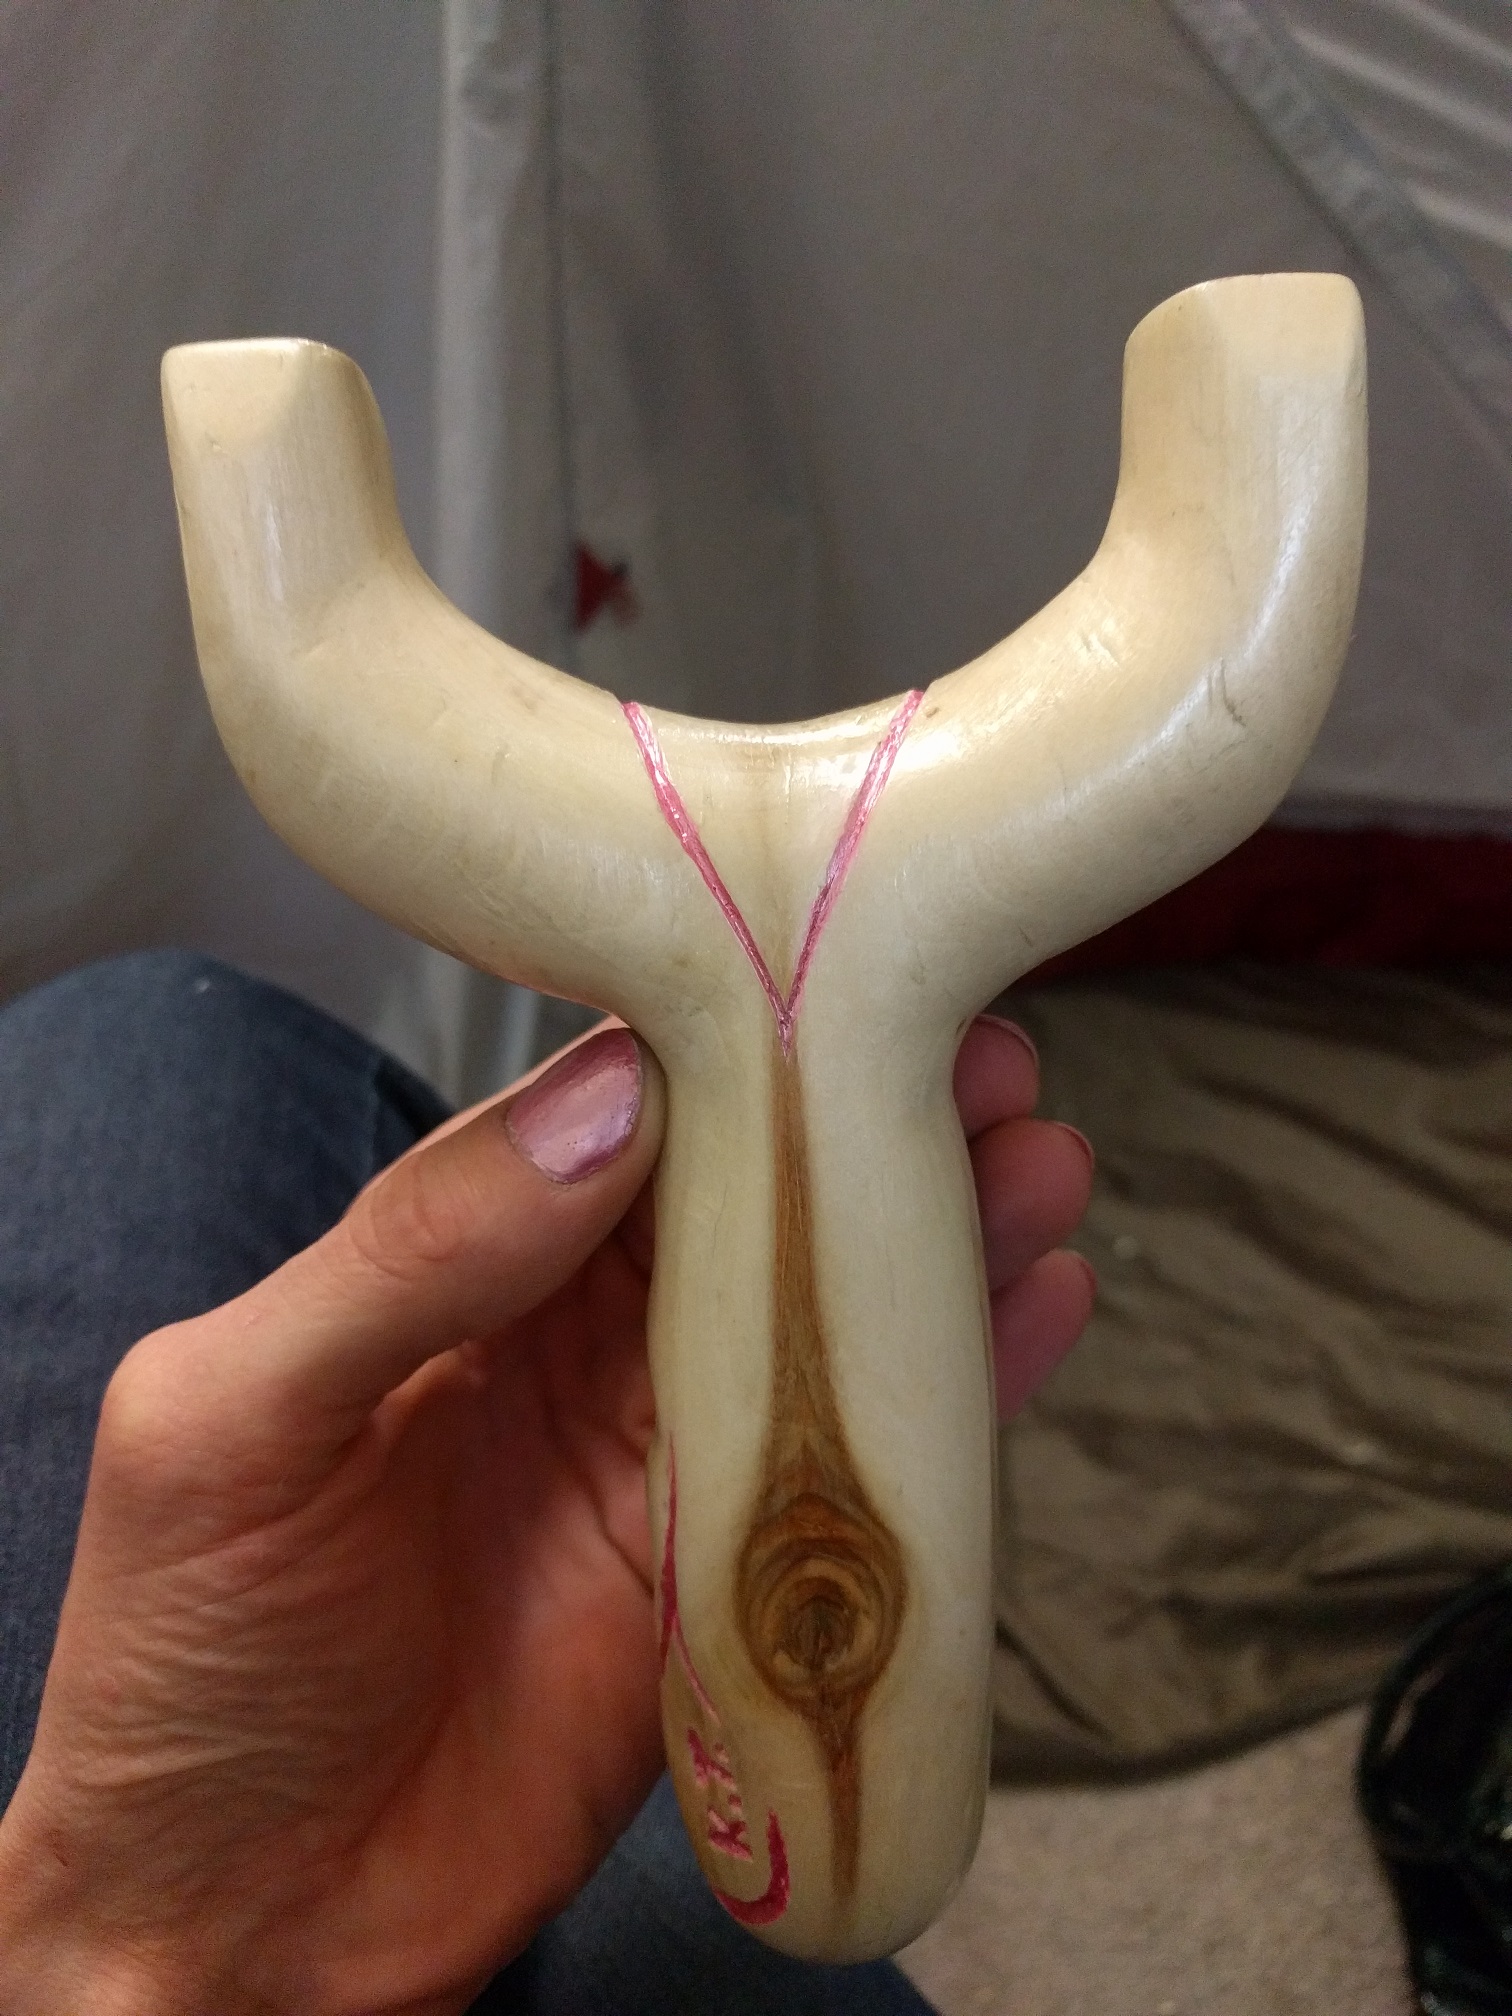
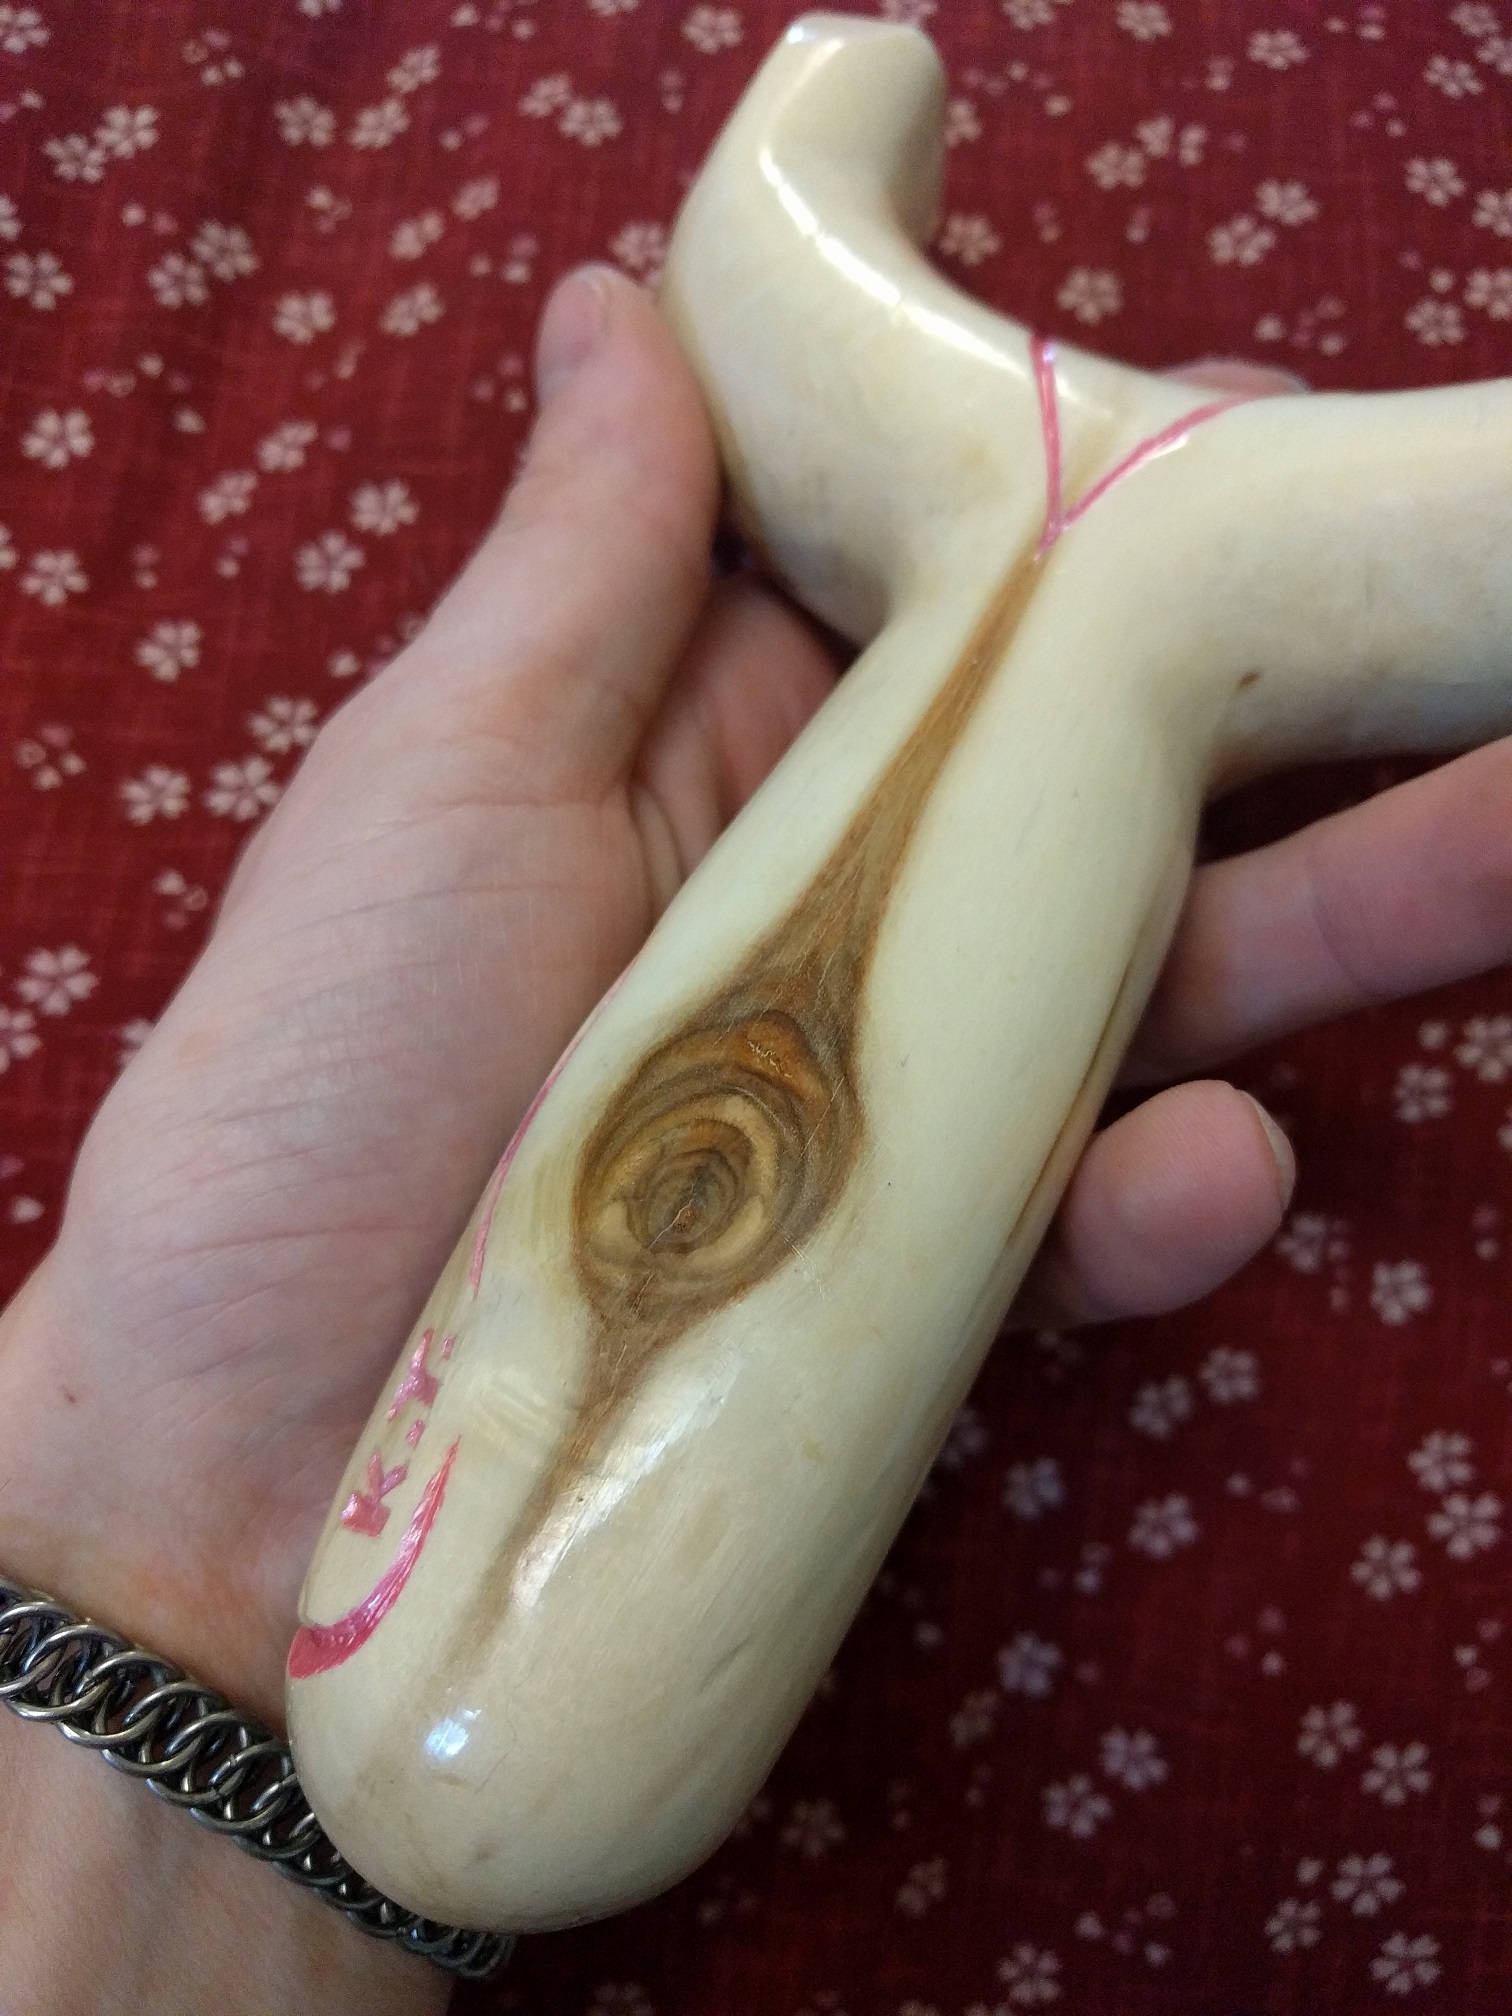
| It progressed very quickly from that point. I found that scouring the outside with a serrated hunting knife worked well for bulk material removal, and in a few short hours was able to round it down the approximately the final shape. After having it generally roughed into shape, I spent an hour or so sanding and whittling it into shape a bit better. I whittled the grip to perfectly fit my hand, smoothed it as best I could by knife, then took it from 60 to 180 to 600 grit sandpaper (big jump, I know, but y'work with whatcha got). It was at about this time that she told me her name. I added 3 layers of gloss varnish at this point to retain moisture, and give me a generally finished piece to work with. I debated which part to start carving first, and ran with the spot for my signature I had spotted during whittling. And a few kinda curvies around it, kinda following my finger line when gripping it. I didn't want to mess with the great eye on the handle, but wanted just a little bit of detail lines. |     |
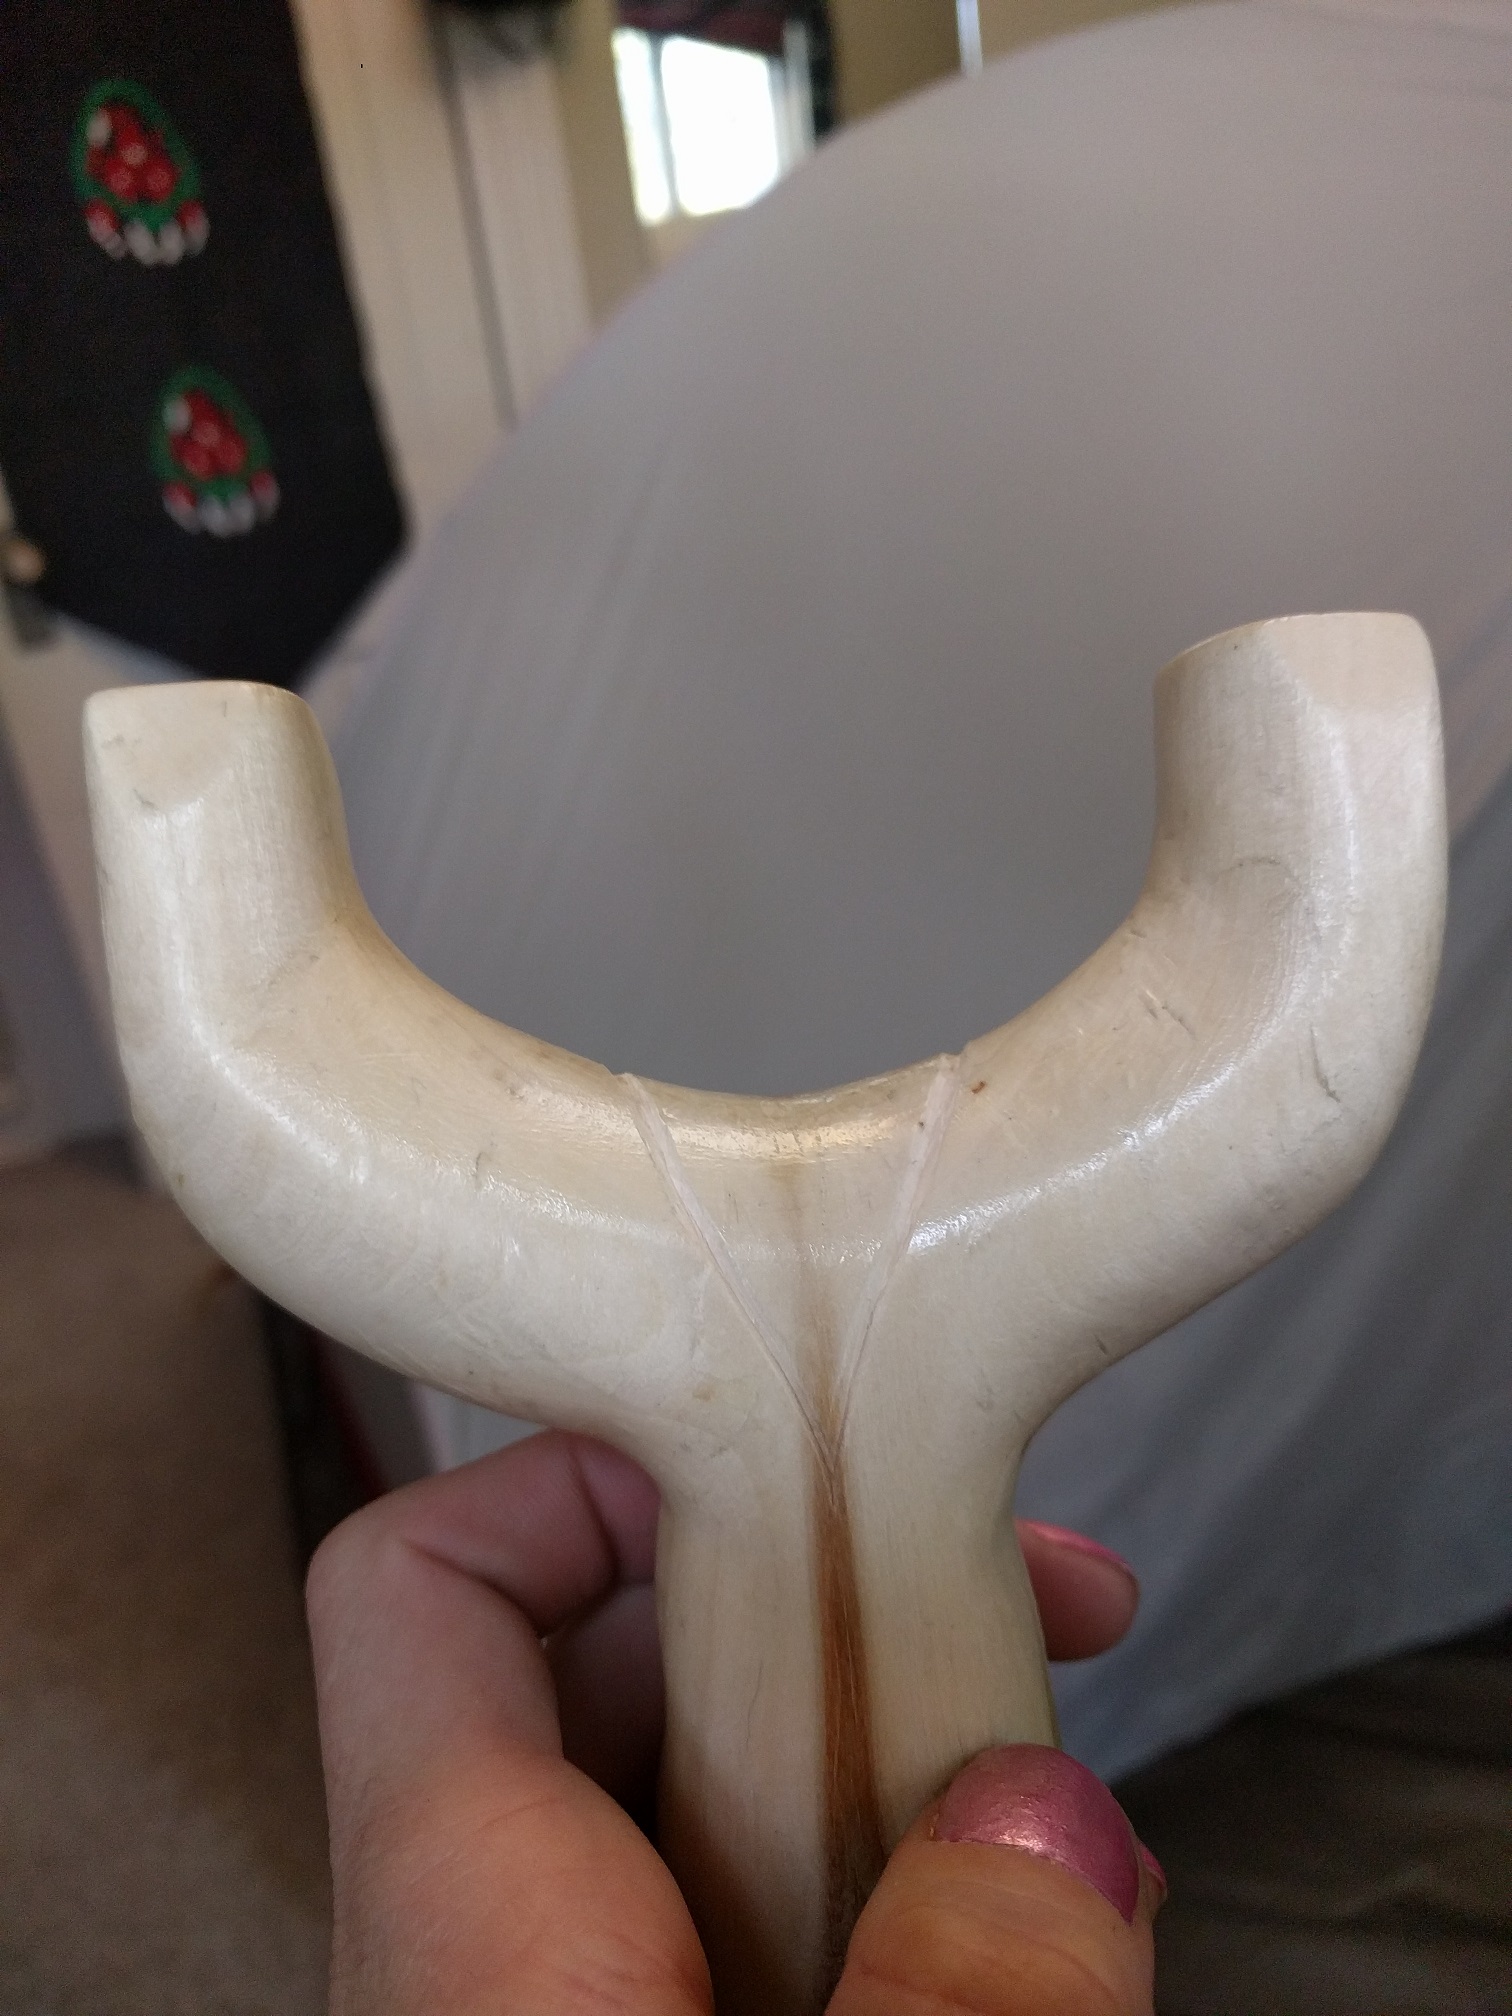
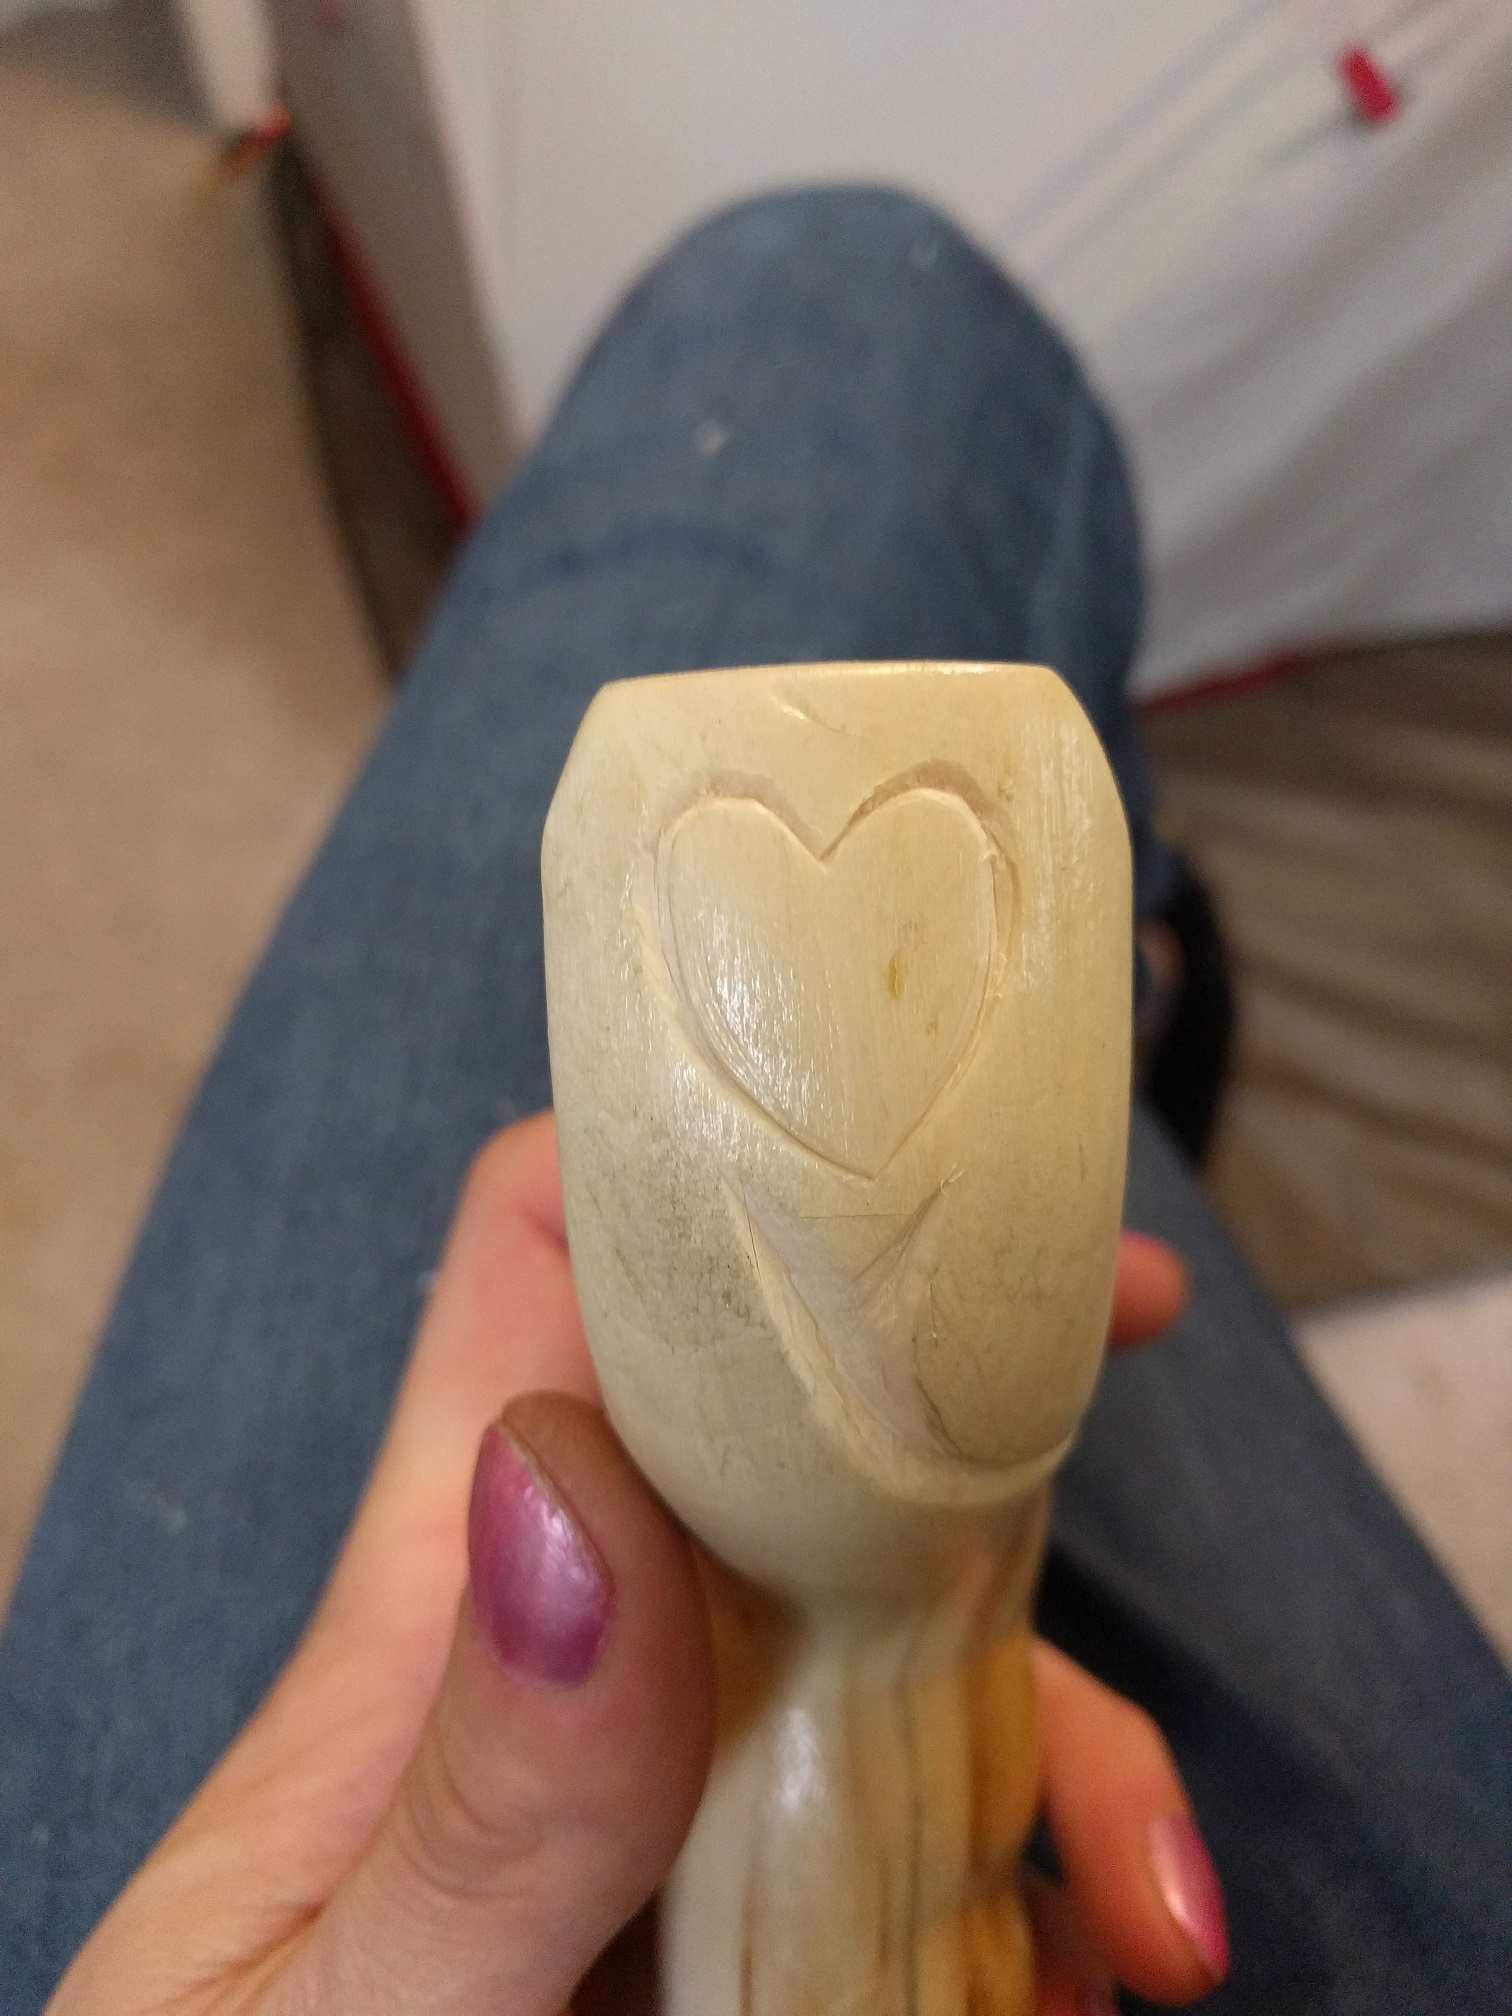
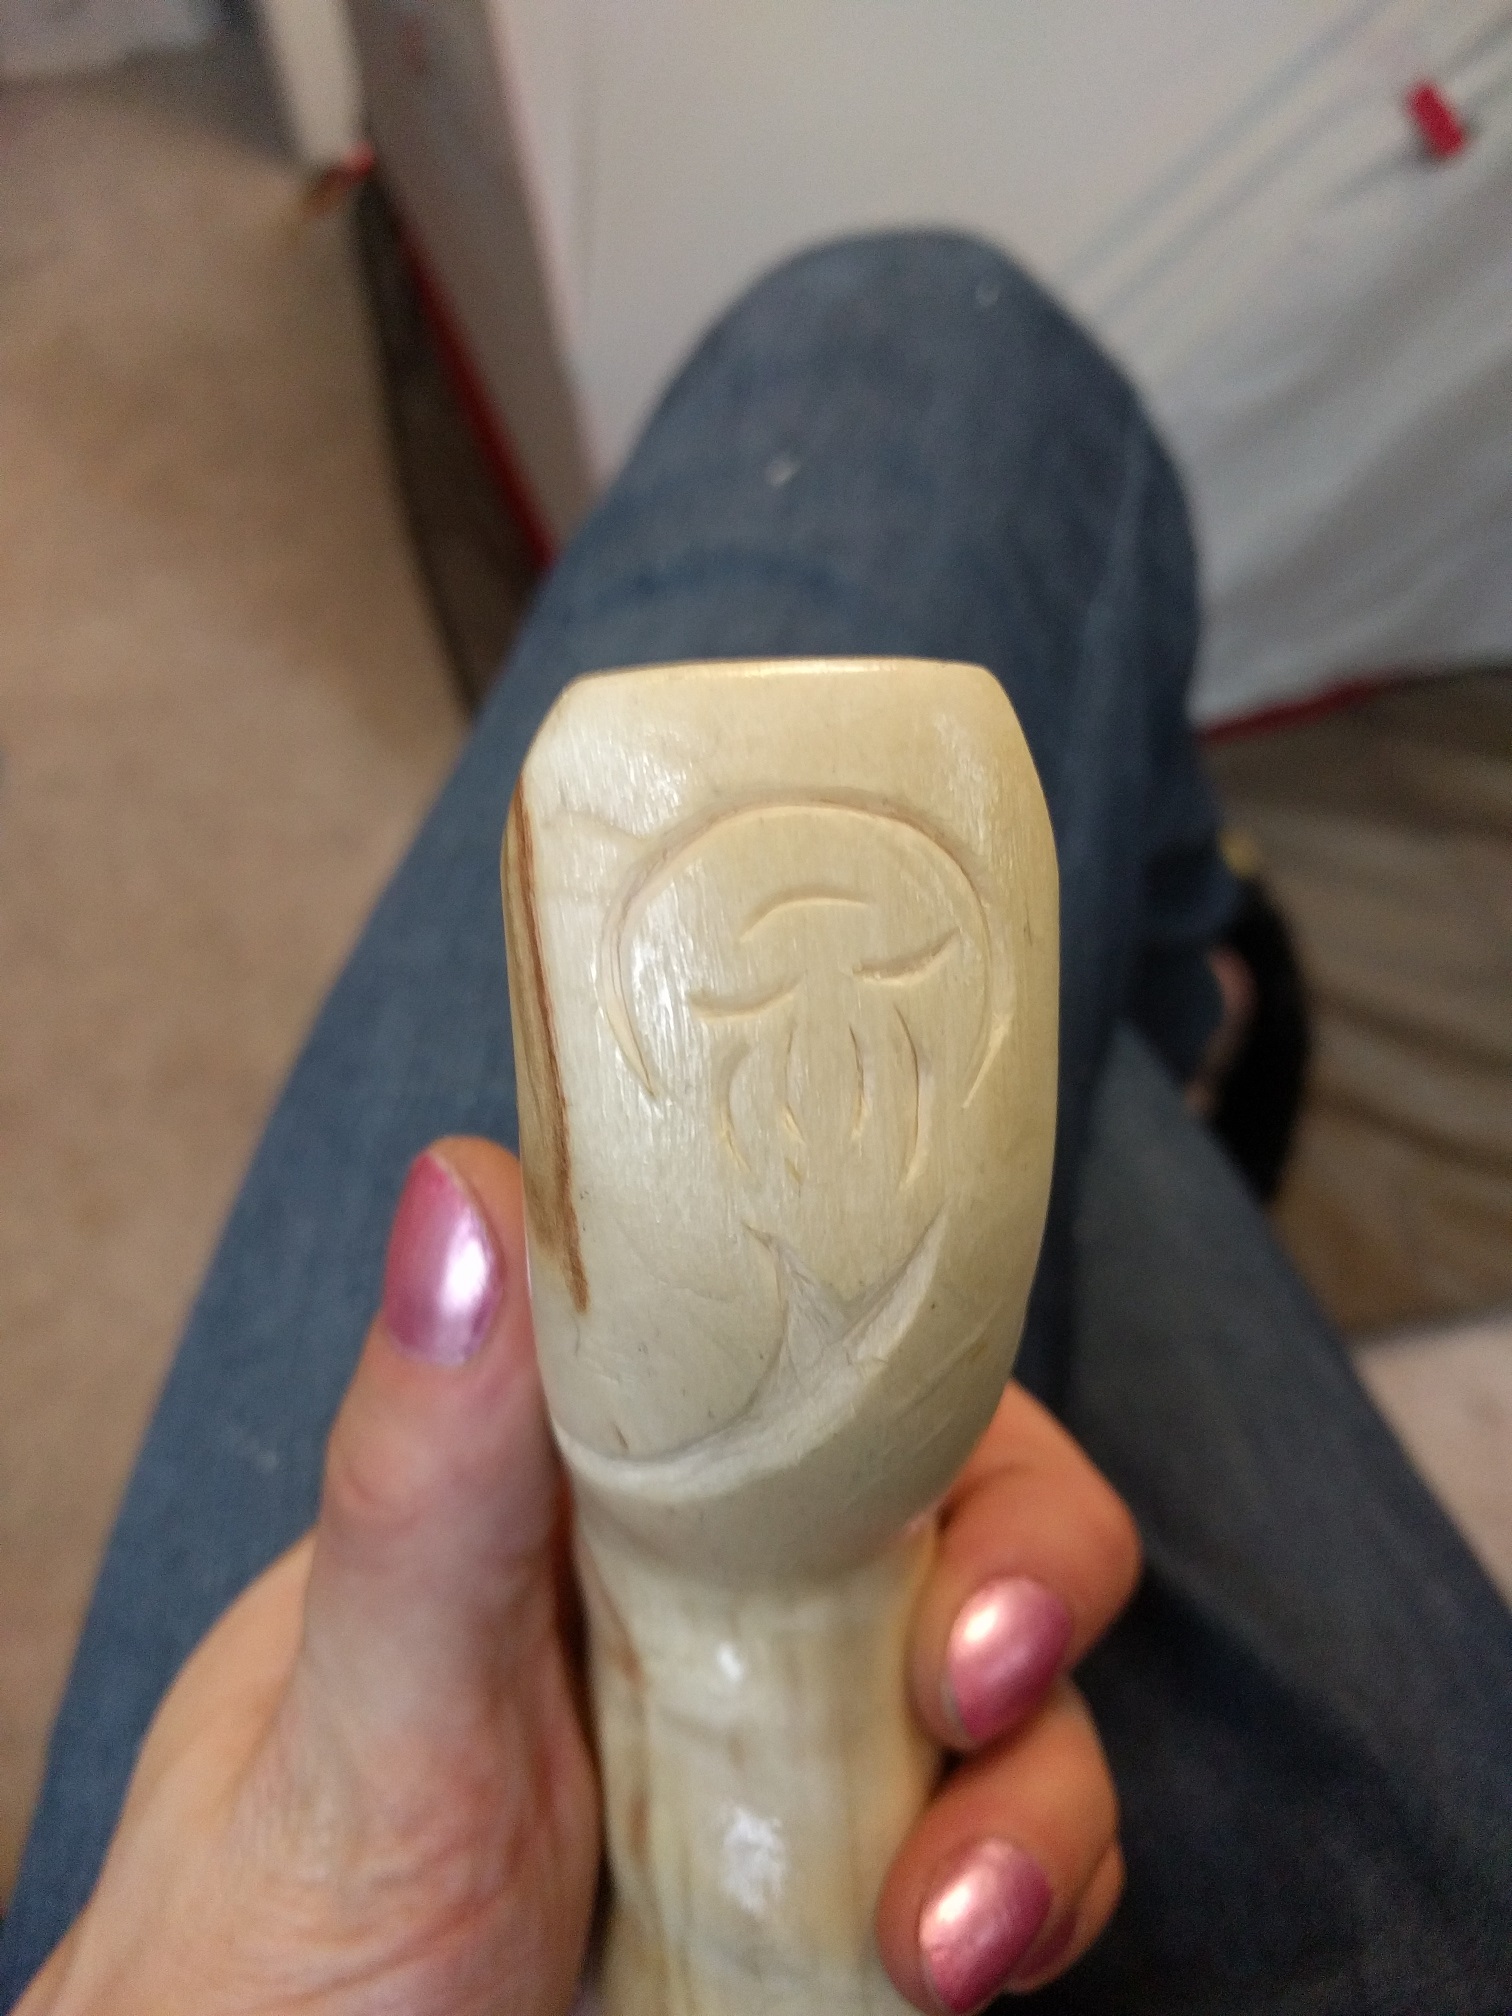
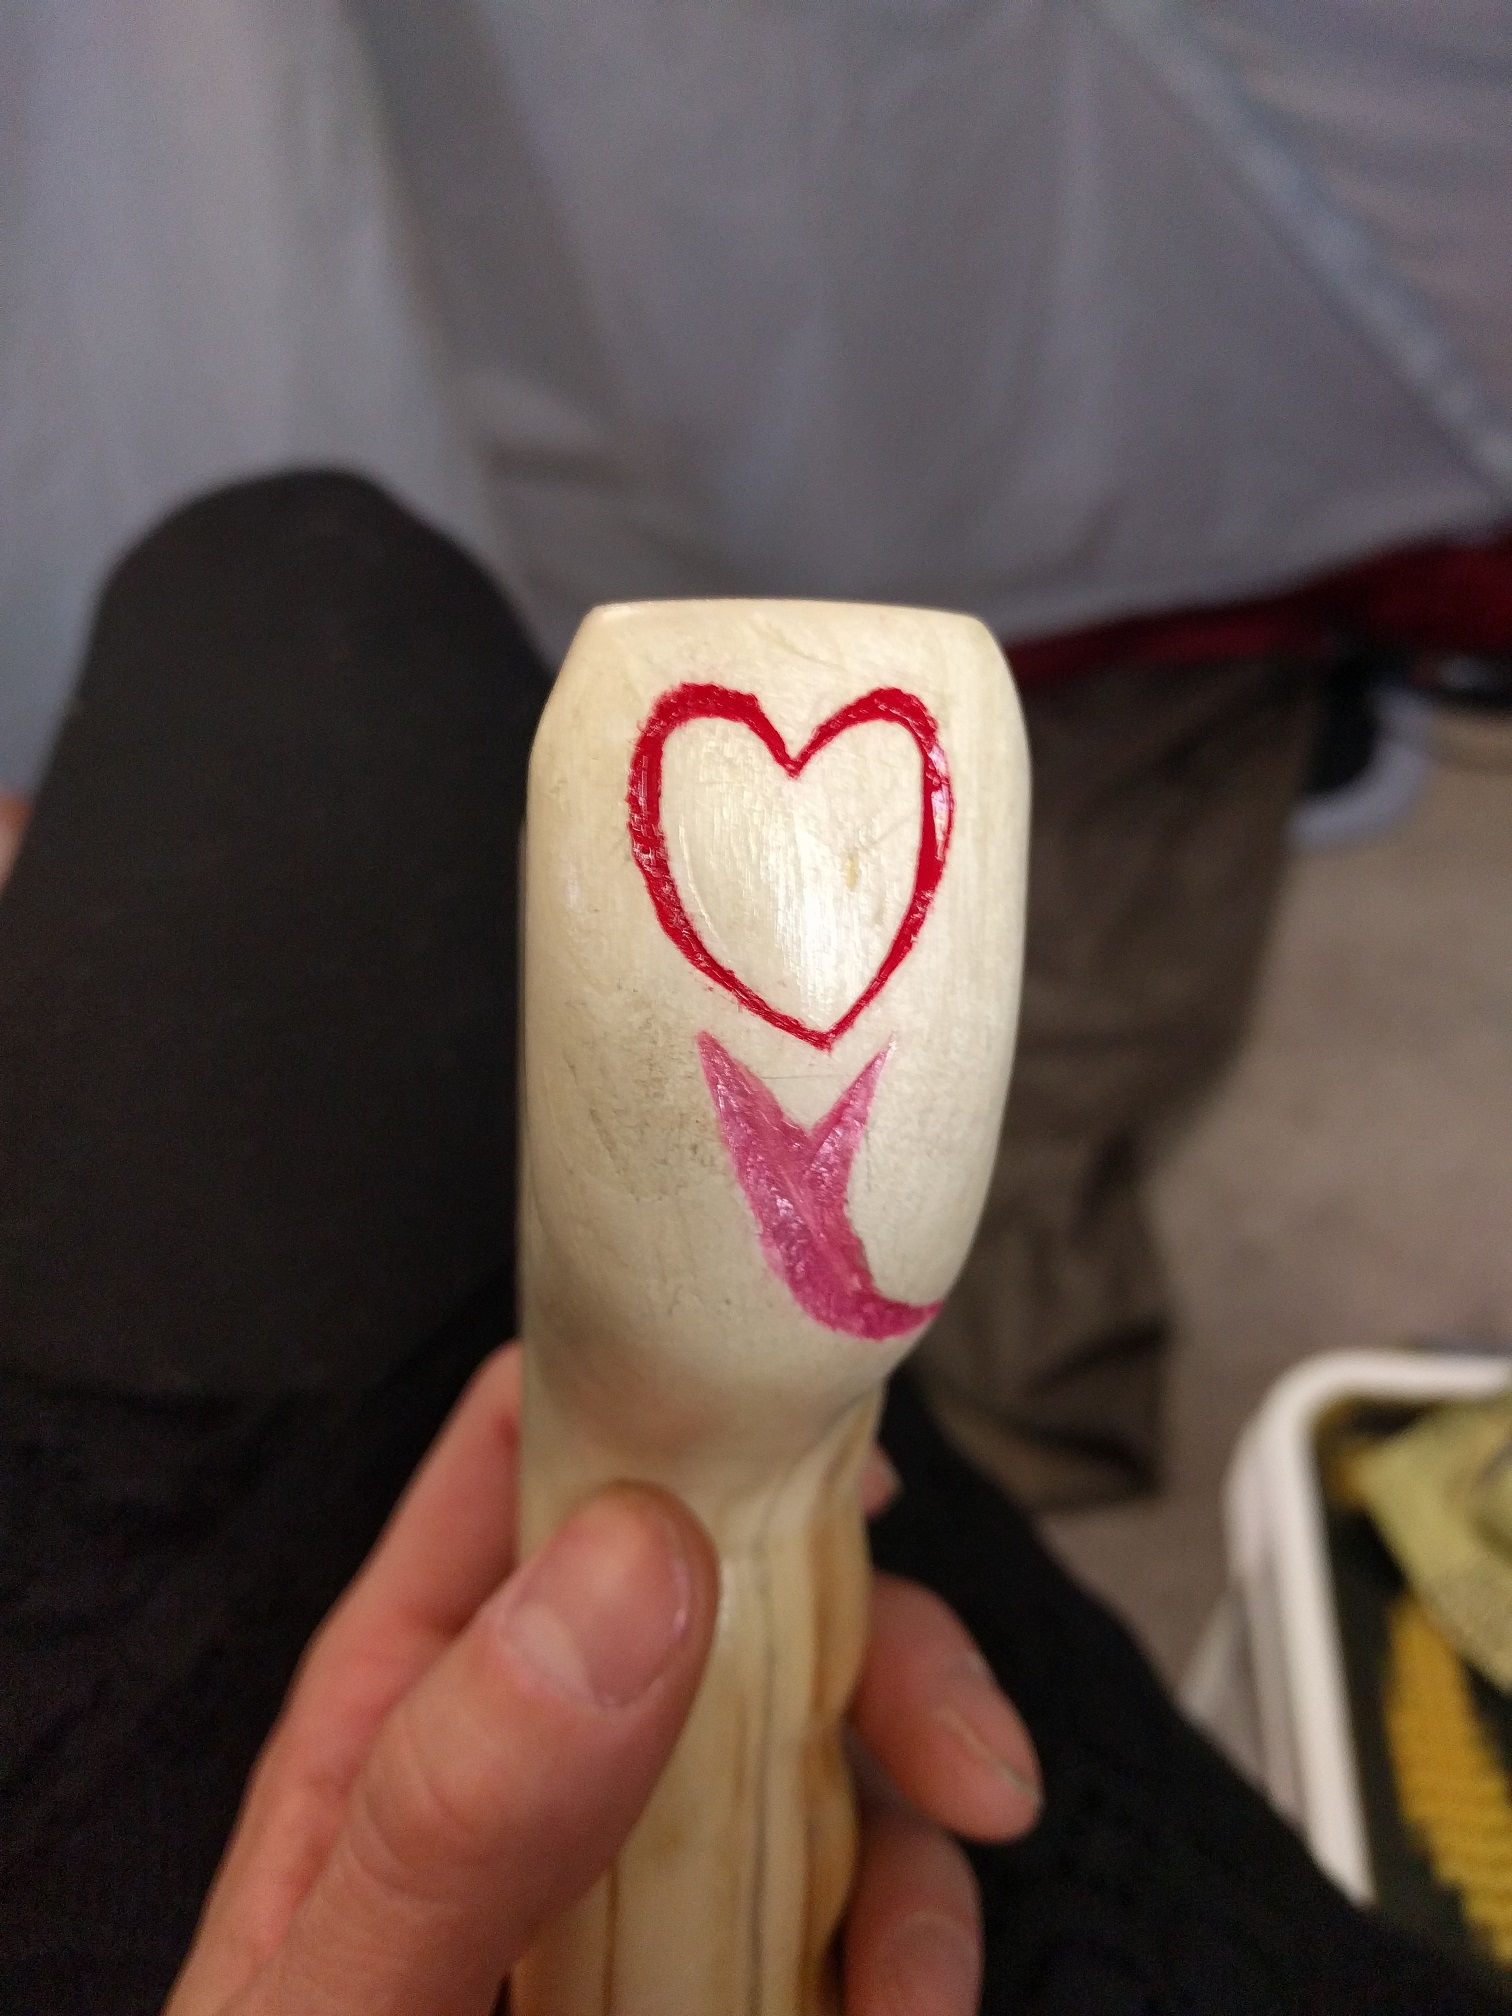
| I started with a 'v' on the front of it to help line up your target. From there I curved it around the front and up the sides, forking towards the two side designs, a heart and a Metroid. First though, I wanted something on the face of it, such that one's eyes would be drawn to the center of the slingshot. I made a slight mark in the varnish where I deemed the 'center' to be, then made 3 arcing curves kinda progressively focusing towards it. By coincidence more than anything else, it turned out to look a bit like a smiley face :). Now, it needed a pop of colour. I planned pink from the start, and decided that the colour should be what I was wearing on my nails while making it. The basecoat only made it onto my signature, for funsies more than anything else. The sparkle however made it to both my signature and the smiley crescents on the face ;) |     |
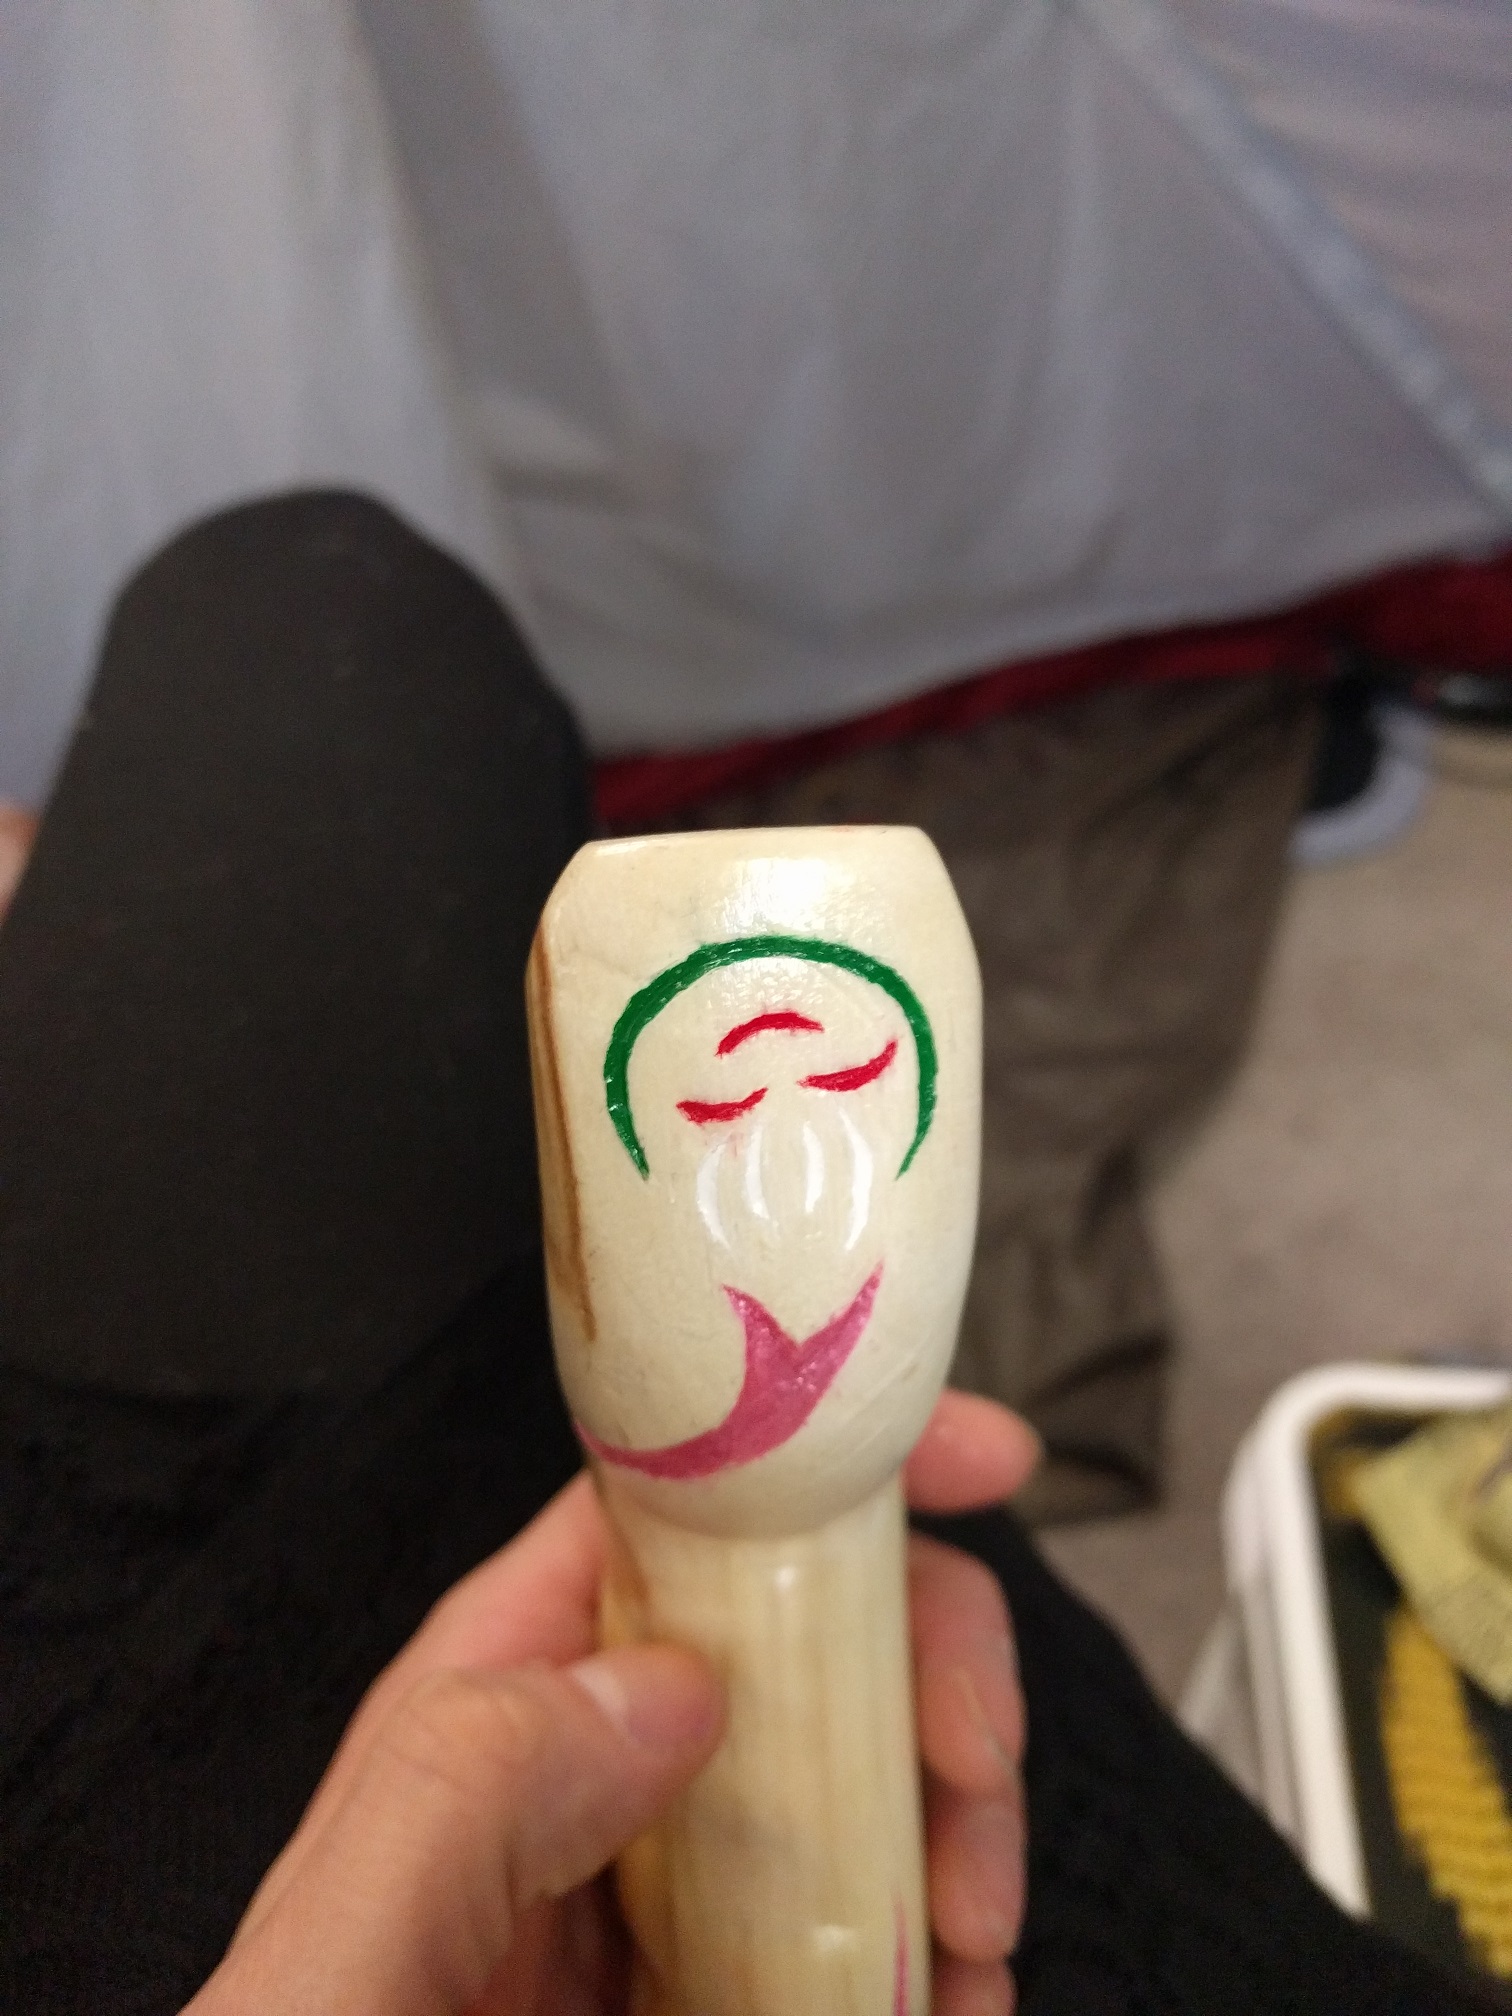
| I had some minor problems with colour bleeding in the Metroid, but solved that before I got too far by putting a layer of varnish inside the whittled lines where I used model paint. I also doubled-up on the teeth of the Metroid so it would show a bit better. There's a few nicks and scratches in her, more a result of rushing to avoid the wood drying out. It ended up being quite light once I'd got the varnish on. If I'd had more time I could have perhaps avoided those imperfections (especially that one just under the crescent-smiley), but I see that as a reminder that timelines exist :P. All in all, I'd ballpark this as having taken about 13 hours total. I've definitely learned a lot of tricks and techniques I can use for later projects, and love how this came out in the end :D. This is the first time I've ever tried anything like this, working straight from the raw tree log to the finished product. Amazingly fun, and I'll definitely be looking to do more things like this in the future :) |     |
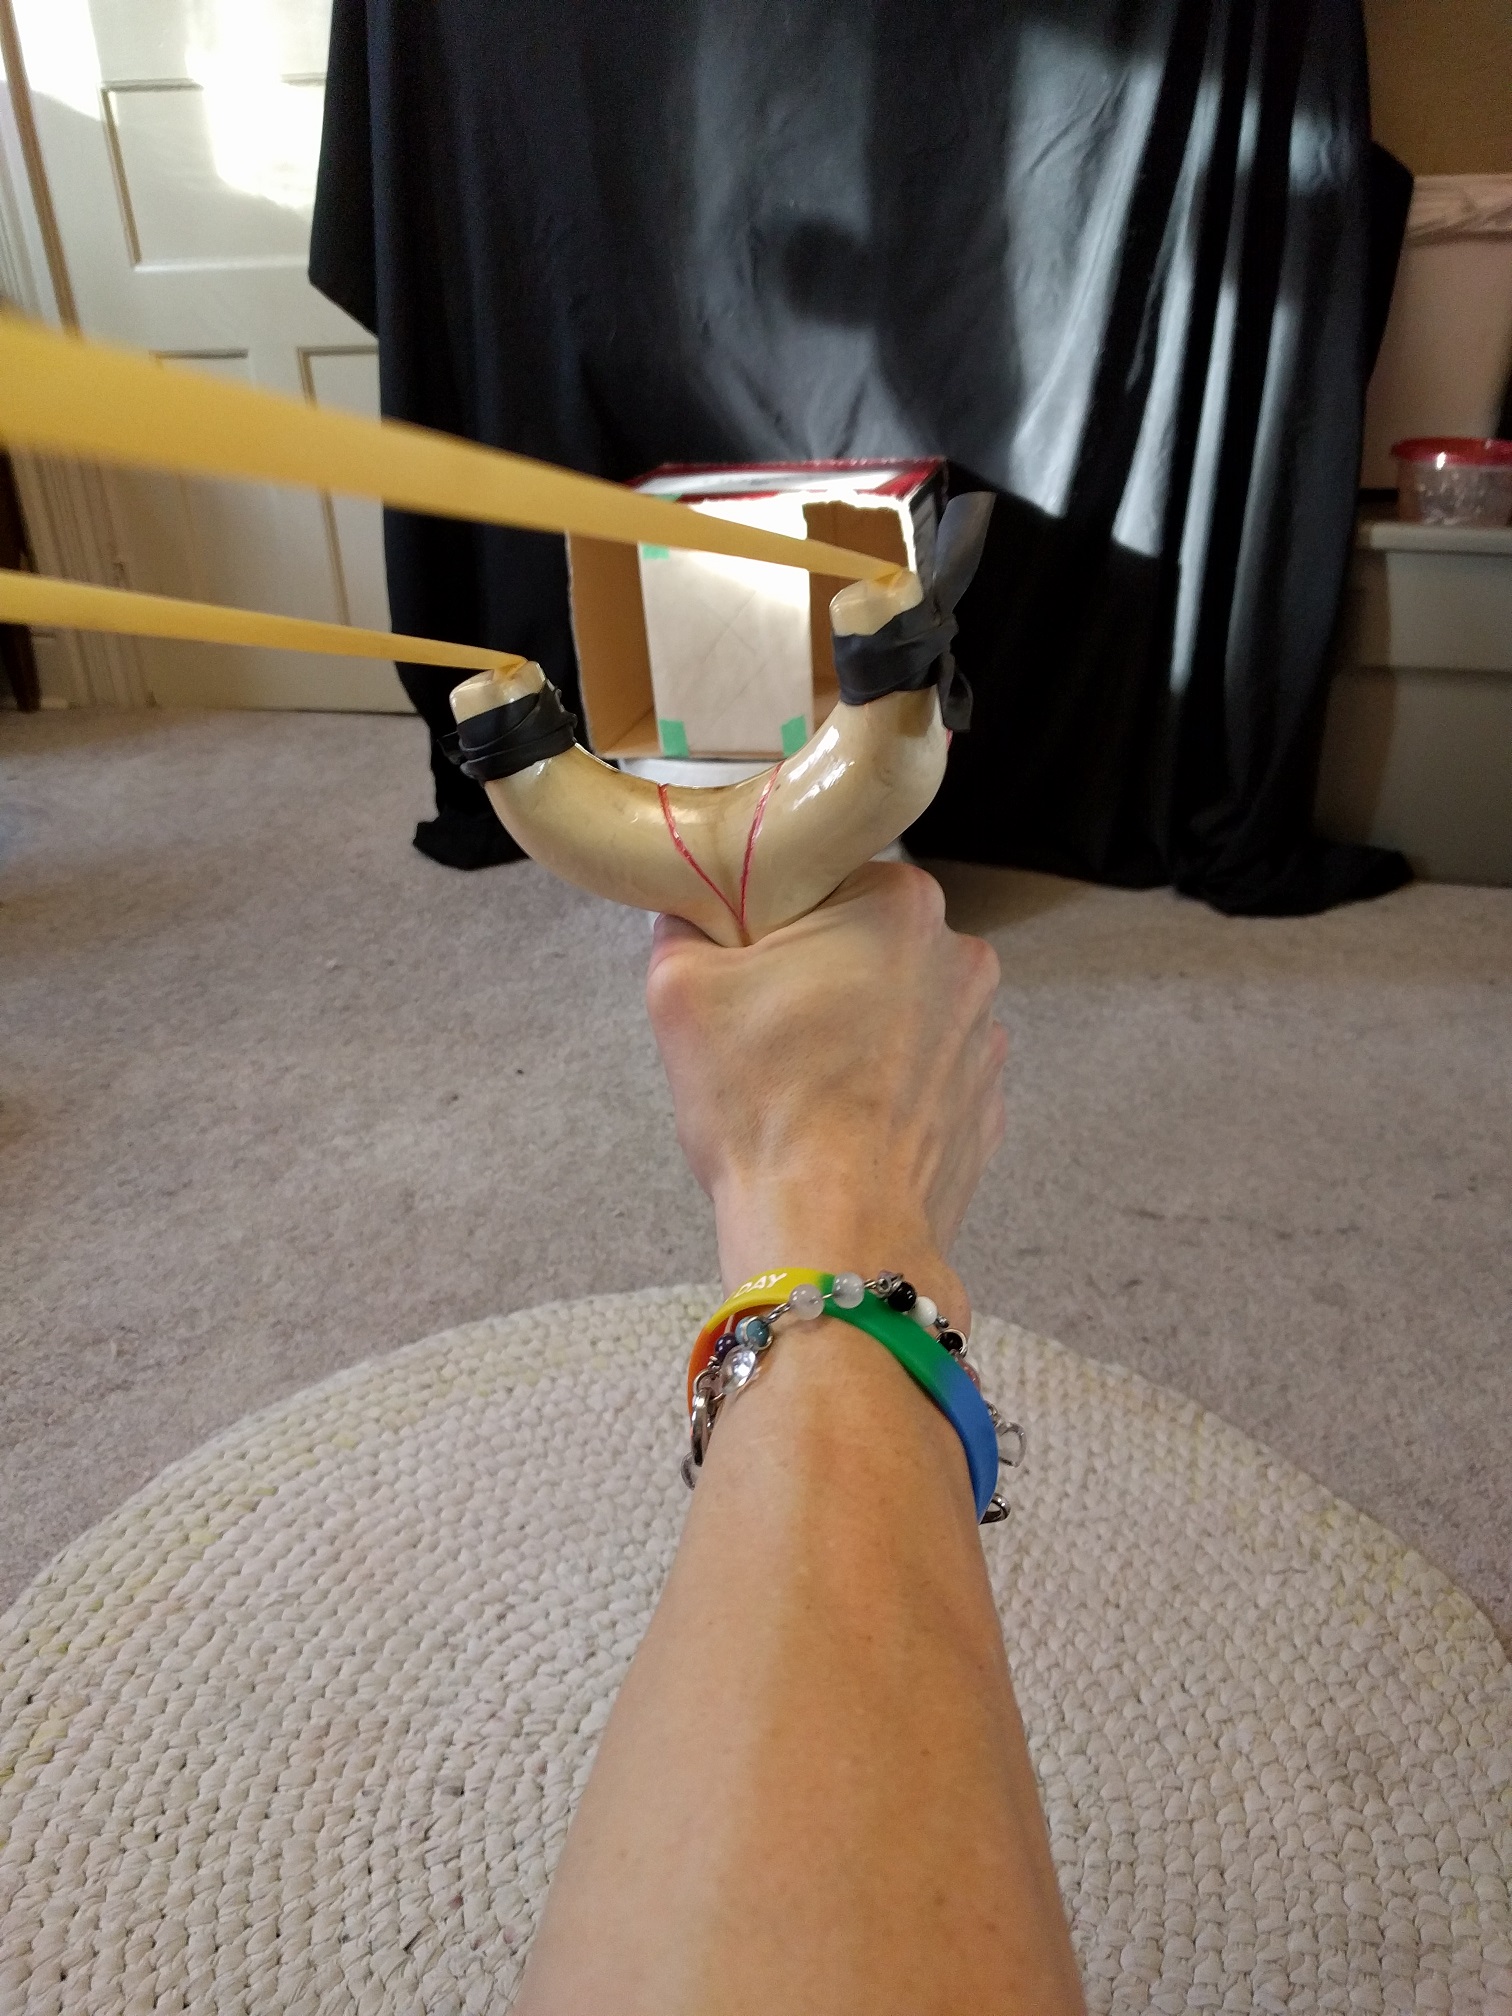
| After 7 days of allowing the varnish to full harden, I allowed Tamara to wear her straps. As you can see in the last pic, both the heart and the Metroid have their eyes covered when readied. Let this be a safety lesson to anyone wanting to make their own slingshot. This is a dangerous tool, meant to be used in a responsible way :). October 2016 |
    |
