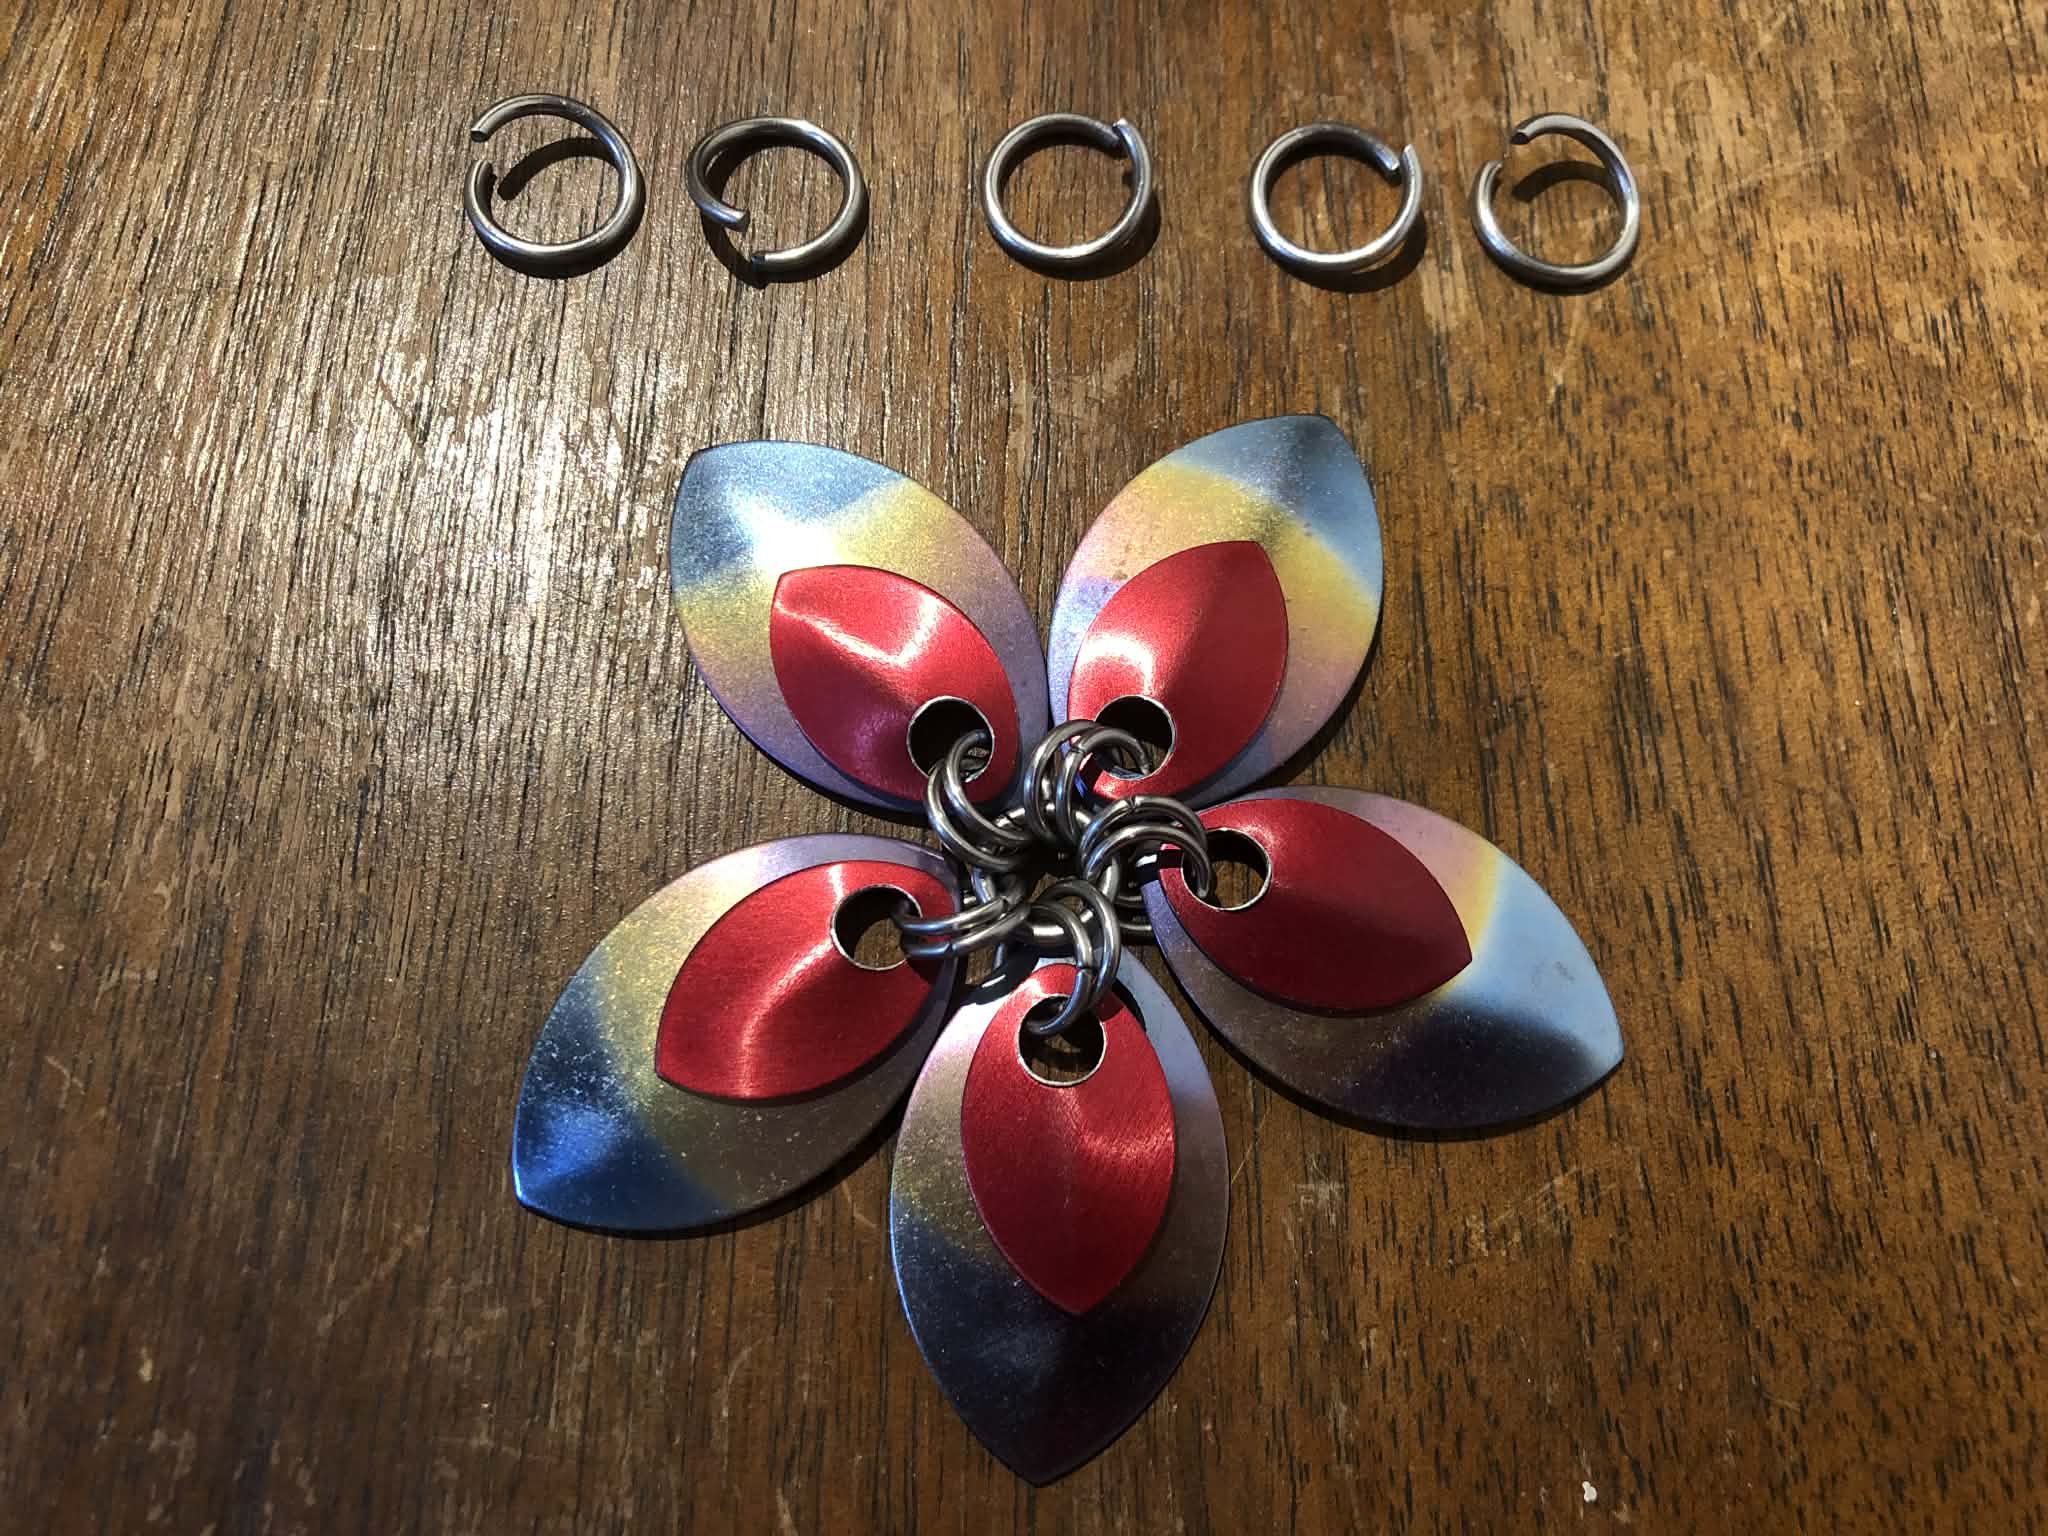
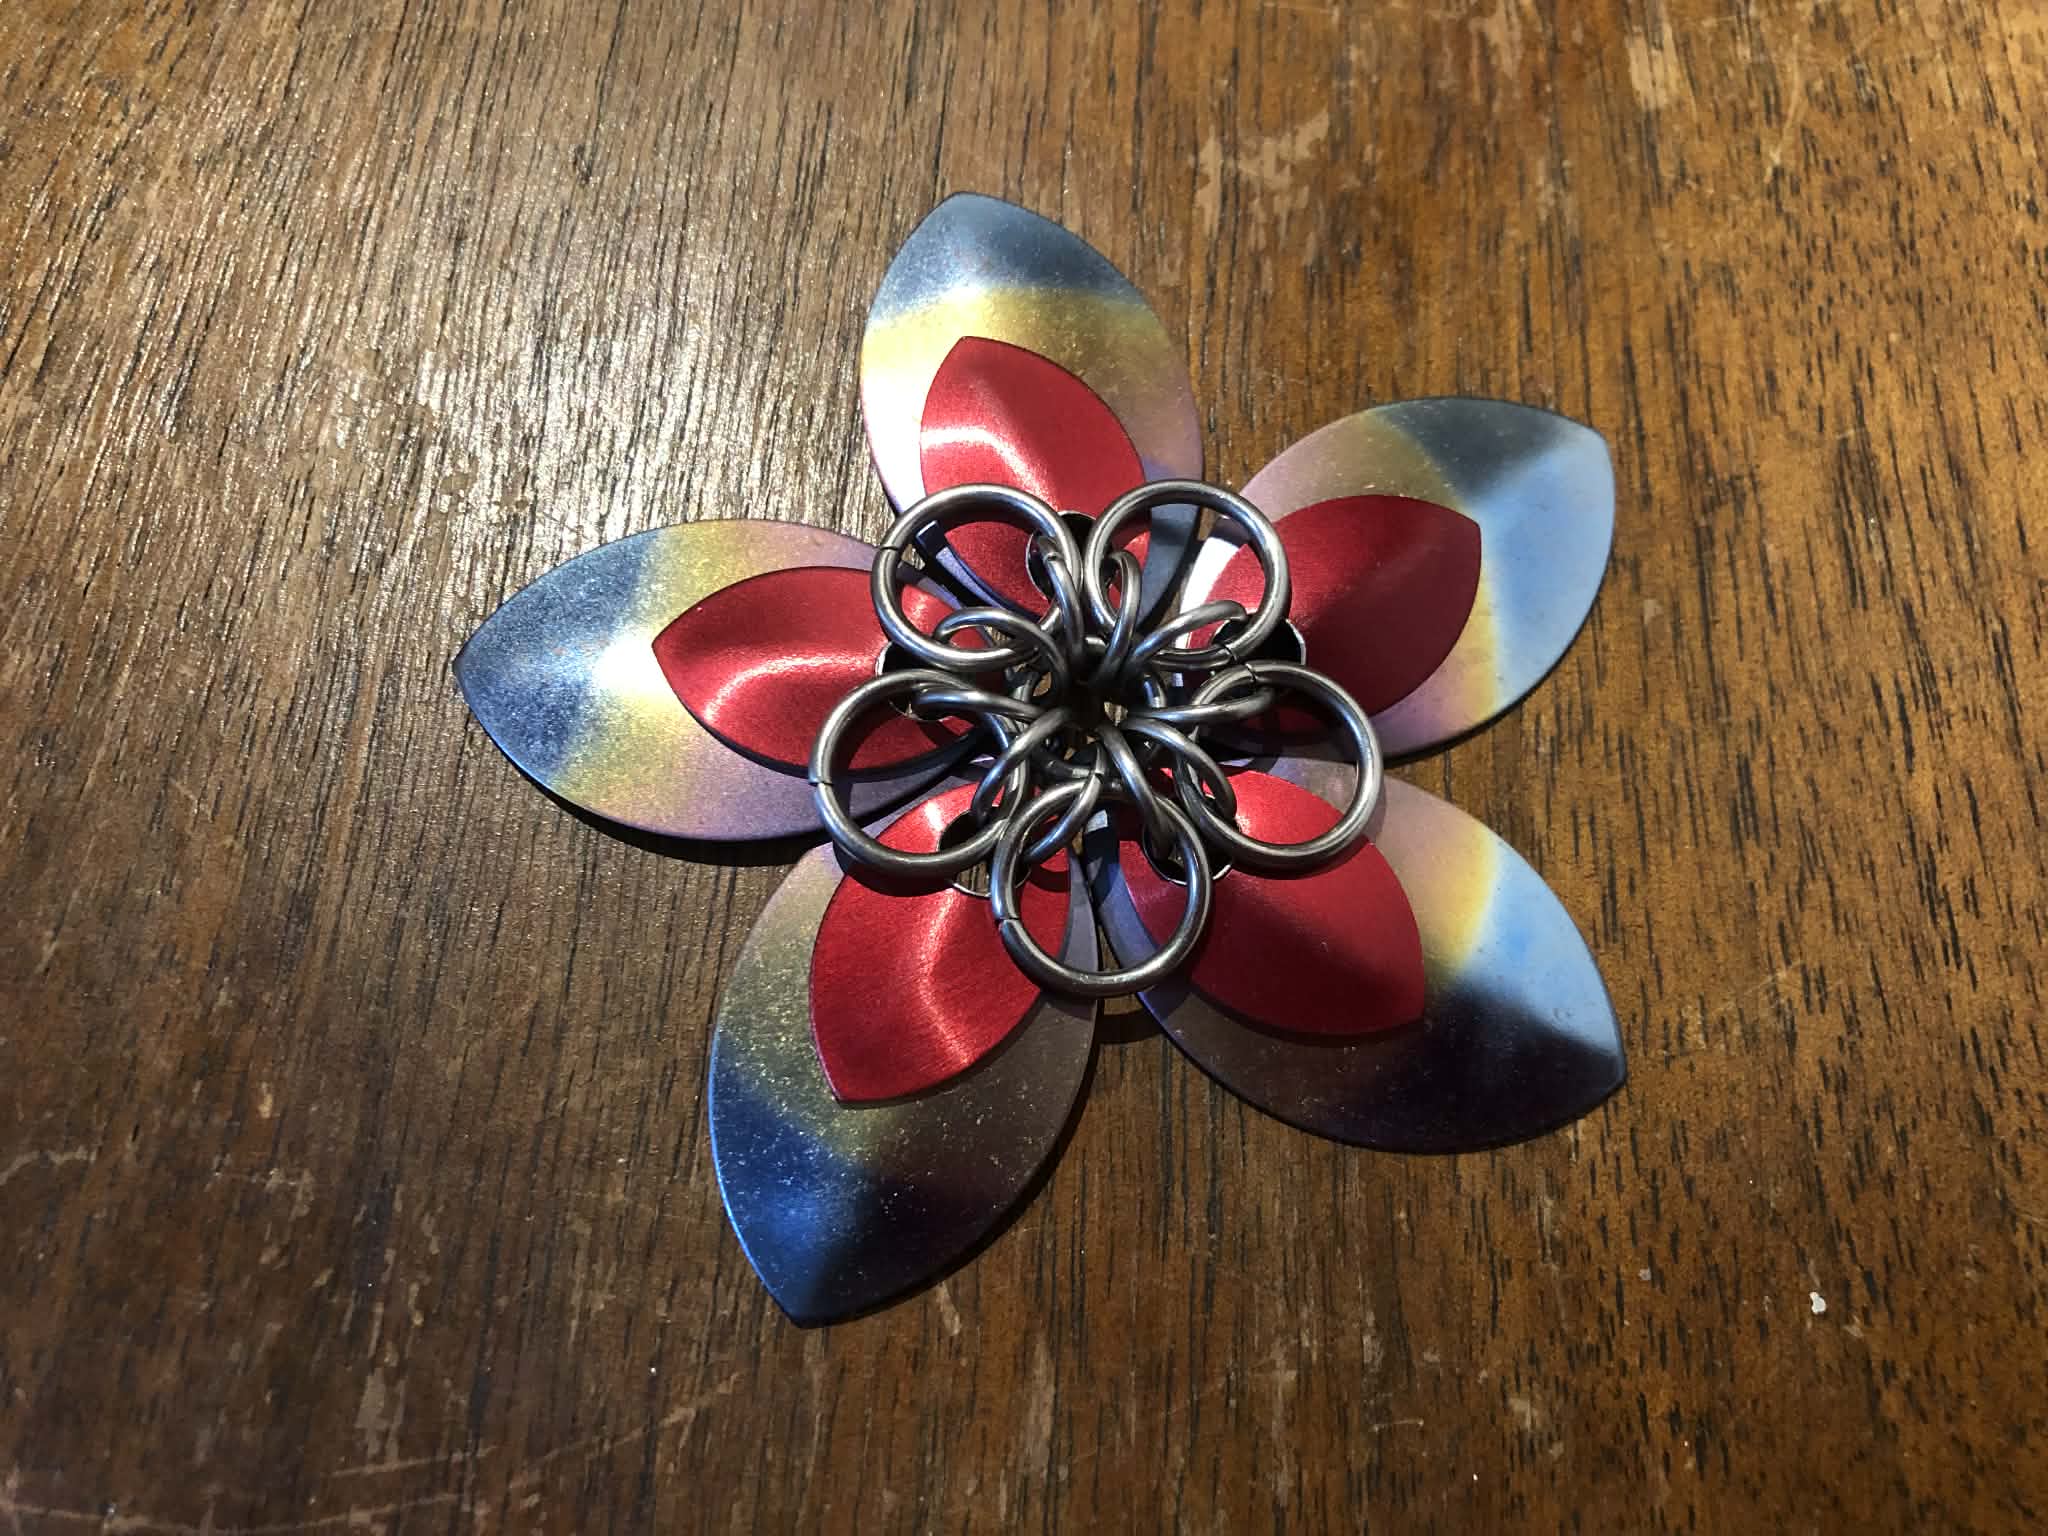
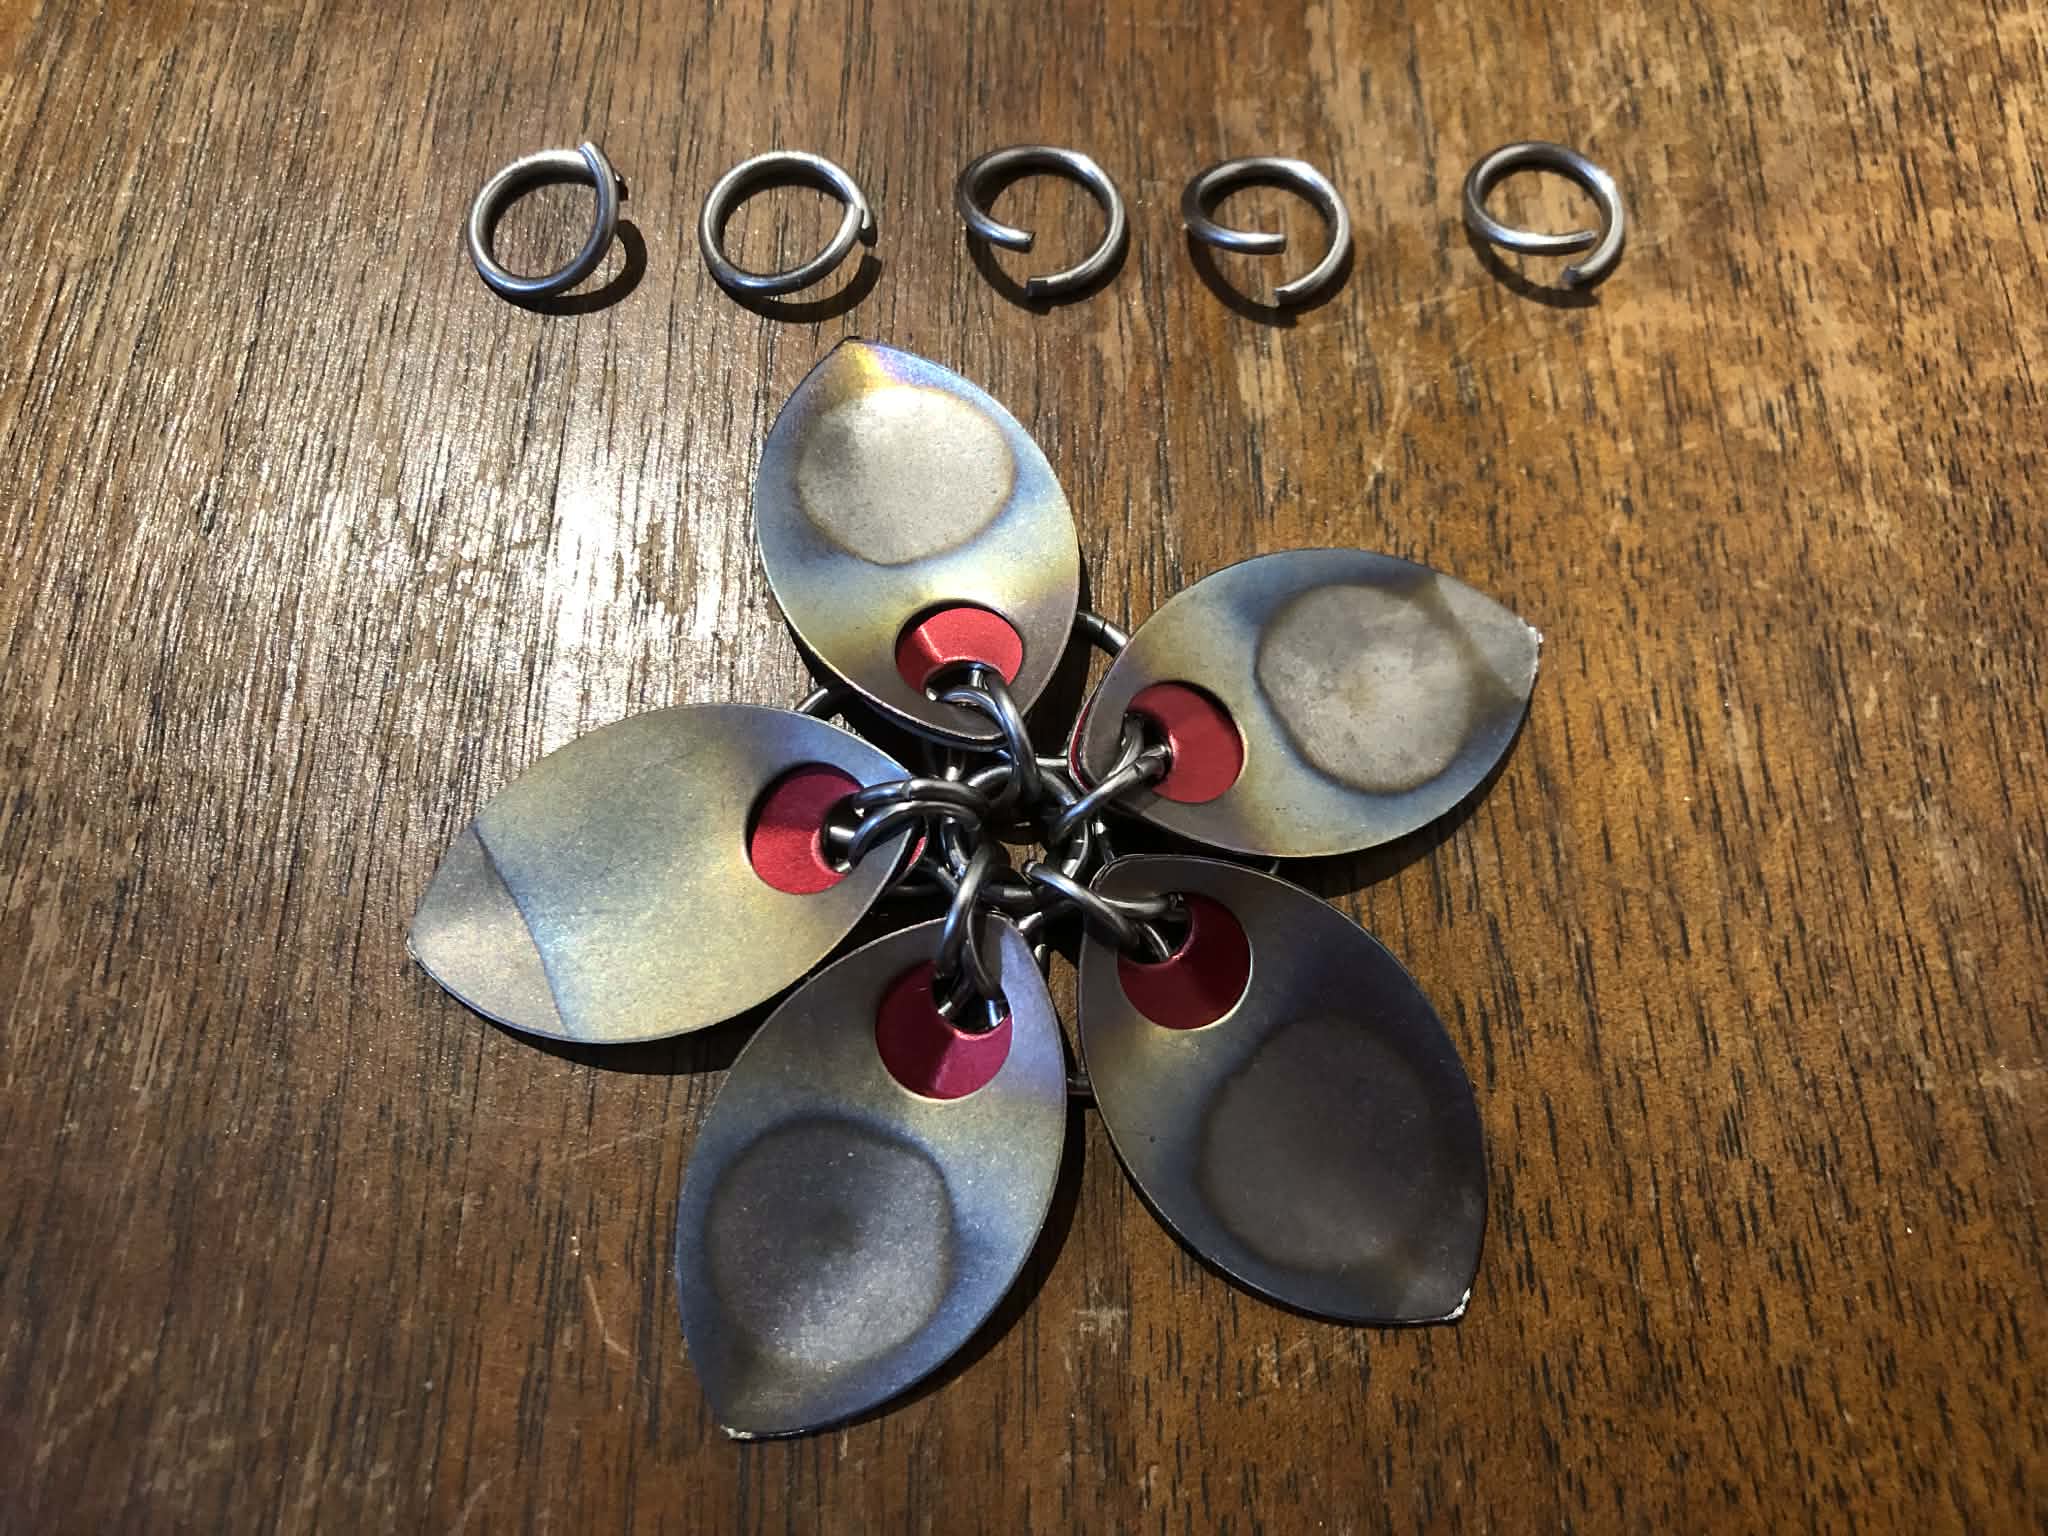
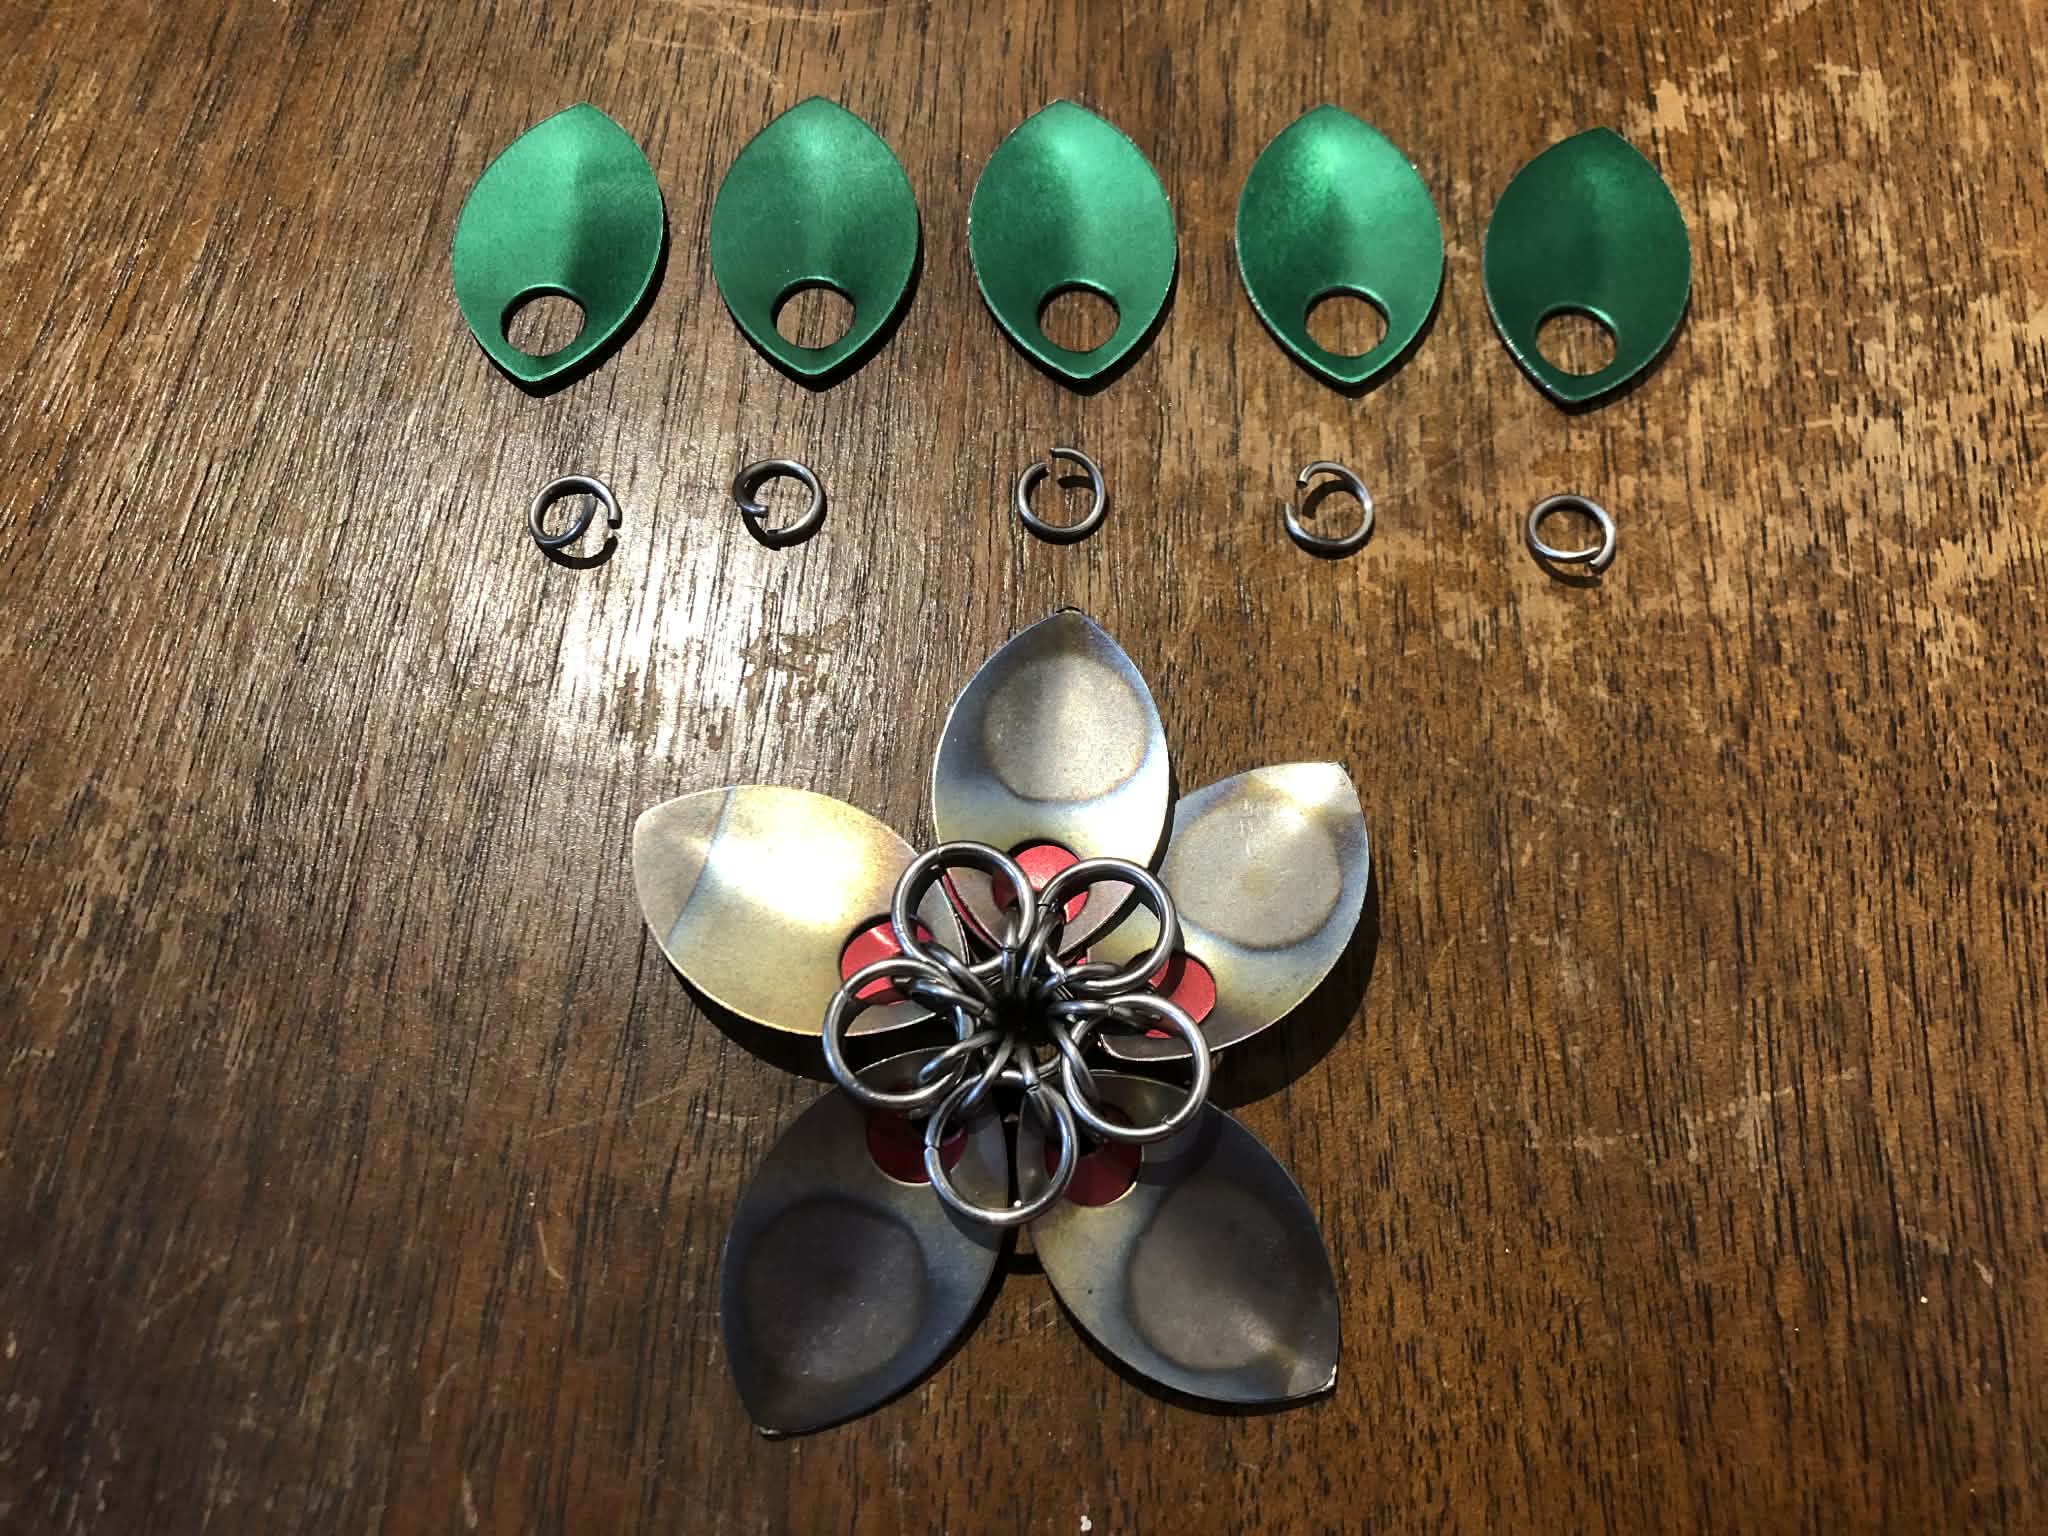
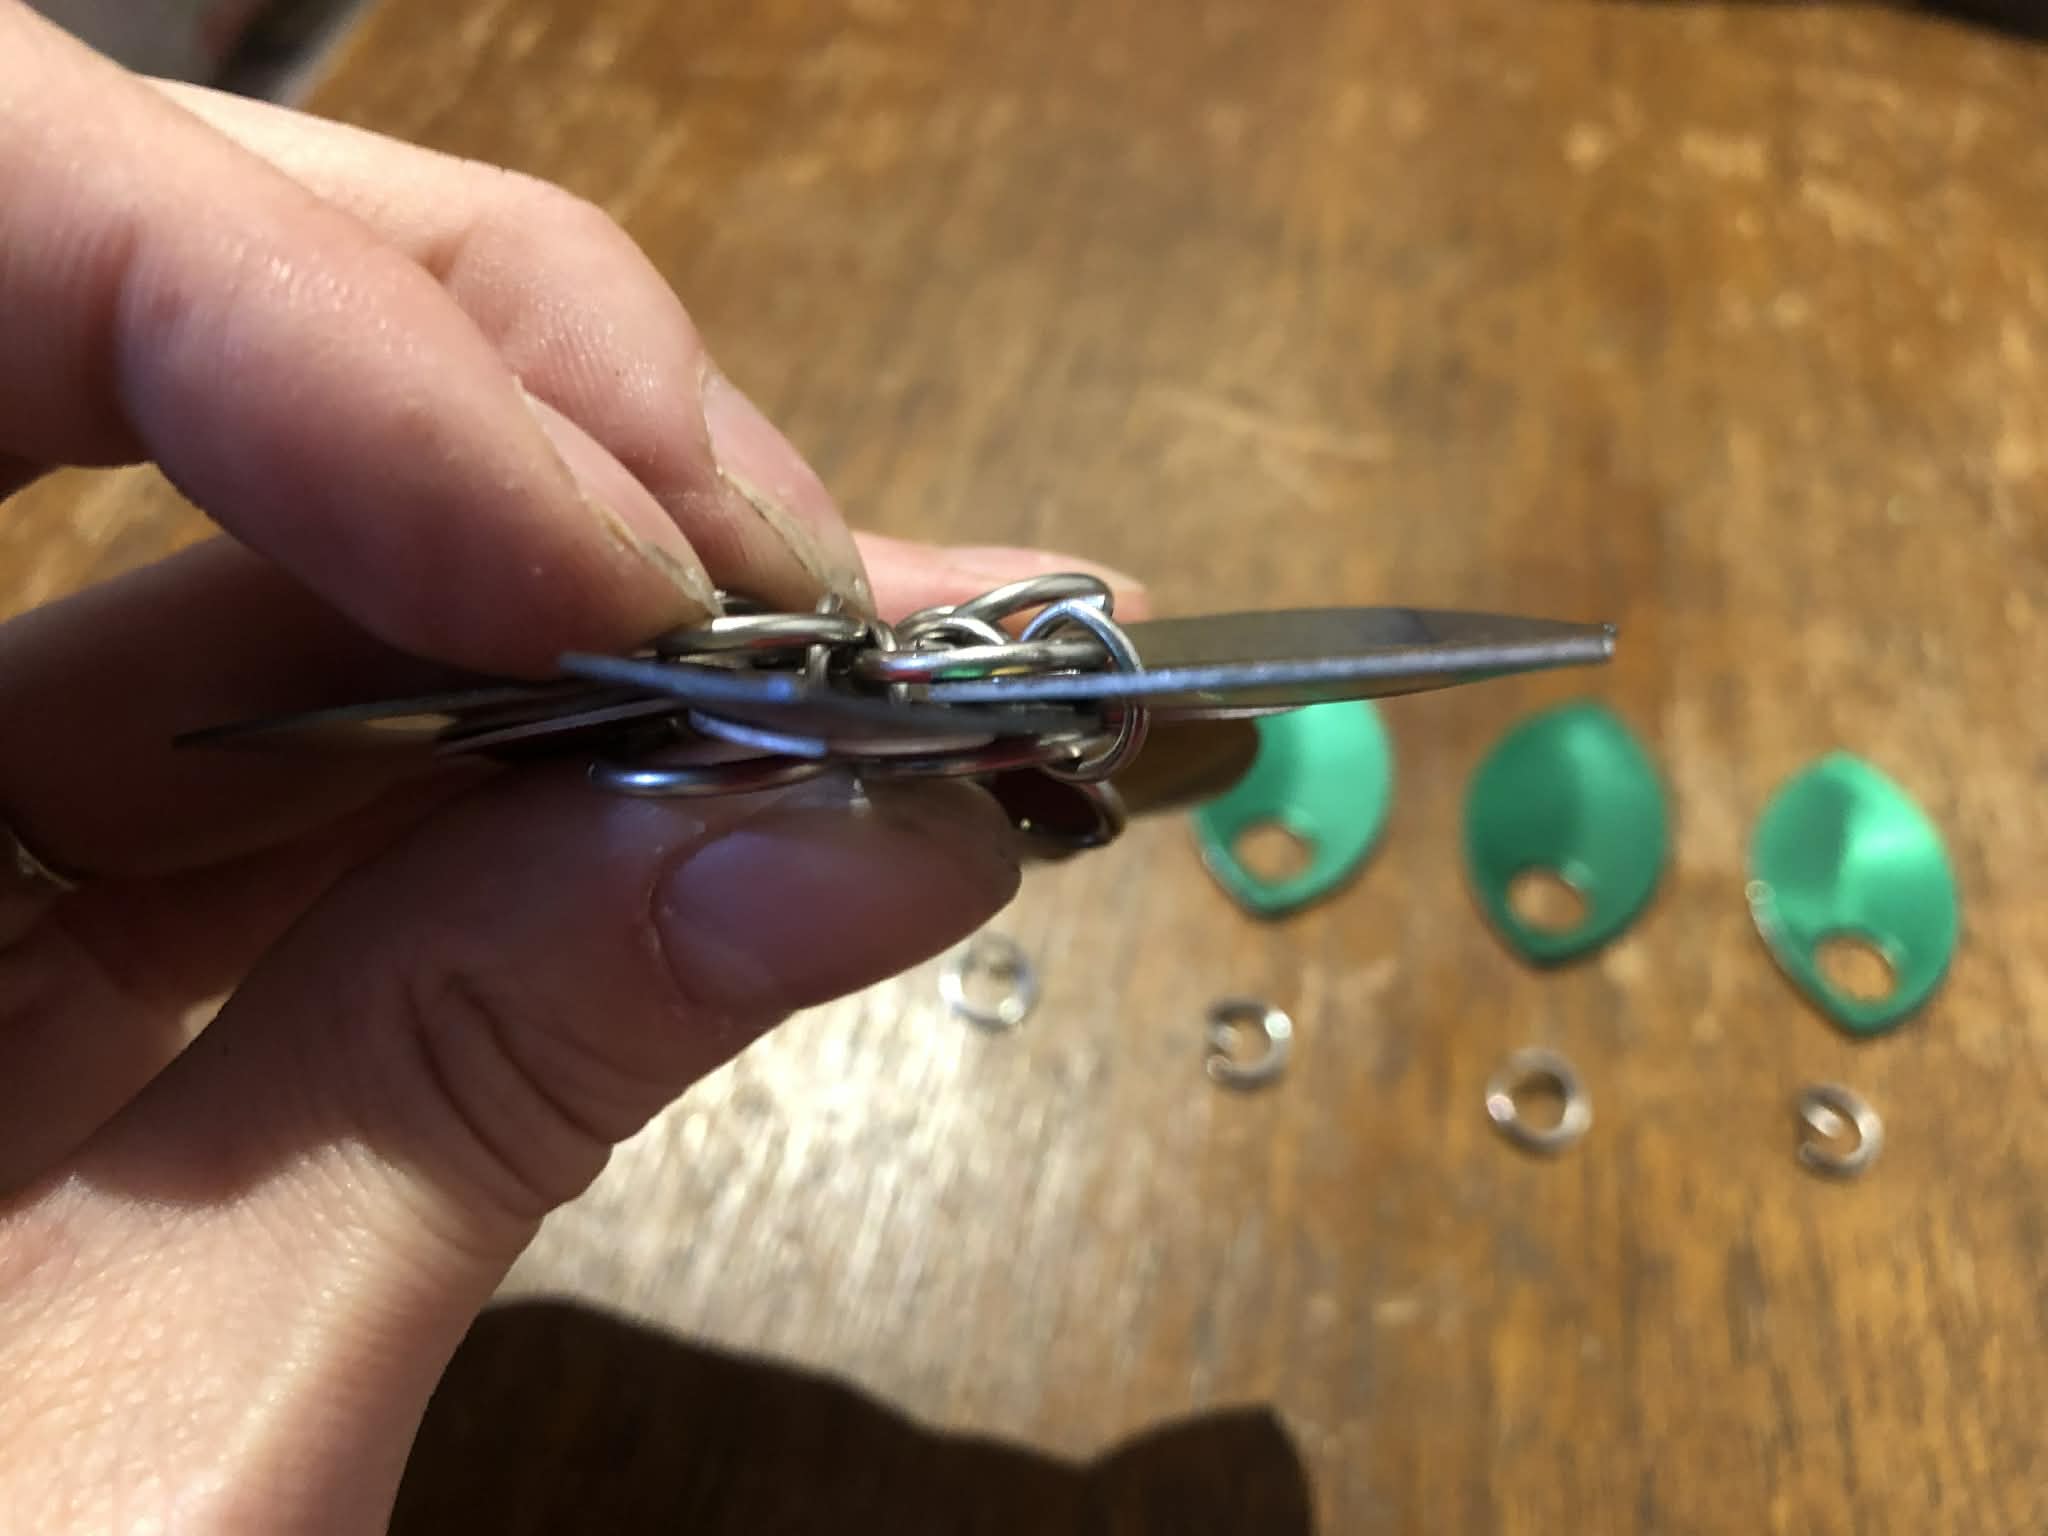
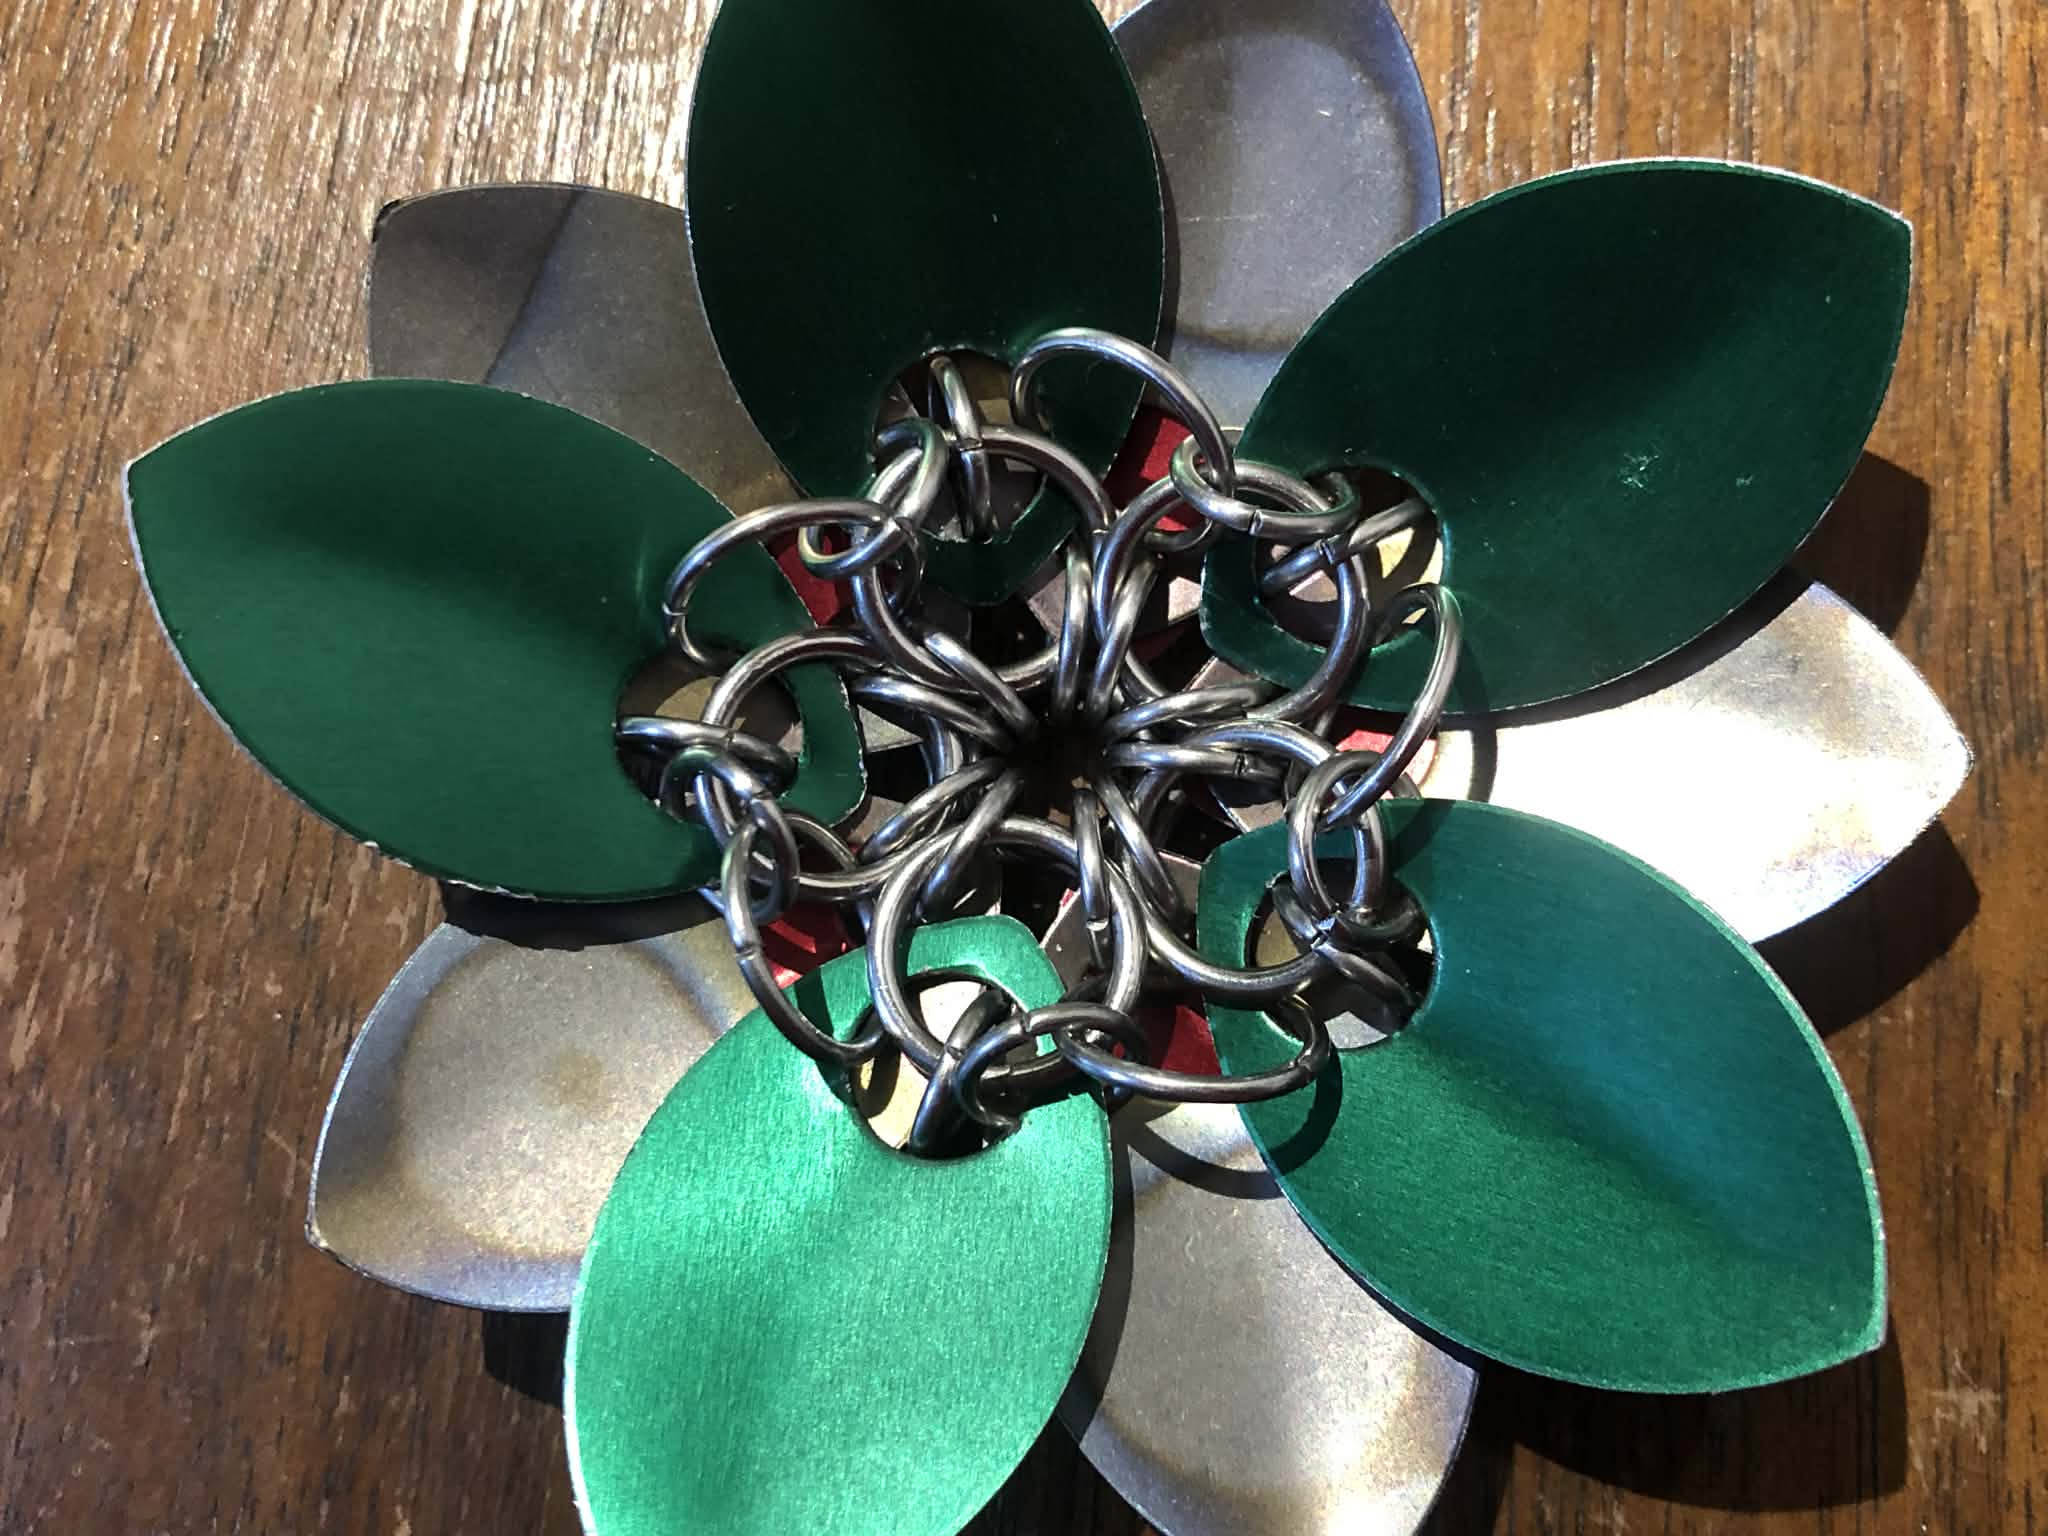
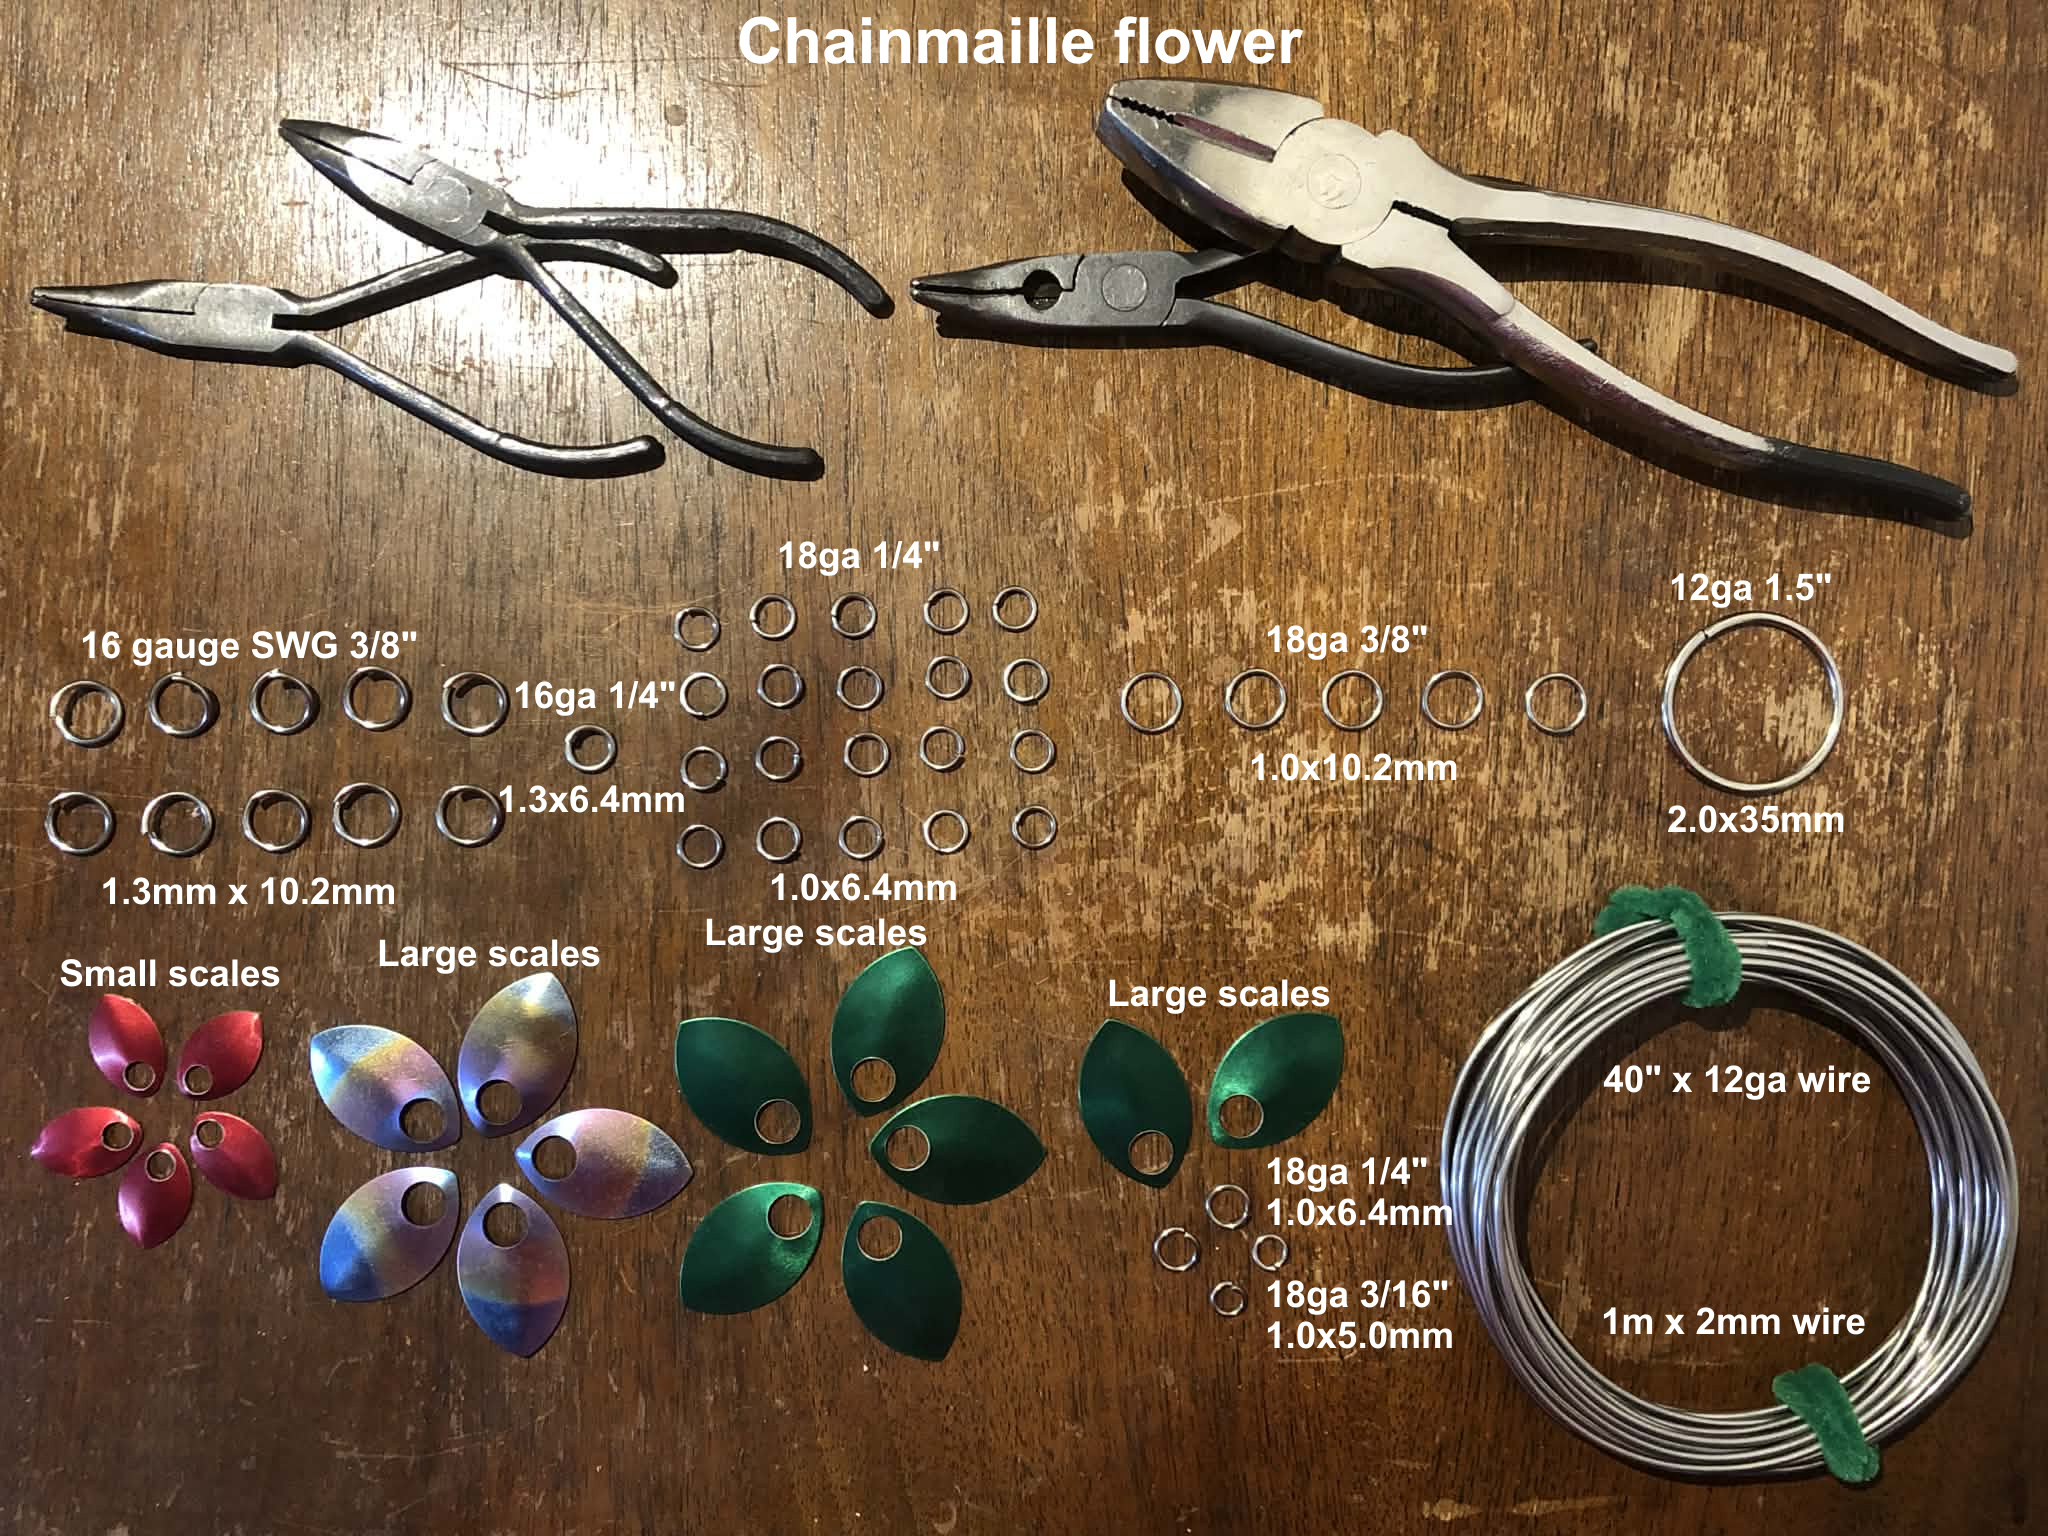
5 large scales of any colour
5 small scales of any colour
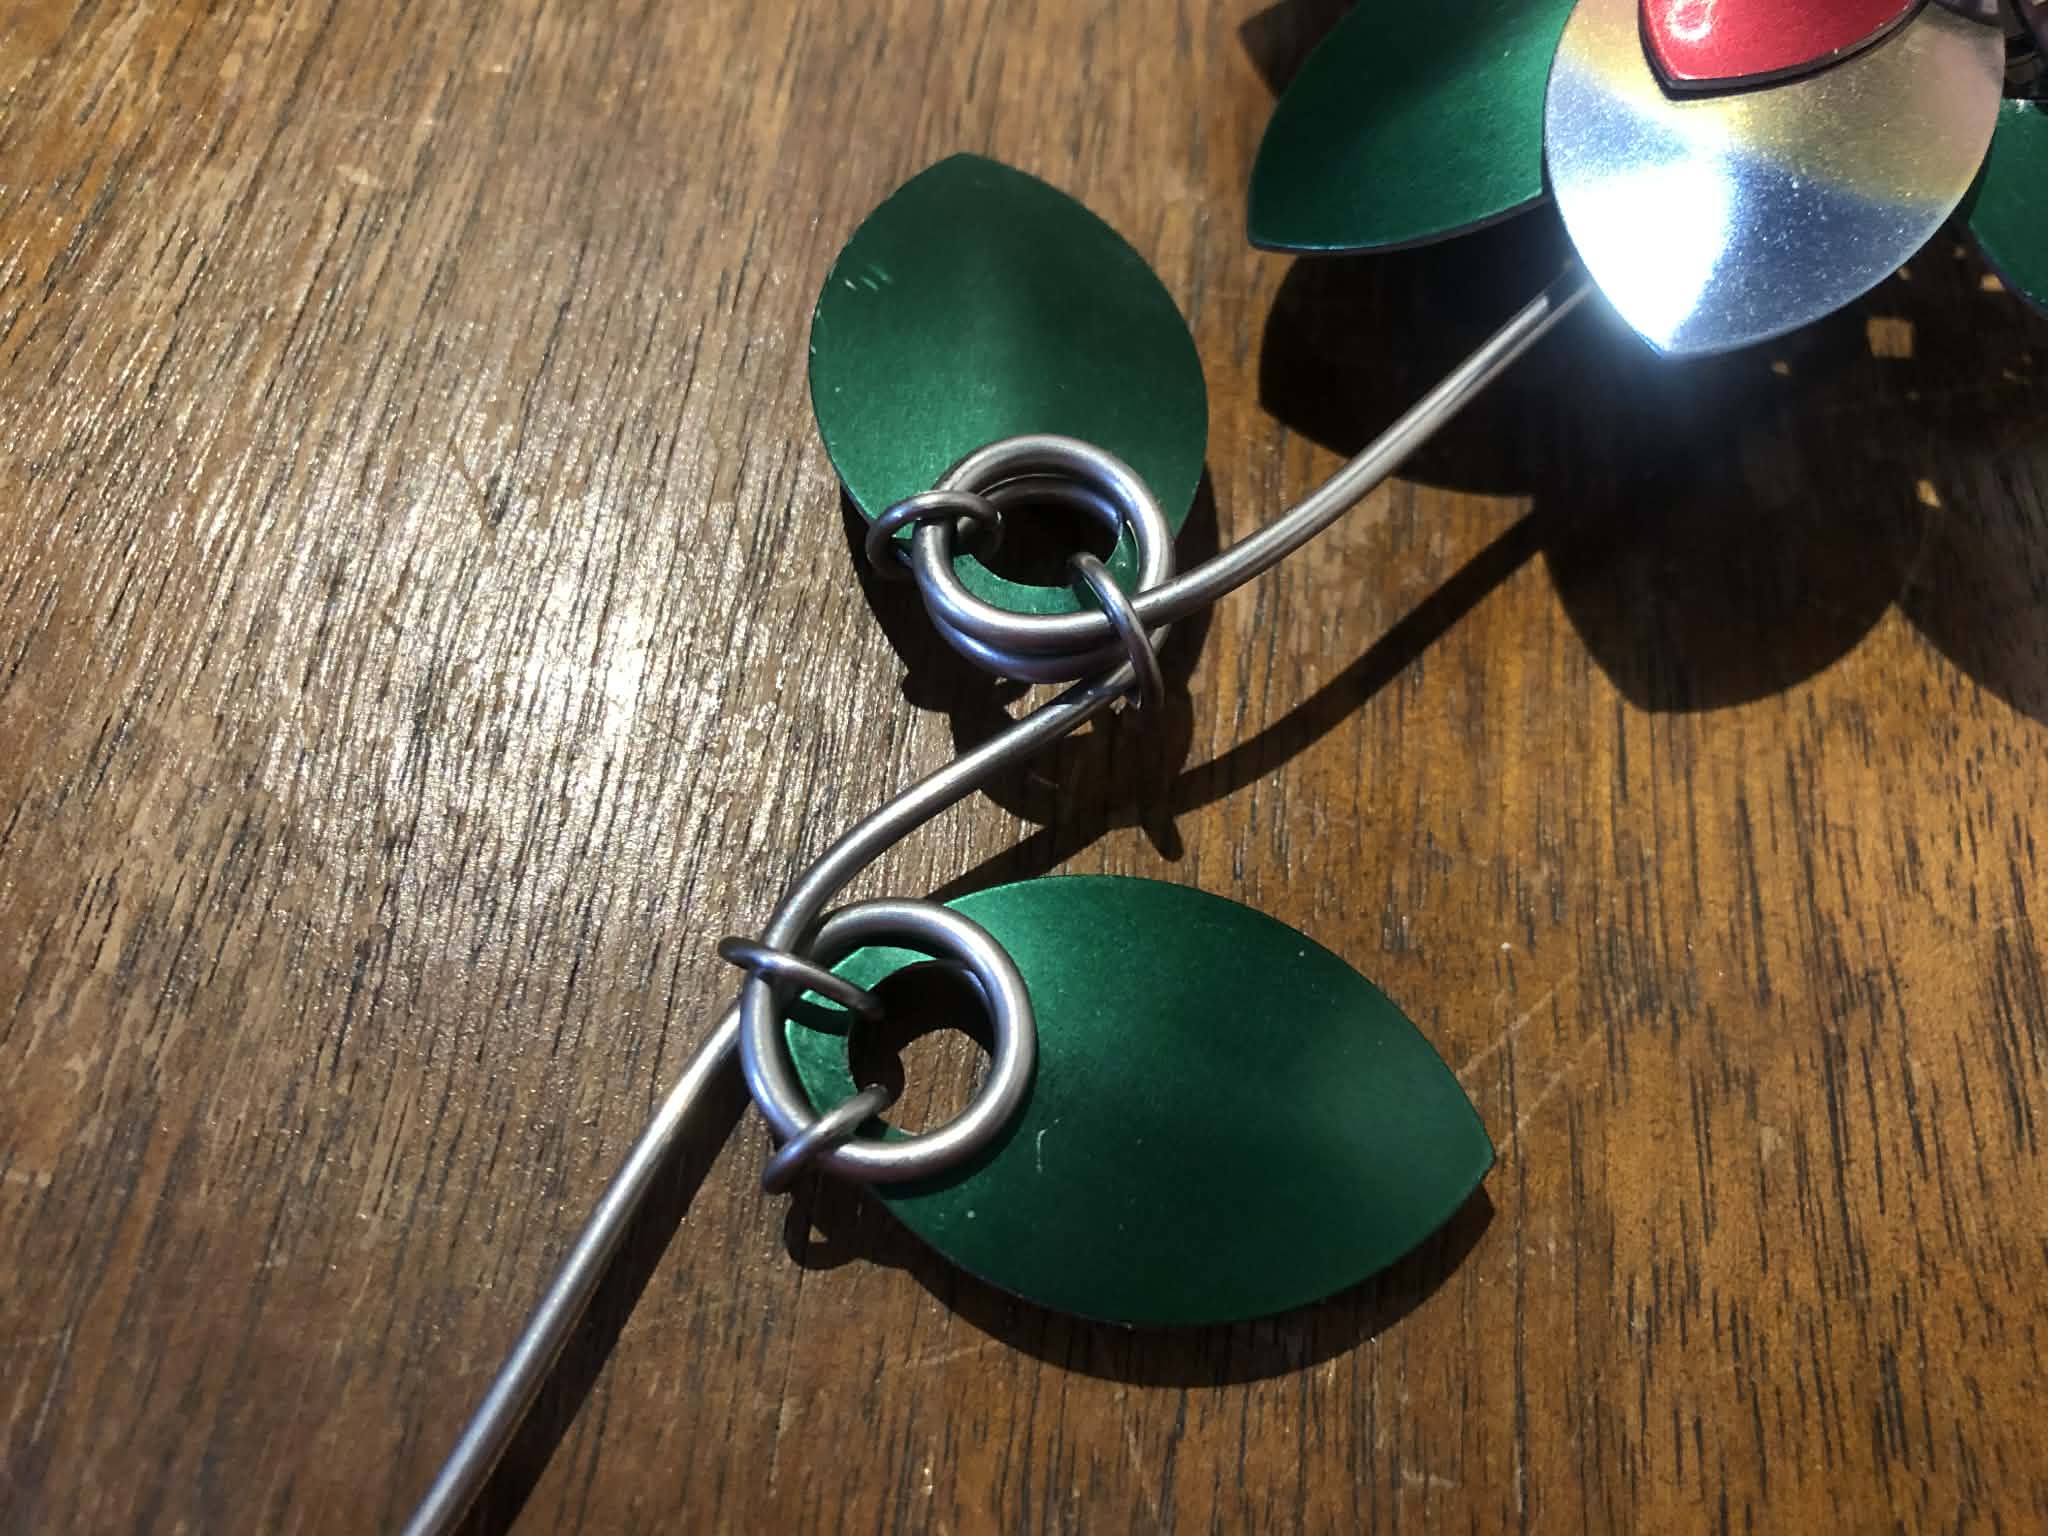
7 large scales green for leaves
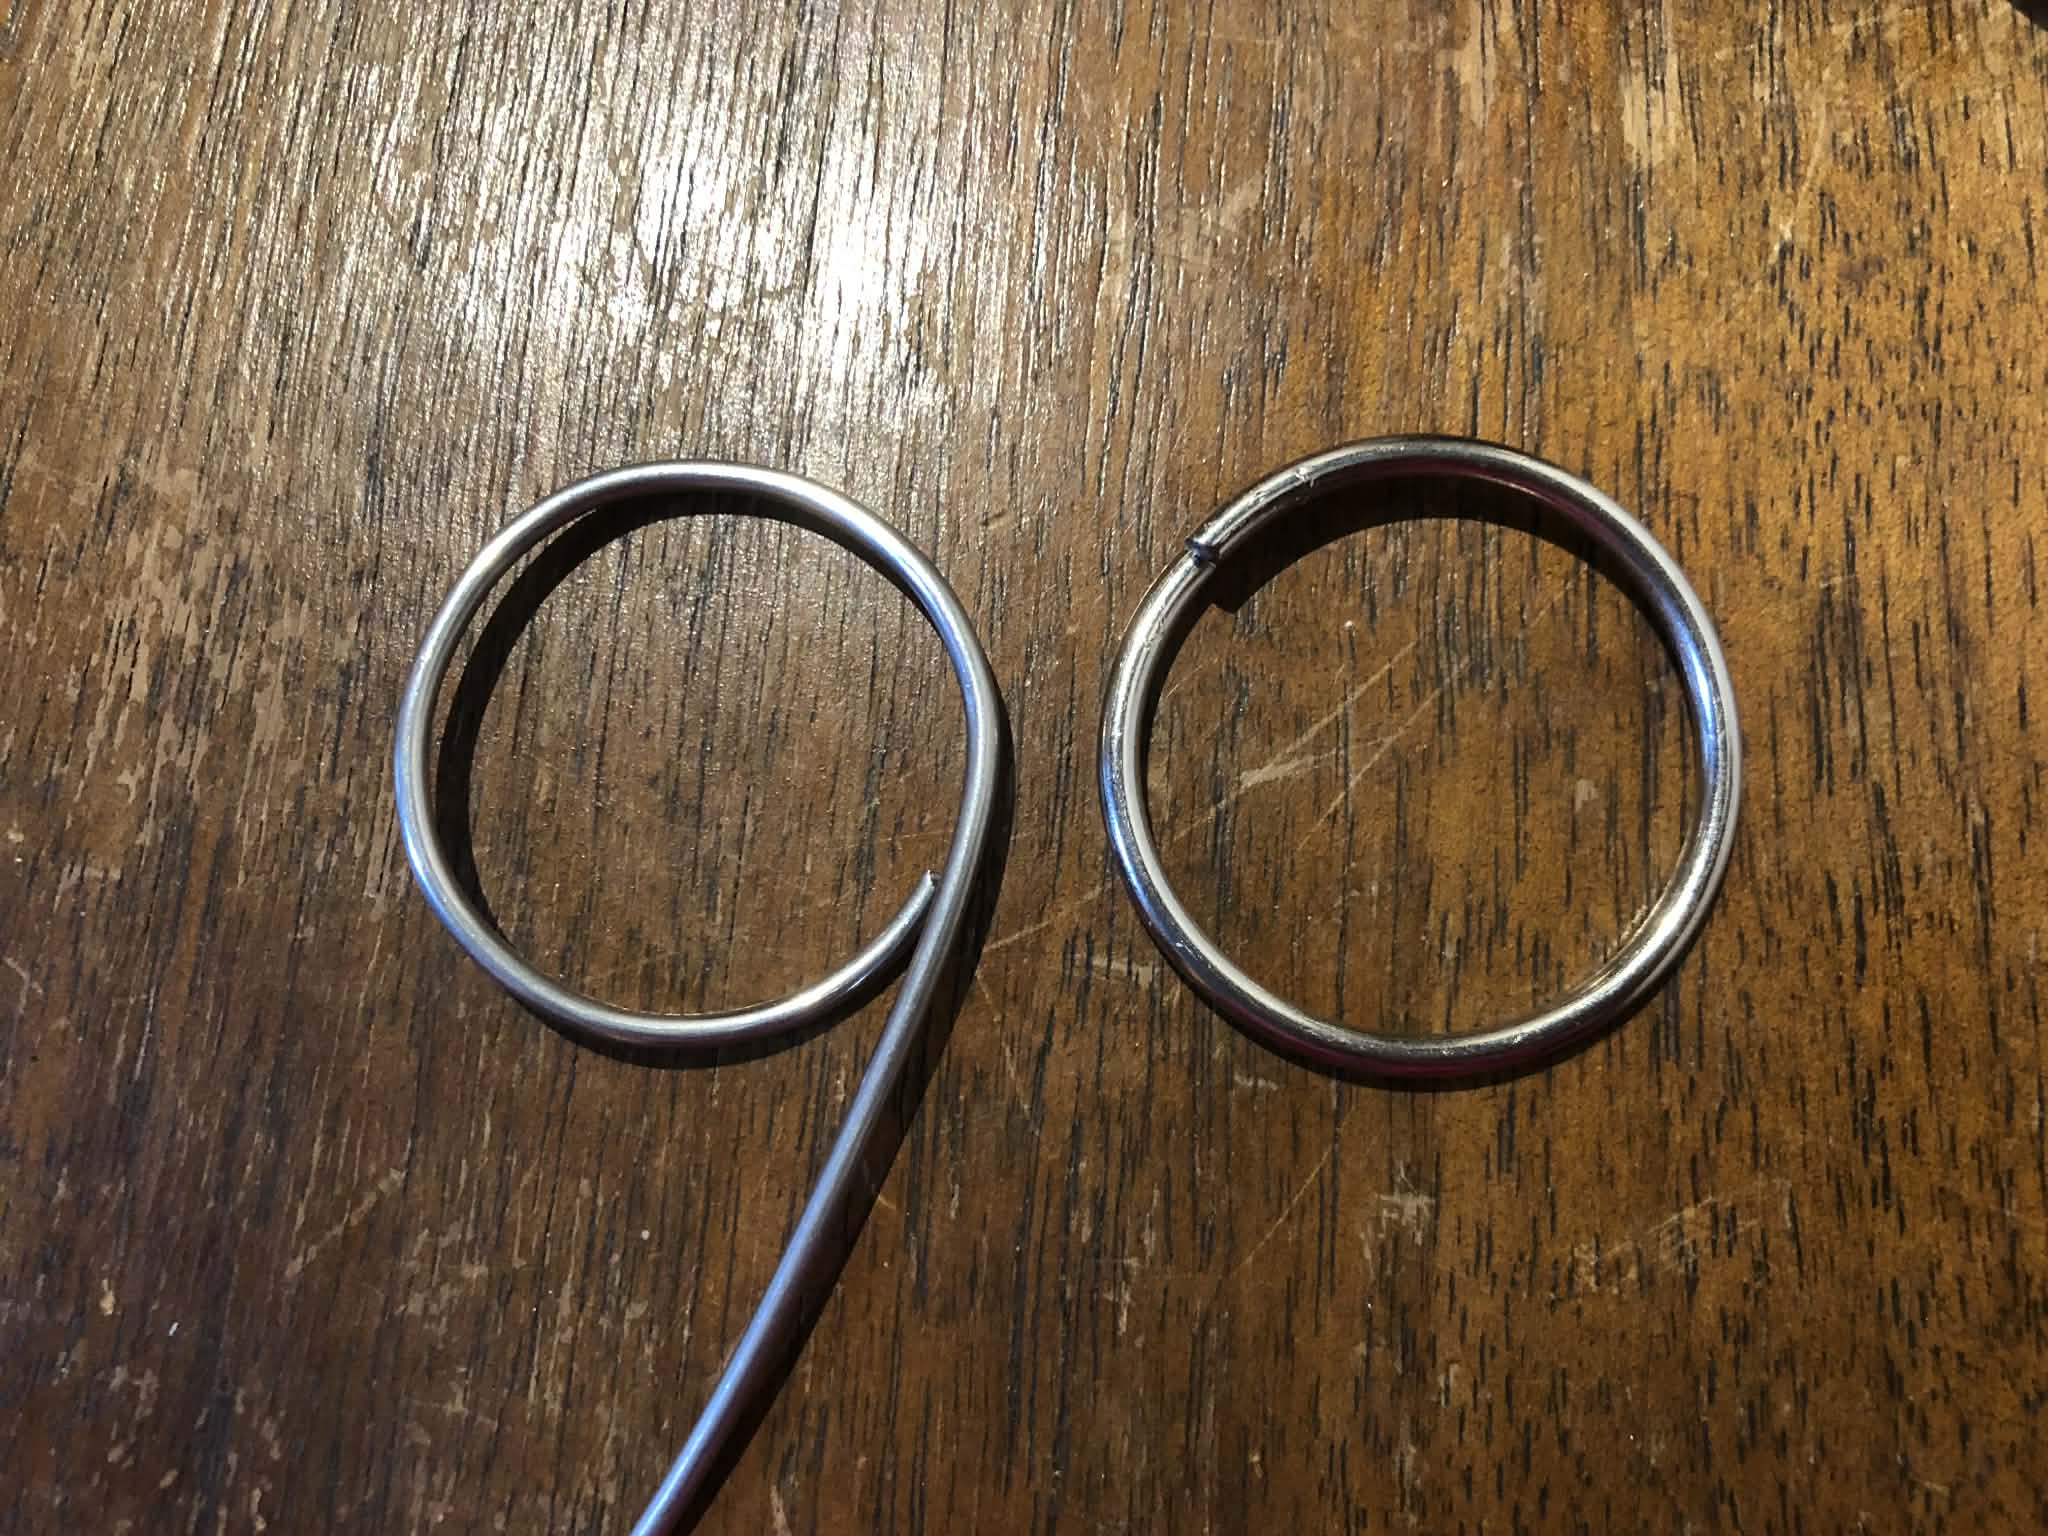
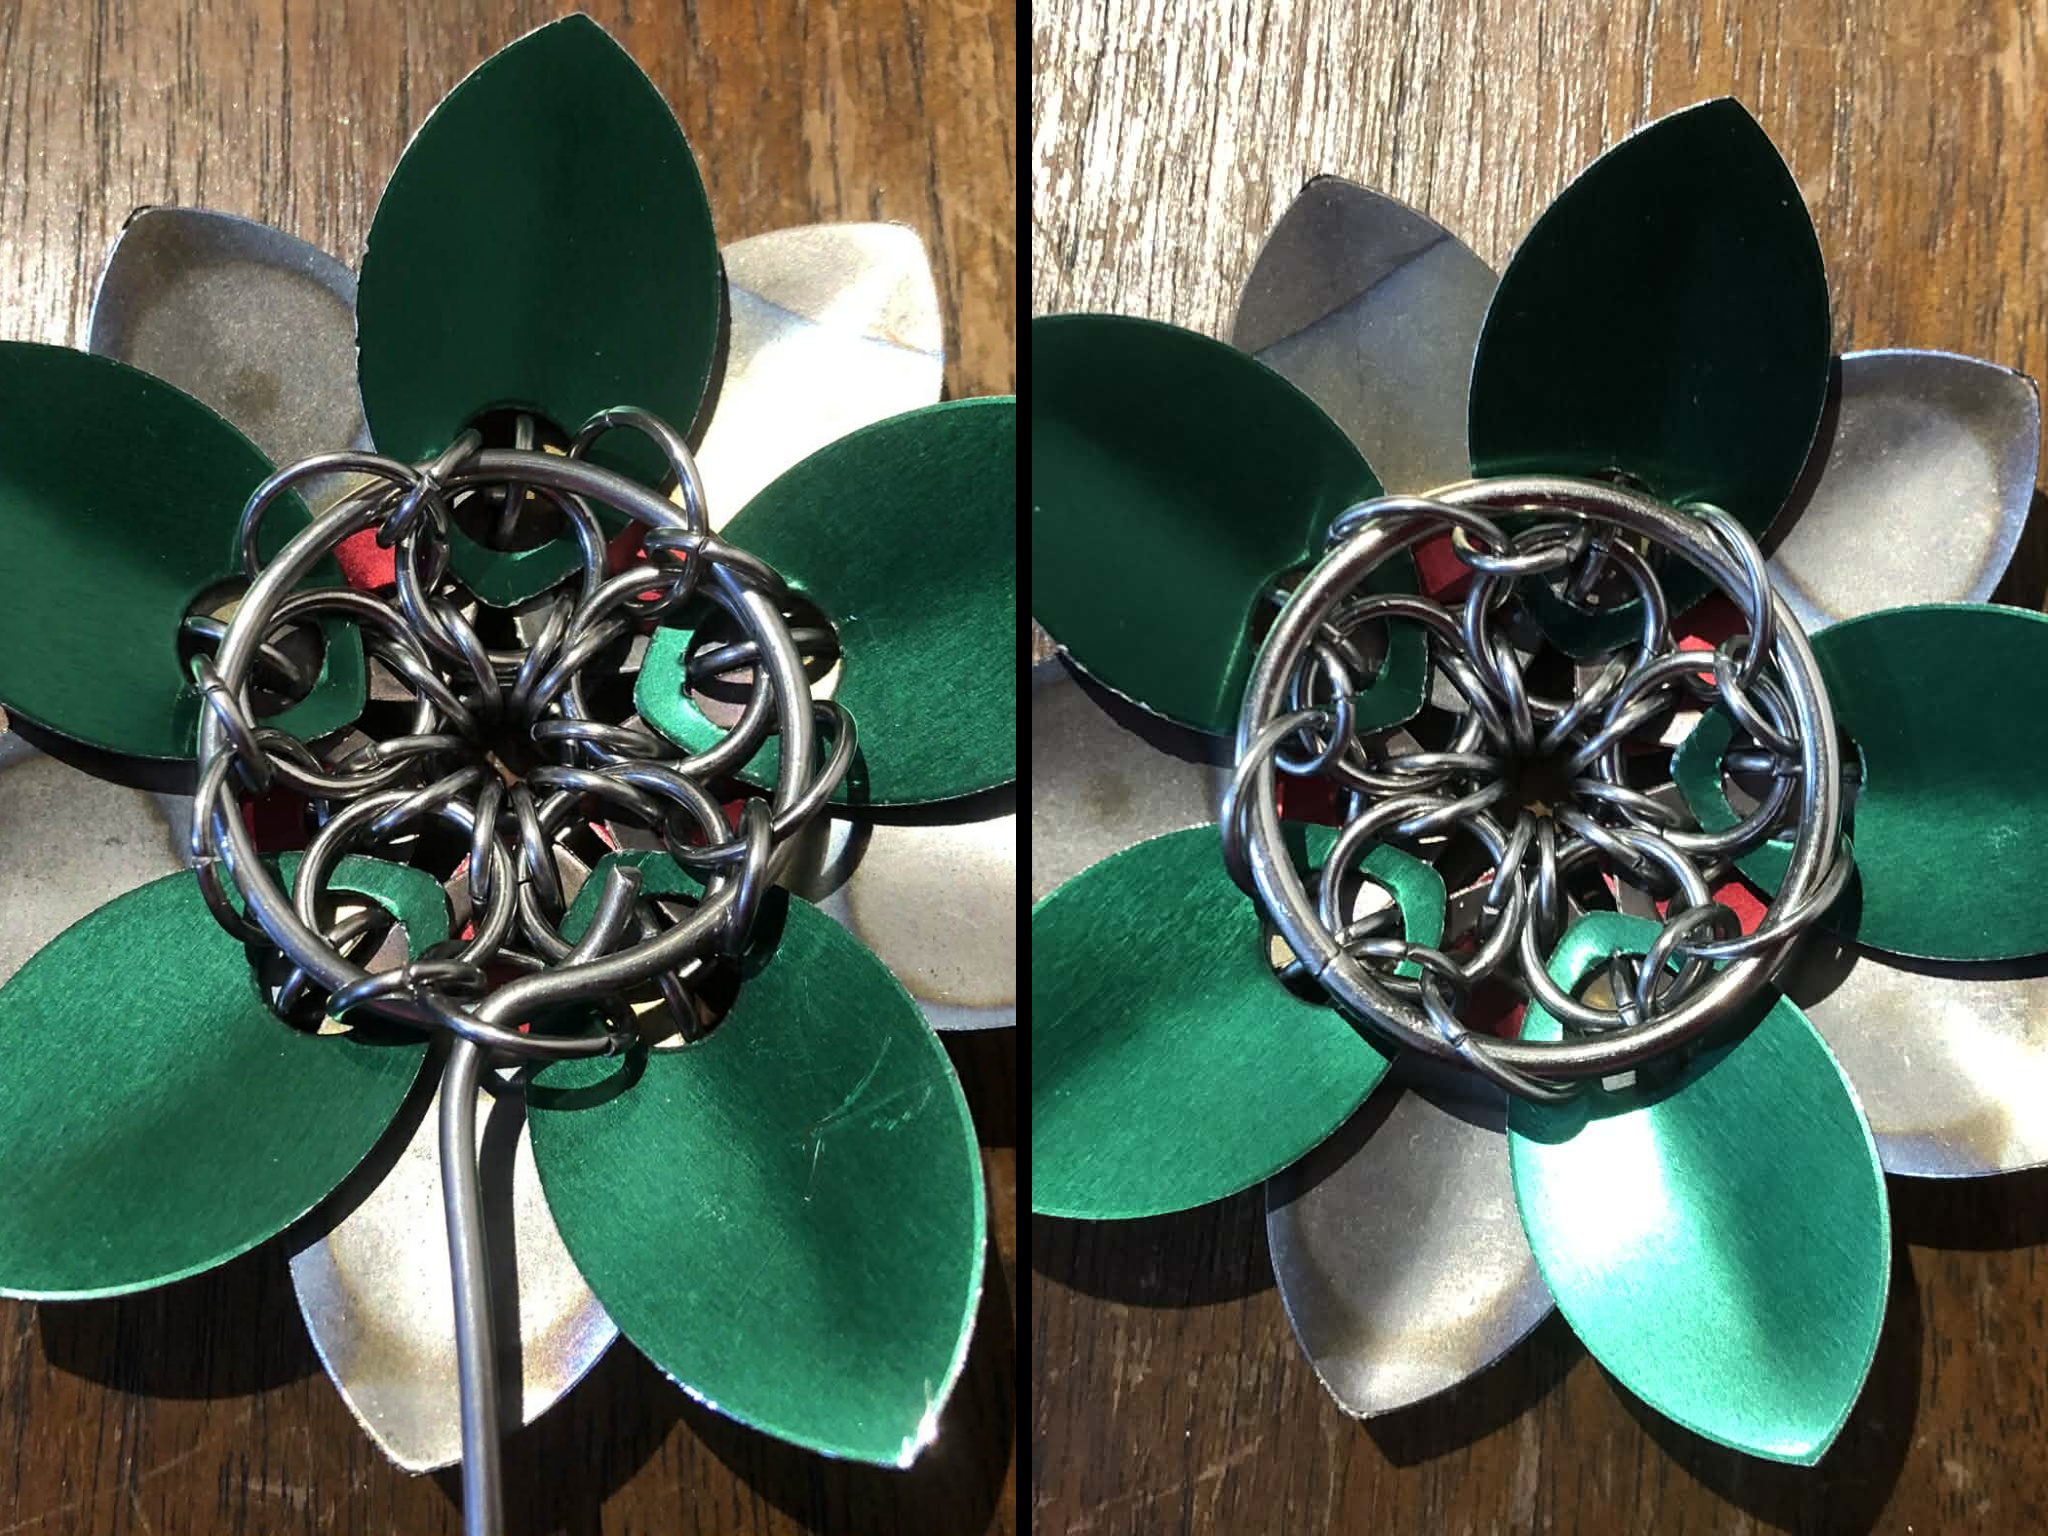
10 x 16 gauge SWG 3/8" inner diameter rings
1 x 16ga 1/4" ring
20 x 18ga 1/4" rings
OR 15 x 18ga 1/4" rings
AND 5 x 18ga 15/64" rings
5 x 18ga 3/8" rings
1 x 12ga 1.5" support ring (optional)
2 more 18ga 1/4" rings for the leaves
2 x 18ga 3/16" rings for the leaves
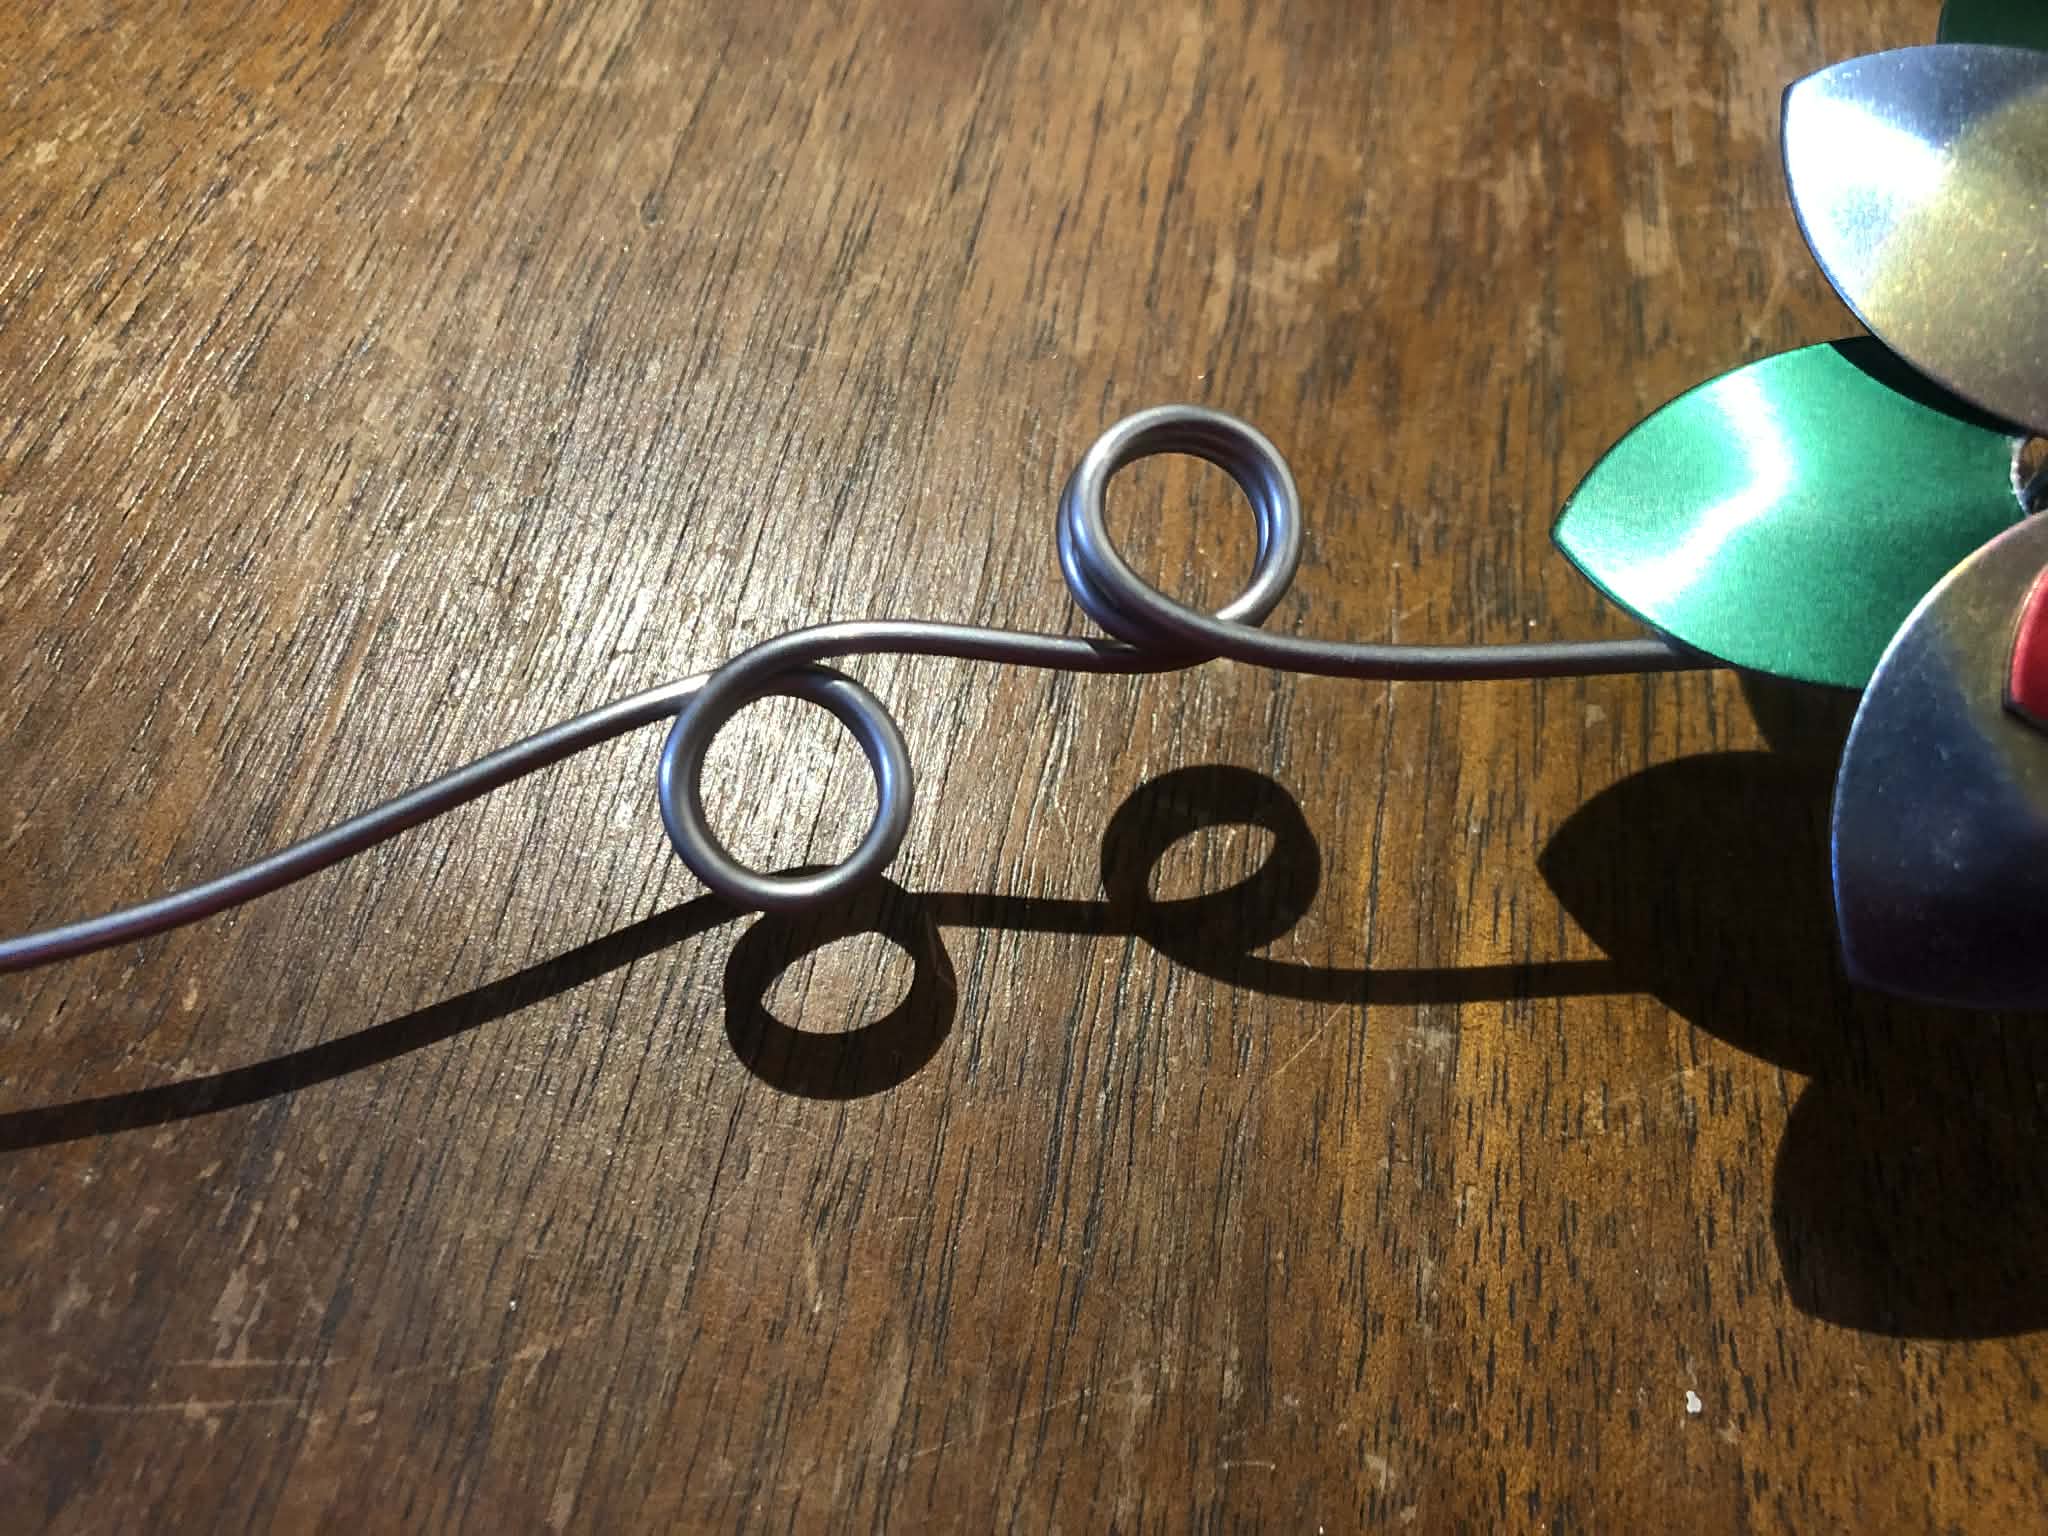
And finally 40" of full soft 12ga wire
|
5 large scales of any colour
5 small scales of any colour
7 large scales green for leaves

10 x 1.3mm wire 10.2mm inner diameter rings
1  x 1.3x6.4mm ring
20 x 1.0x6.4mm rings
    OR 15 x 1.0x6.4mm rings
    AND 5 x 1.0x6.0mm rings
5 x 1.0x10.2mm rings
1  x 2.0x38mm support ring (optional)
2 more 1.0x6.4mm rings for the leaves
2 x 1.0x5mm rings for the leaves
And finally 1 meter of full soft 2.0mm wire
|
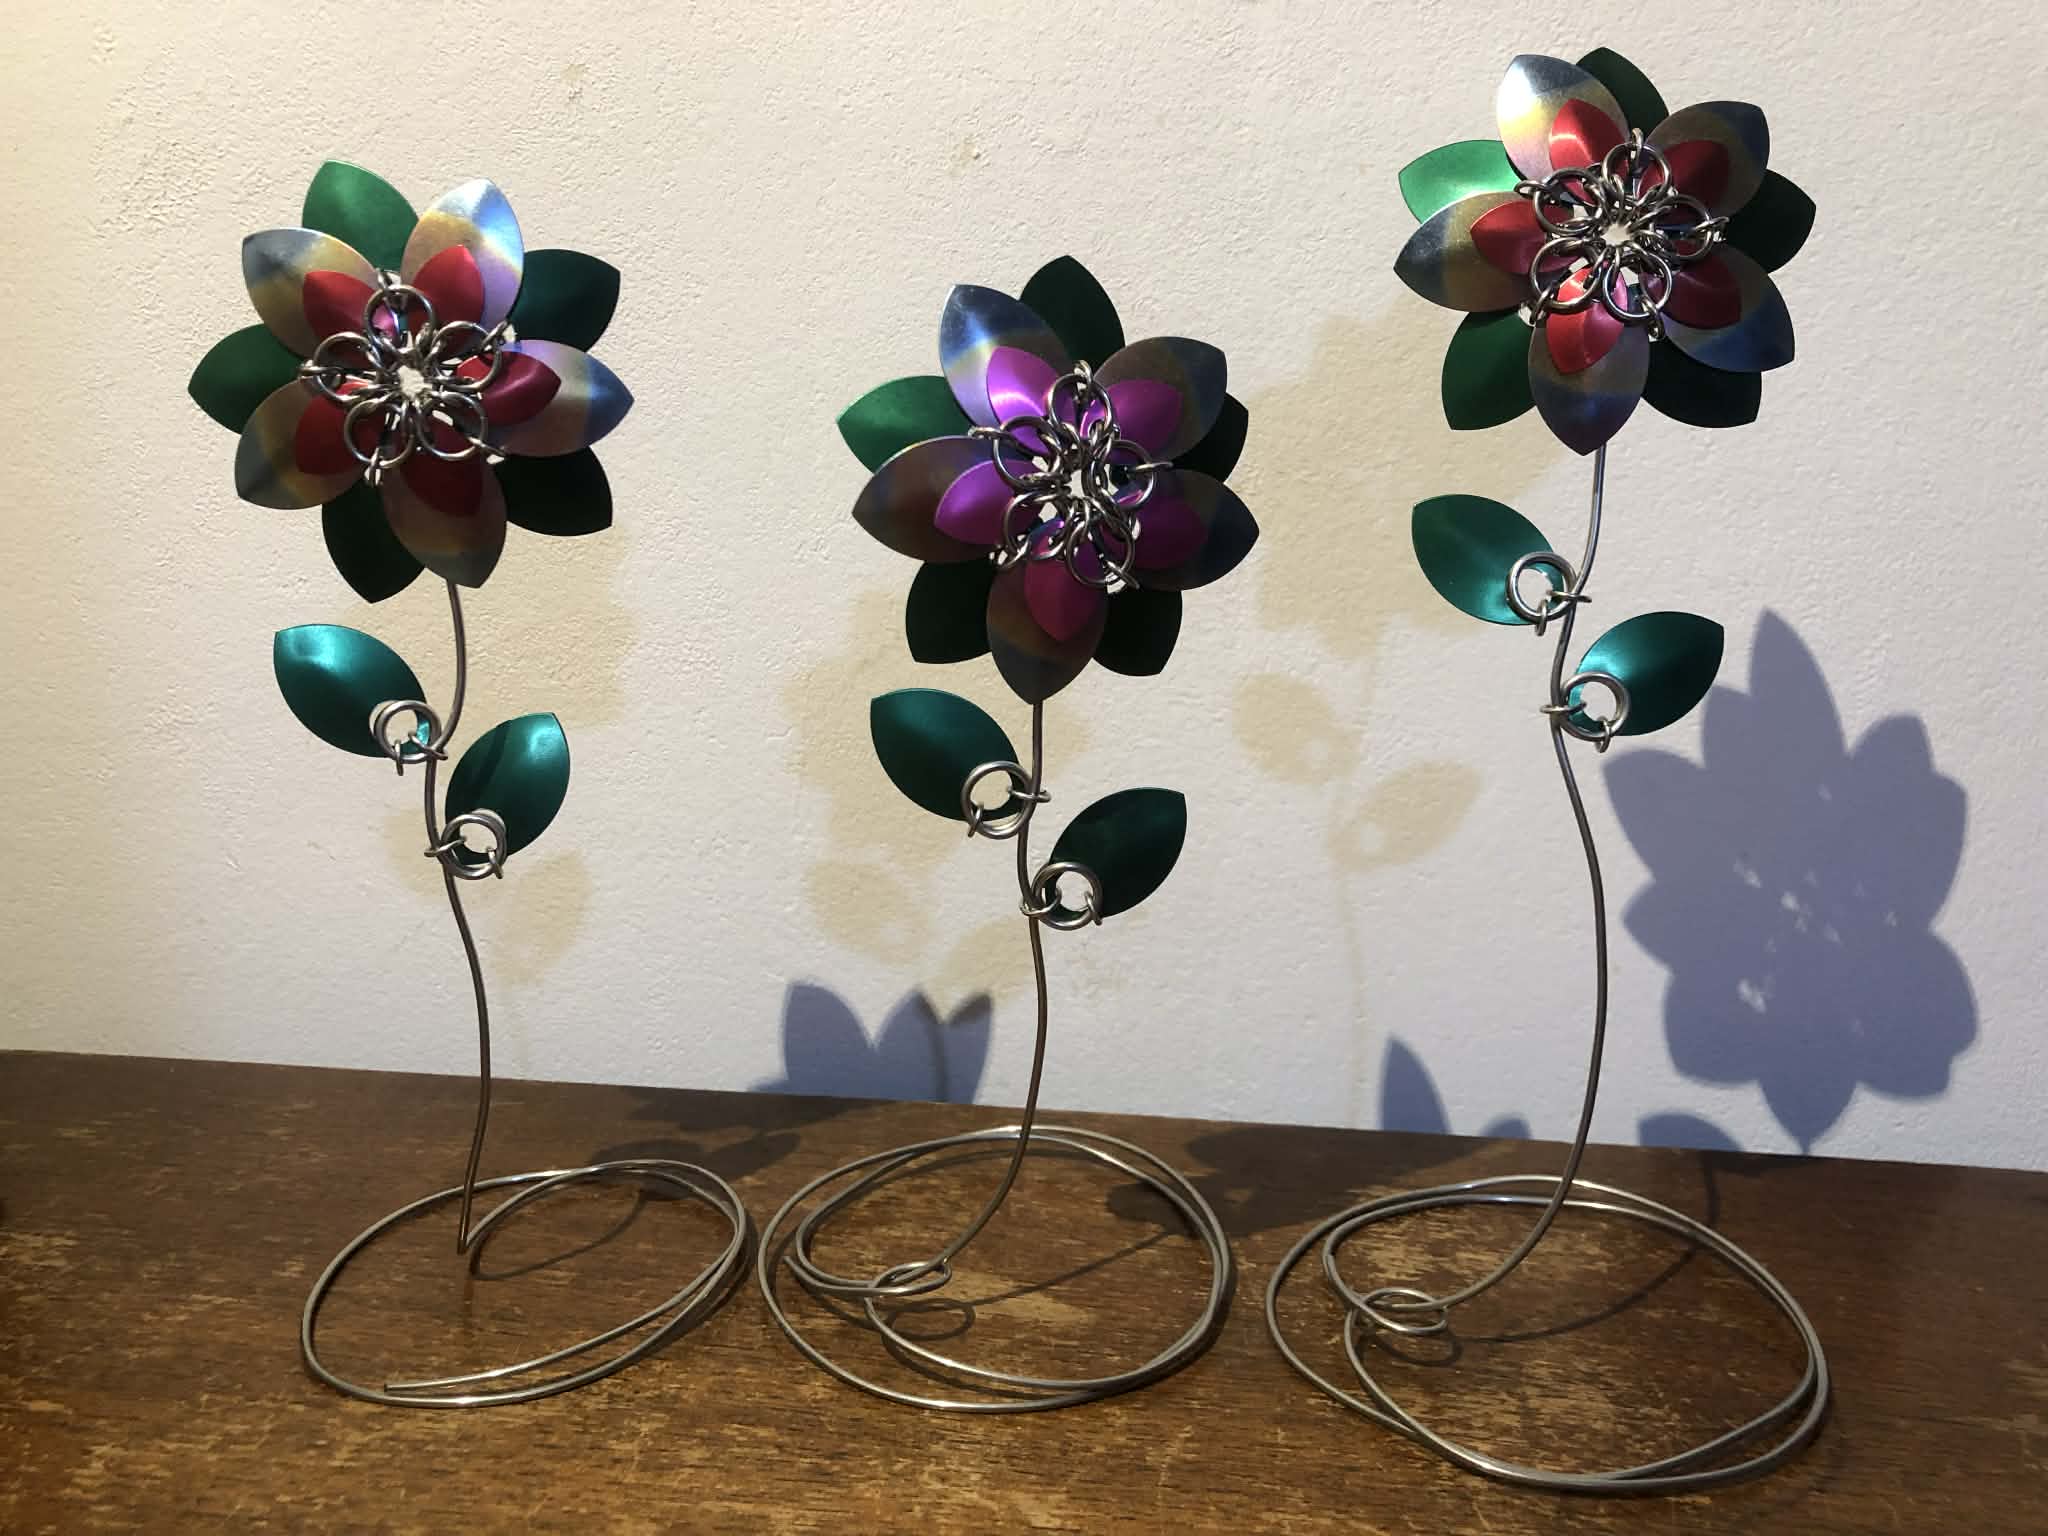
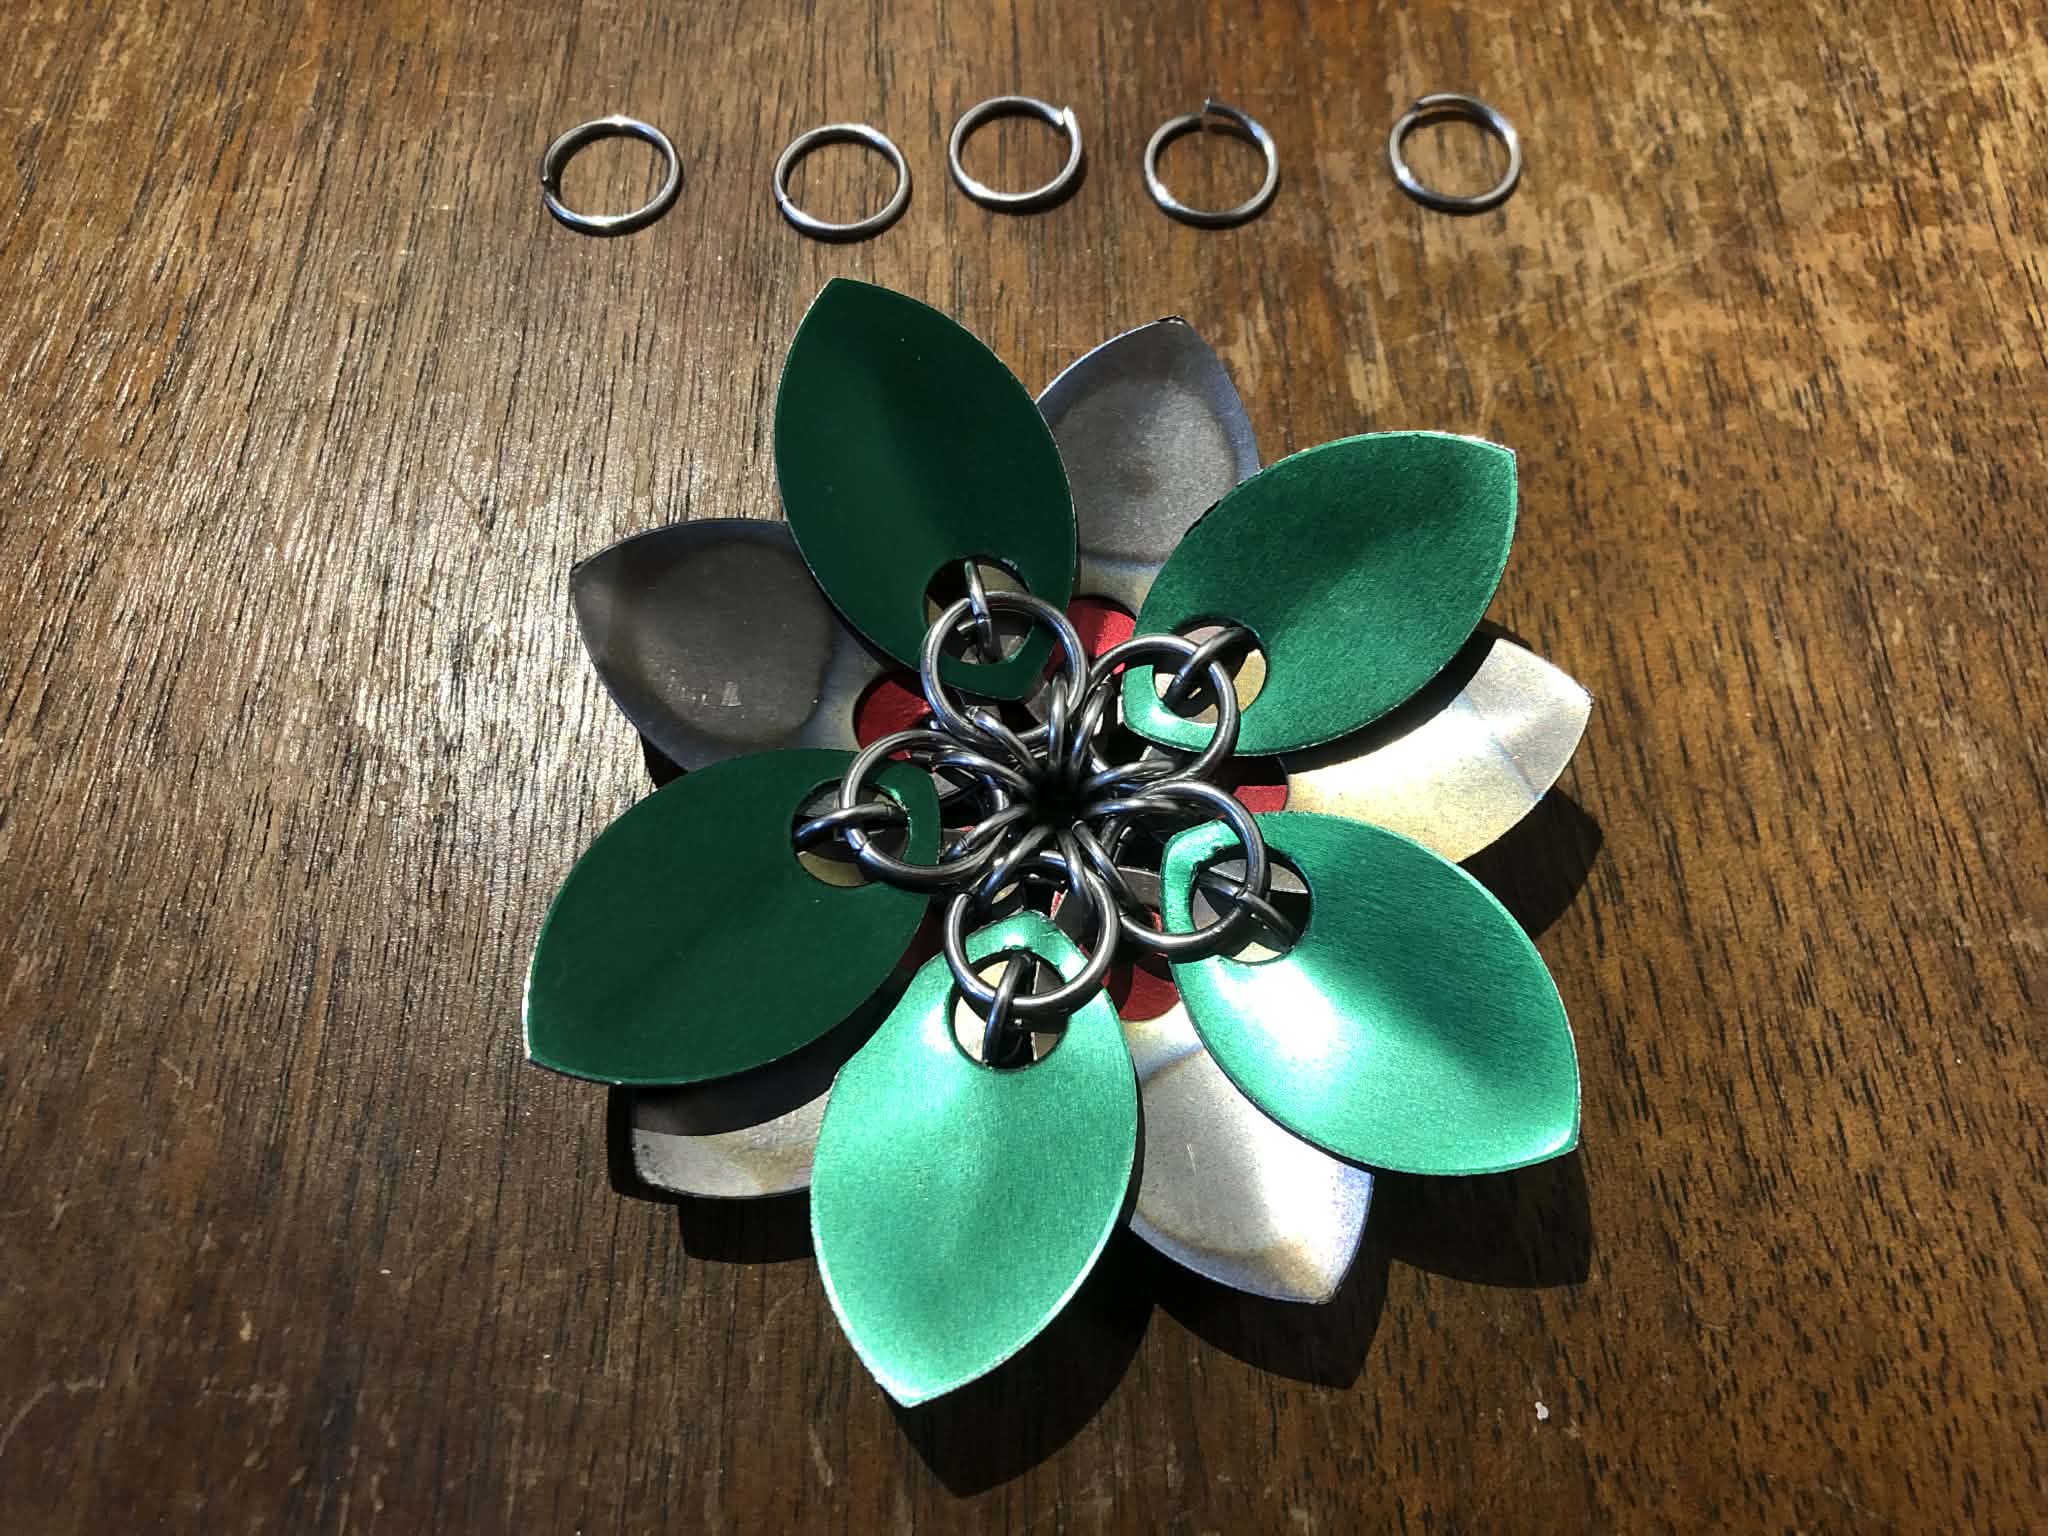
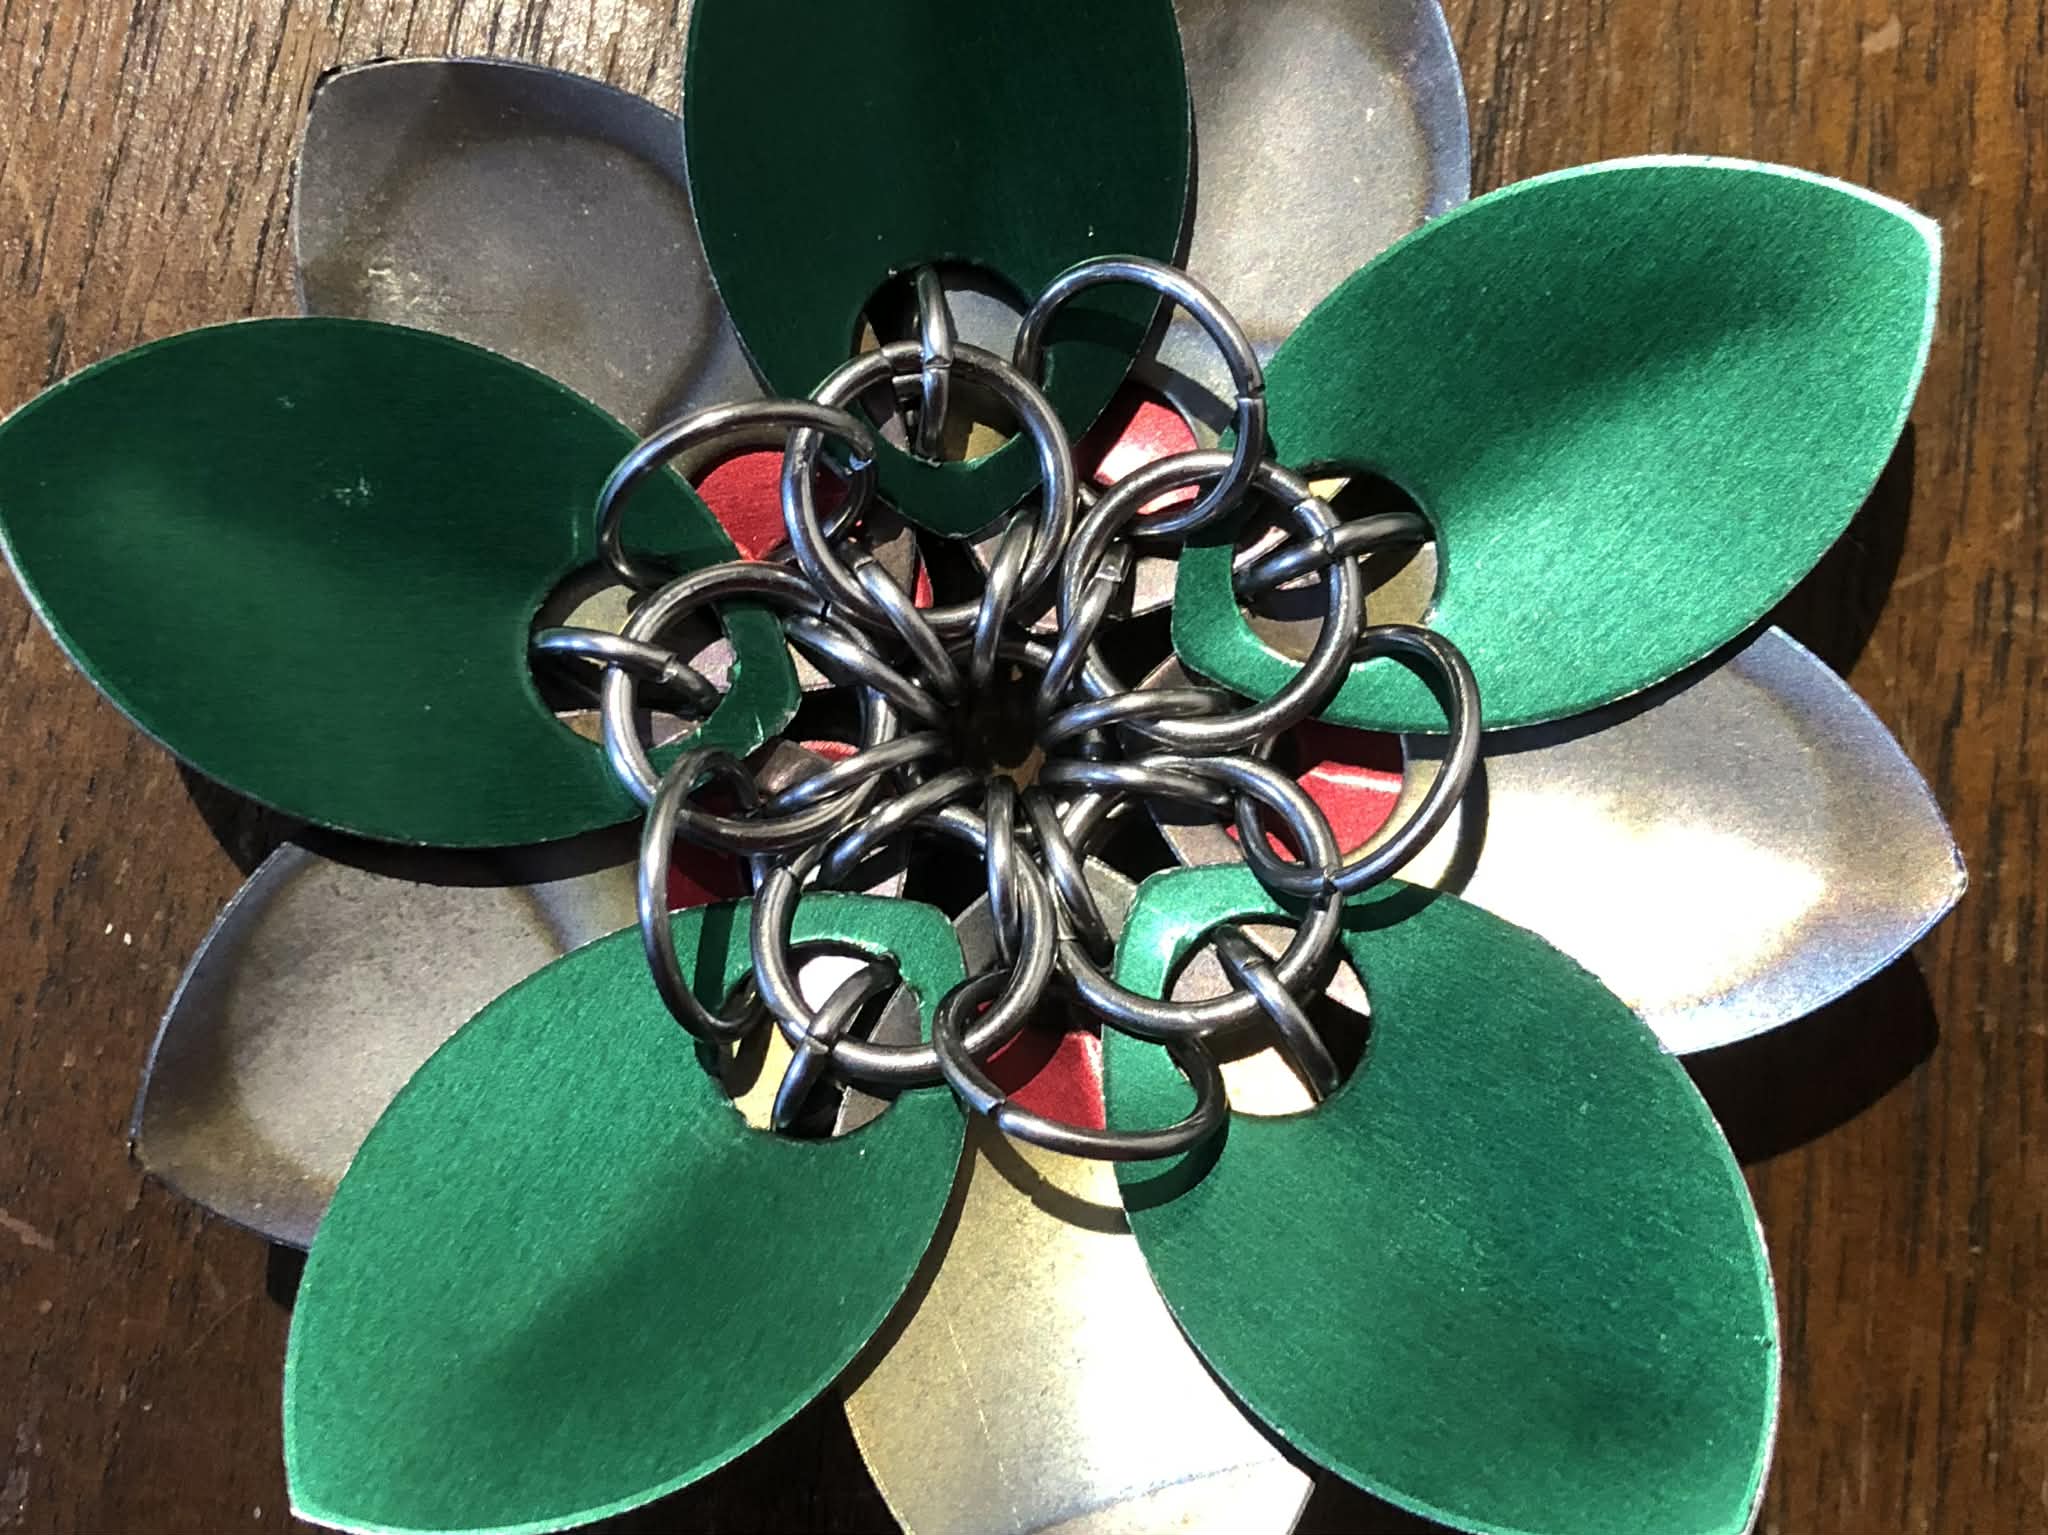
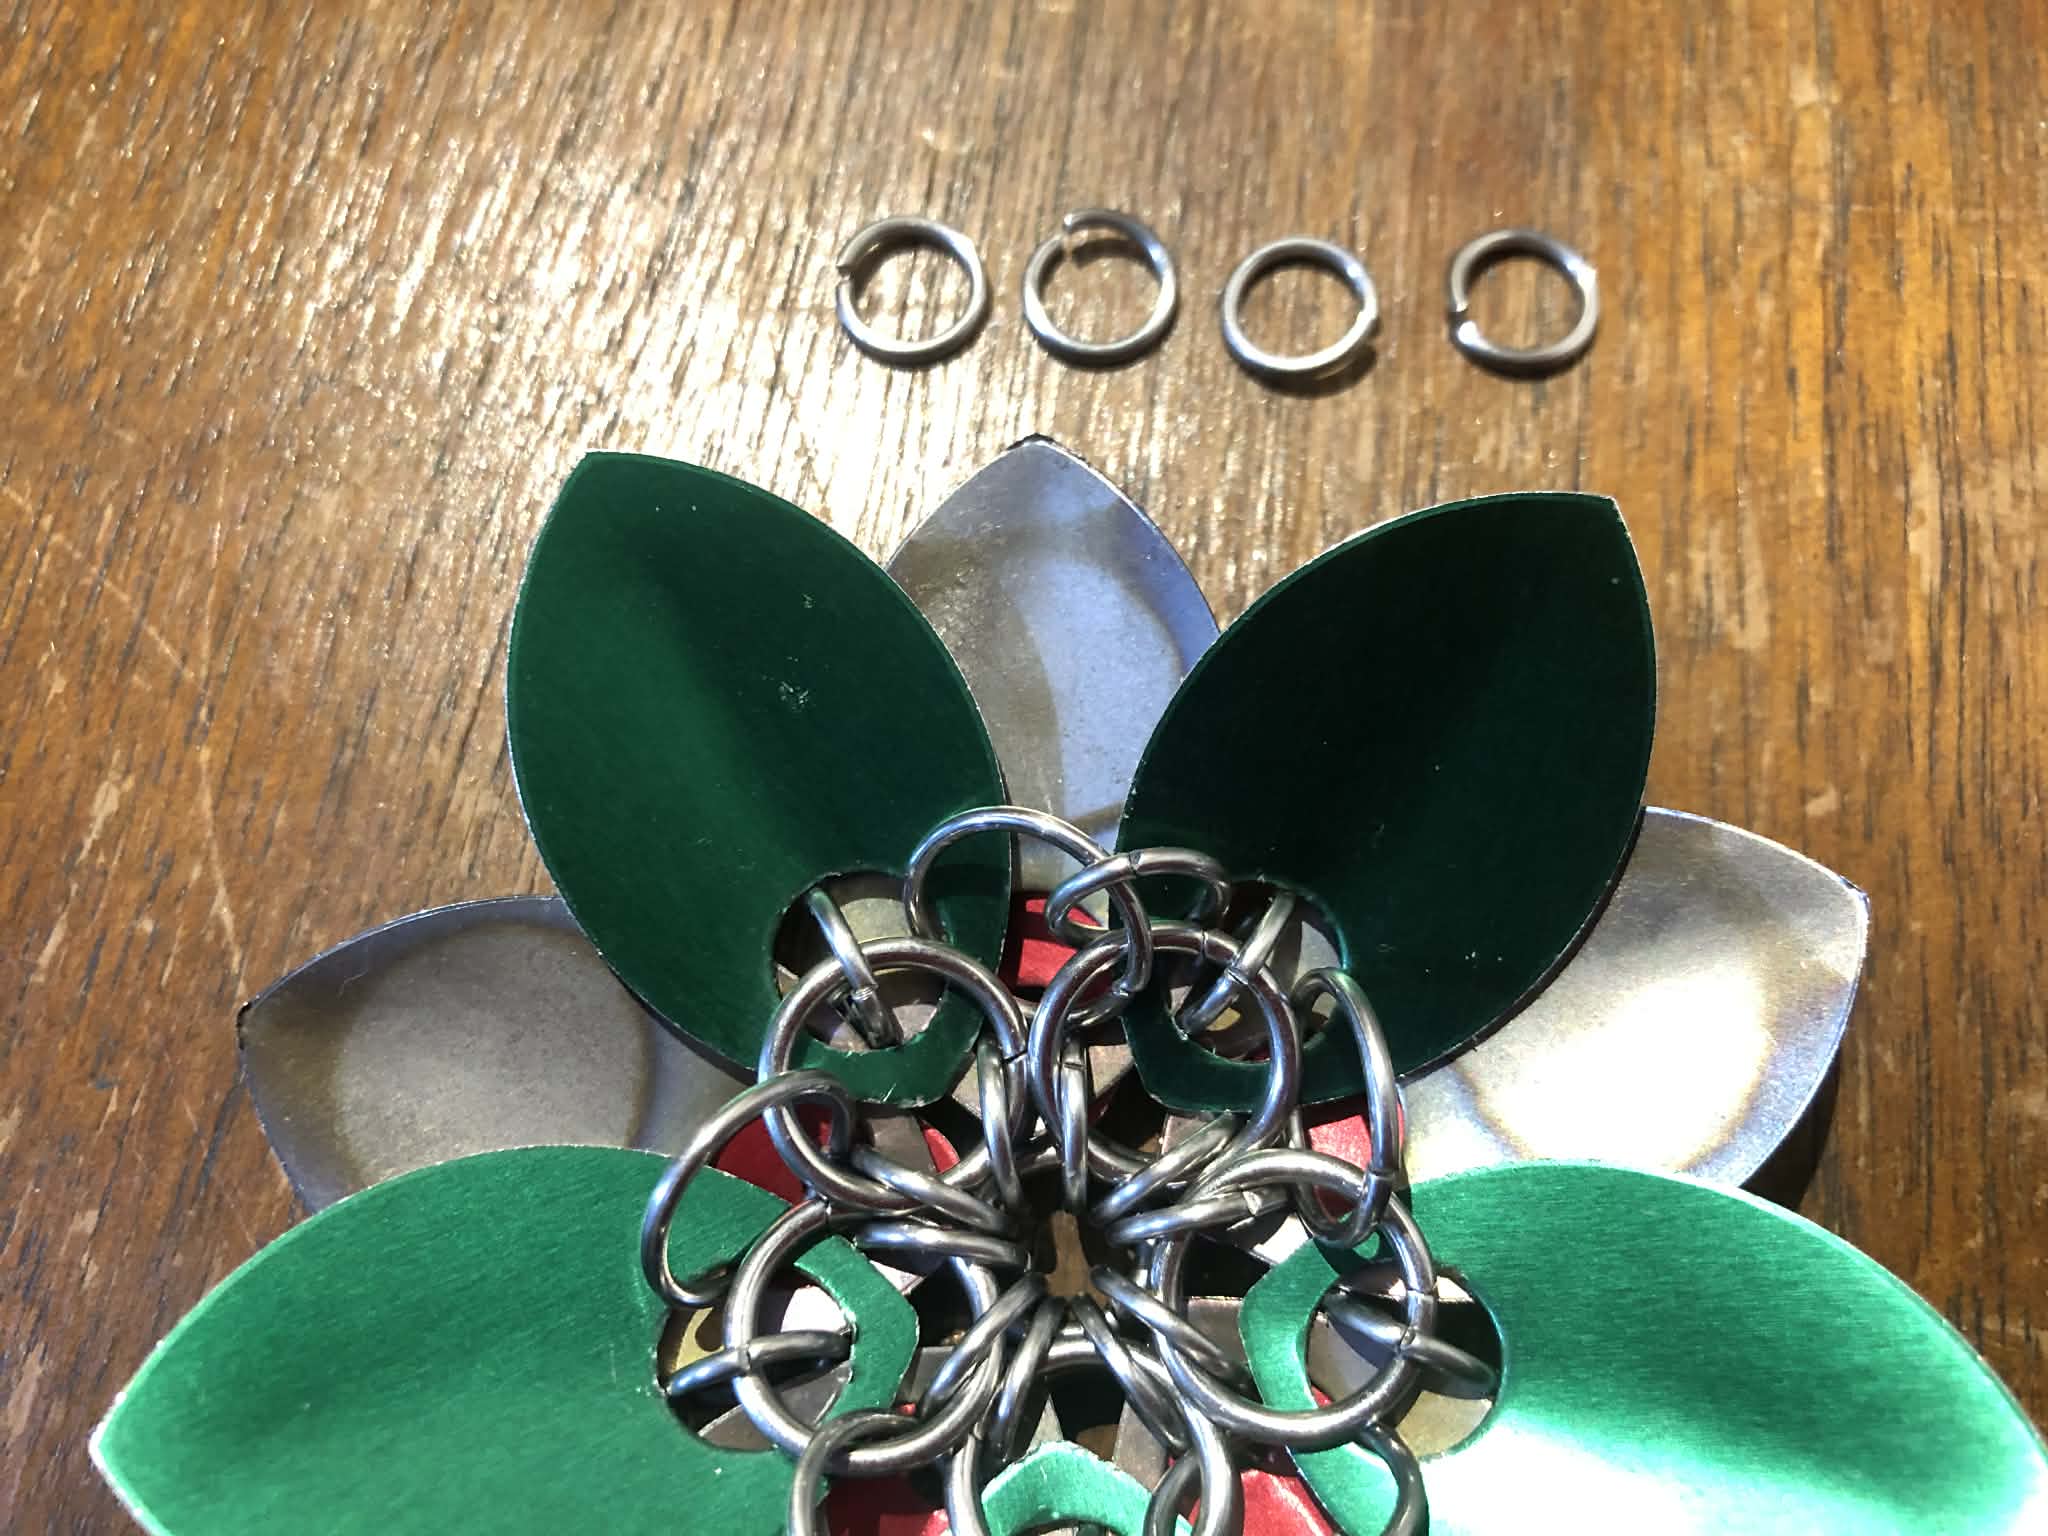
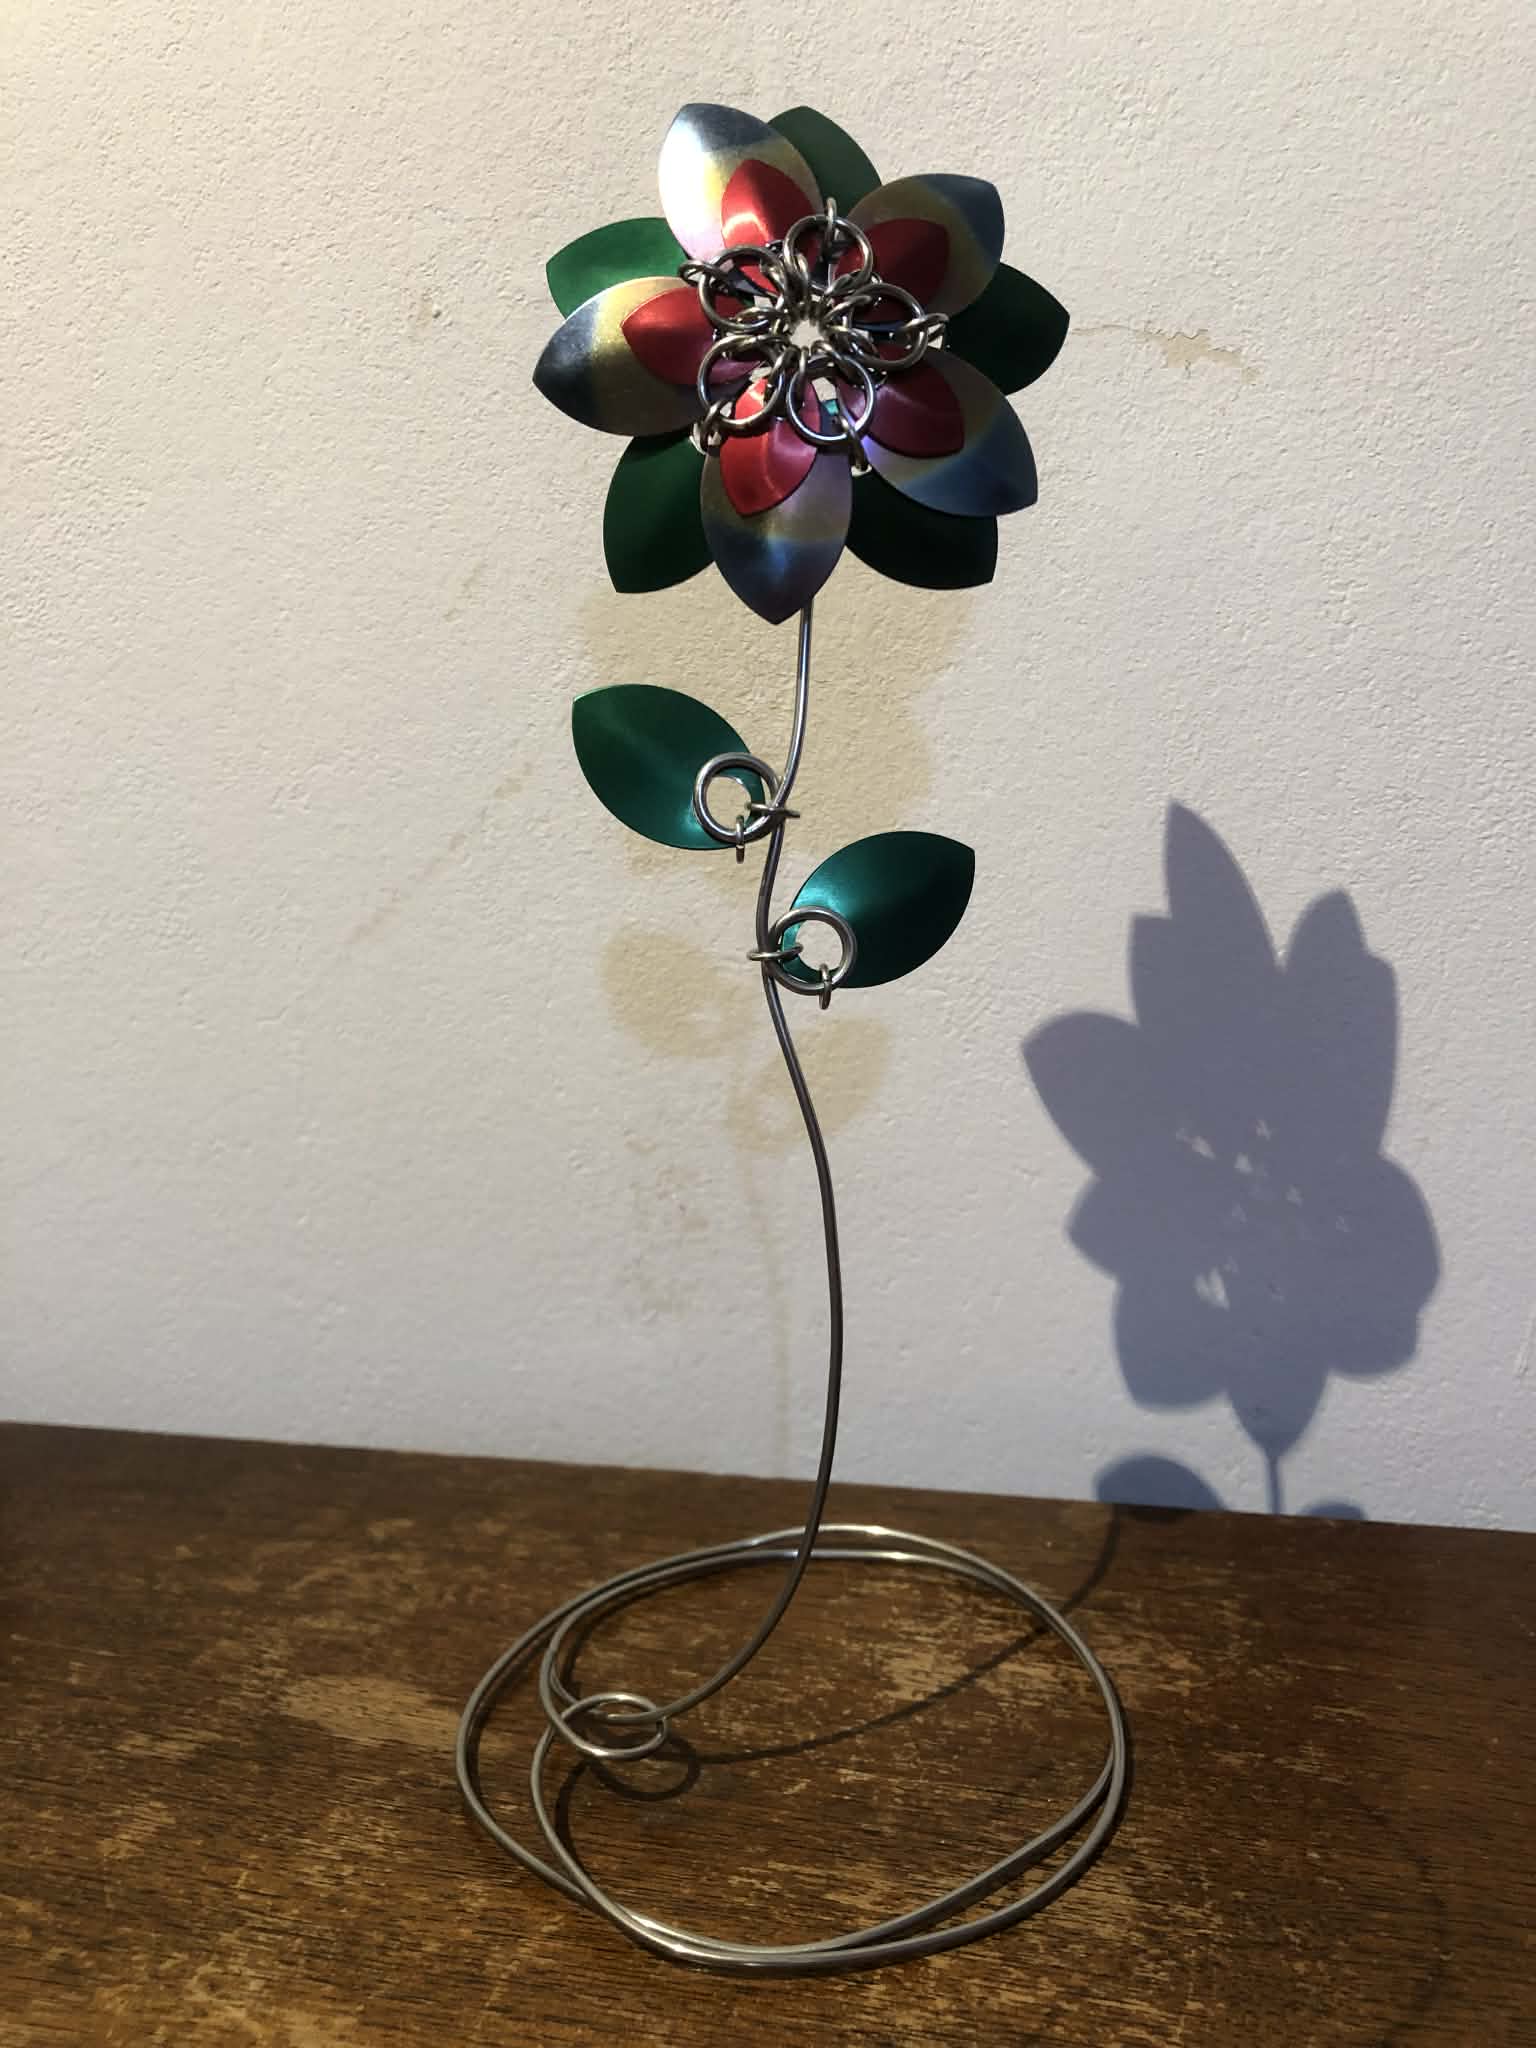
 Awright, let's make a tutorial for that flower. Everyone that I've shown it to has raved over it, and I could absolutely see me selling these at some point in the shop. It's actually not too complicated to make... so let's make a tutorial! For both myself, and also for others looking to make the same, since very few free chainmaille tutorials seem to exist lately. And I want to let creators create without an entrance fee, so here ya go!