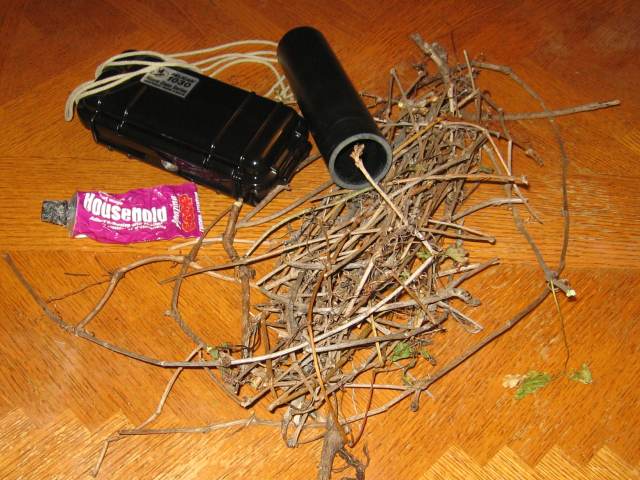
| And so another cache-building begins. For this one, I actually had the idea, the location, and had it set up page for it before I even started building the container. This way (unlike the heavily-delayed-due-to-not-knowing-where-to-put-it googly-eyed gourd cache), I knew exactly what I needed, how big to make it, how to design it, and exactly what type of camouflage it would need. For the record, this streamlines things greatly. We have a somewhat small Pelican container (black for added camouflage), a small piece of PVC pipe (which will be heavily modified, as you'll come to find out), our good old friend "Goop" brand glue, an abundance of twigs and sticks (and not shown, bits of gravel that I will be obtaining later), and... string. What can be done with THIS assortment of junk? Well, if you've guessed that the twigs are for surface camouflage, good job. The glue obviously holds it on, and if you've also guessed that the PVC pipe will be sliced in half lengthwise, and used to hold the twigs, gravel, and glue... then you must be psychic :P. The string of course... |  |
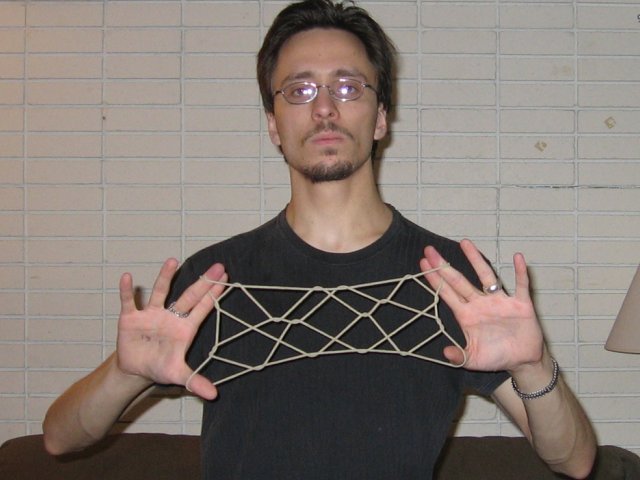
| ...is used to make string figures, as everyone should have guessed LONG ago, due to it's insane popularity :P. The image to the right is a picture of my favourite string figure to make... "Many Stars". Hey... don't yell at me about that one... I didn't come up with the names for most of those figures. But seriously... I've actually practiced it enough to be able to make it blindfolded... which is quite difficult when there's multiple strings over most of your fingers :P. But yes... this will be a puzzle geocache, where the objective is to make a certain string figure to get the correct coordinates. |  |
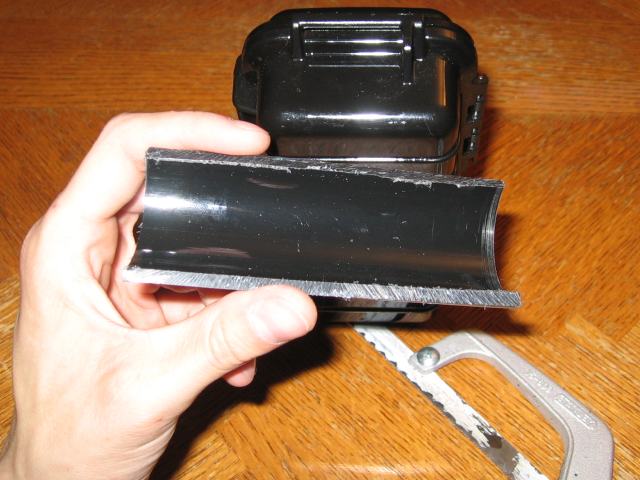
| But... first things first, since the container will be sitting on it's end when it's hidden, we'll need to come up with a way to add camouflage to the top of it without hindering the opening/closing of the cache container. Luckily, Pelican containers have a little... handle... thingy on one side, that when you buy it has a useless string attached to it. This handle, loop thing will instead be used to hold the camouflage... holder. So, we take that little piece of PVC pipe, hack off a bit to get it to a good length for the container, and then slice it in half lengthwise with a hacksaw. The difficult part is that a hole needs to be made in the middle of the remainder which the handle thing will fit into. |  |
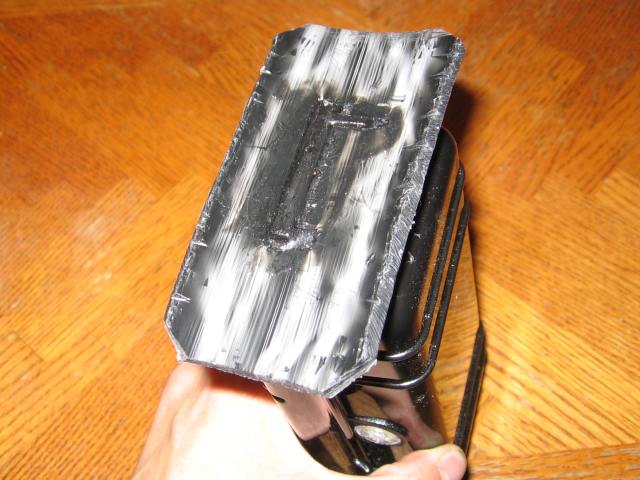
| This was accomplished with a knife, drill, hacksaw, and generally anything vaguely sharp that I had. After hacking the hole (didn't care if it looked pretty. It'll be completely hidden by camouflage, or impossible to see with it being thta close to the container anyway), I taped it into position perfectly and glued it down. Well... before that however, I determined that it was too round for my likings, and being that round, wasn't quite as tall as the container. With the help of a few pairs of pliers, a lot of muscle, and spending the night under the foot of a lie-down freezer, we had gotten it flat. So all those tool marks and whitish stress-lines from me bending the hell out of it? Yeah... going to be covered with camouflage soon enough, so I wasn't too concerned with it. I was mildly worried that it might re-bend back into a tube-shape over time, but over the course of about a week, I saw absolutely no returning back to it's original shape, so I think we're good. Next... off to the camouflage! |  |
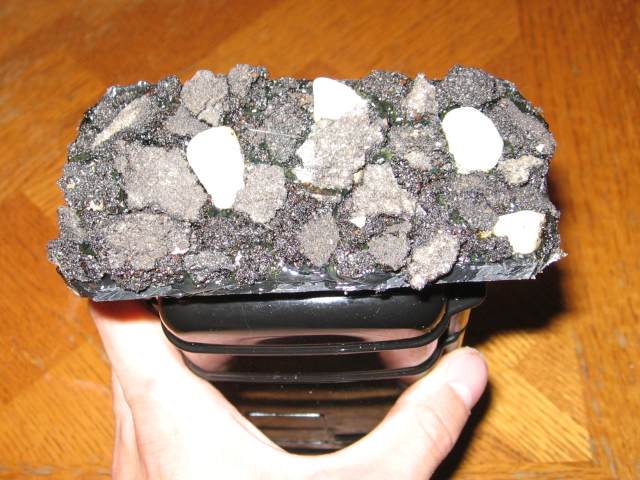
| Given that it's hiding spot is somewhat at the edge of a fence, stuffed into a crack that has opened up between the fence and the soil over time... this one will need a fairly unique camouflage. First... the base has to be mainly dirt... but since dirt crumbles nigh-instantly when you poke it, let alone try to glue it to something... I improvised with some black asphalt! It's crumbly-looking like dirt, is that faded black colour, but is good and strong. The area is also fairly rocky, so I'm tossing a few white rocks into there to blend in with the rest of the dirt in the area. I want this base to look good... but it's not absolutely vital that it's perfect. After all... there's still ONE layer of camouflage to go on top of it. Y'see... in that particular area, there's quite a bit of vines growing everywhere, and with that comes a lot of dead vine... twig... branch things. Hence... this base will shortly be covered with those as well, somewhat hiding it. |  |
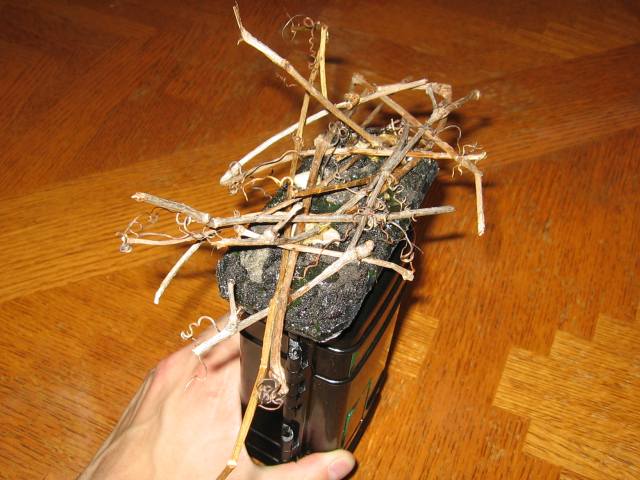
| As seen here. Just a small sprinkling of dead vines strewn about (and solidly glued into place) to make it look like... well... pretty much the rest of the surroundings. That being... y'know... the whole point of camouflage and all. But a few conveniently placed drops of psycho-glue and an overnight rest was all it took. I actually went over the course of several nights to add a few more delicately-placed-then-solidly-glued twigs, to make it look less 'smashed down' where I had taped them for the night. If you look closely as well, you'll see a greenish hue to the side of the container. That green is a geocaching sticker that basically says that this is a geocache, the cache name, and generally makes it apparent what it is once it is found. |  |
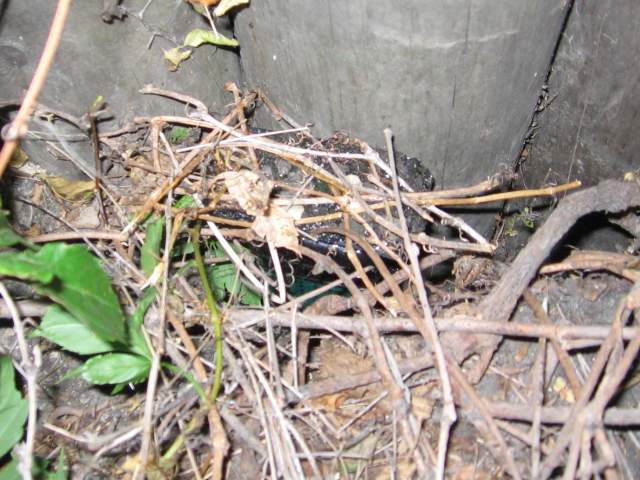
| Here it is moments after being placed. On close inspection, the green sticker can be seen slightly, but this is only because for this picture I have pulled back the 'natural' camouflage of the naturally-there live and dead vines. It however slides down just to a good level where it doesn't look too high or low to seem completely out of place. As an added bonus, the location as a whole is quite hidden from traffic, so you would be able to sneak into and out of there without attracting much attention (unless of course people are walking by on the sidewalk... you may want to watch out for those when going after this cache). |  |
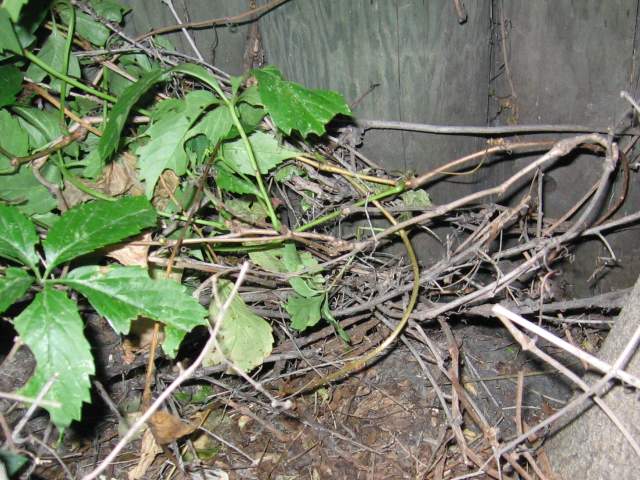
| And finally, here's a picture of the cache location from a step back, and with the natural camouflage in place as well. As you can see... it's become completely invisible, and blends into the surroundings flawlessly. All in all... probably my best camouflaged geocache to date. The people that solve the puzzle should hopefully be able to find it quite readily (seeing as they will be more thoroughly searching in one specific place), while the brute-forcers only give the area a quick skim and move on to the next. String figures will come back again... one cacher at a time :D. |  |
