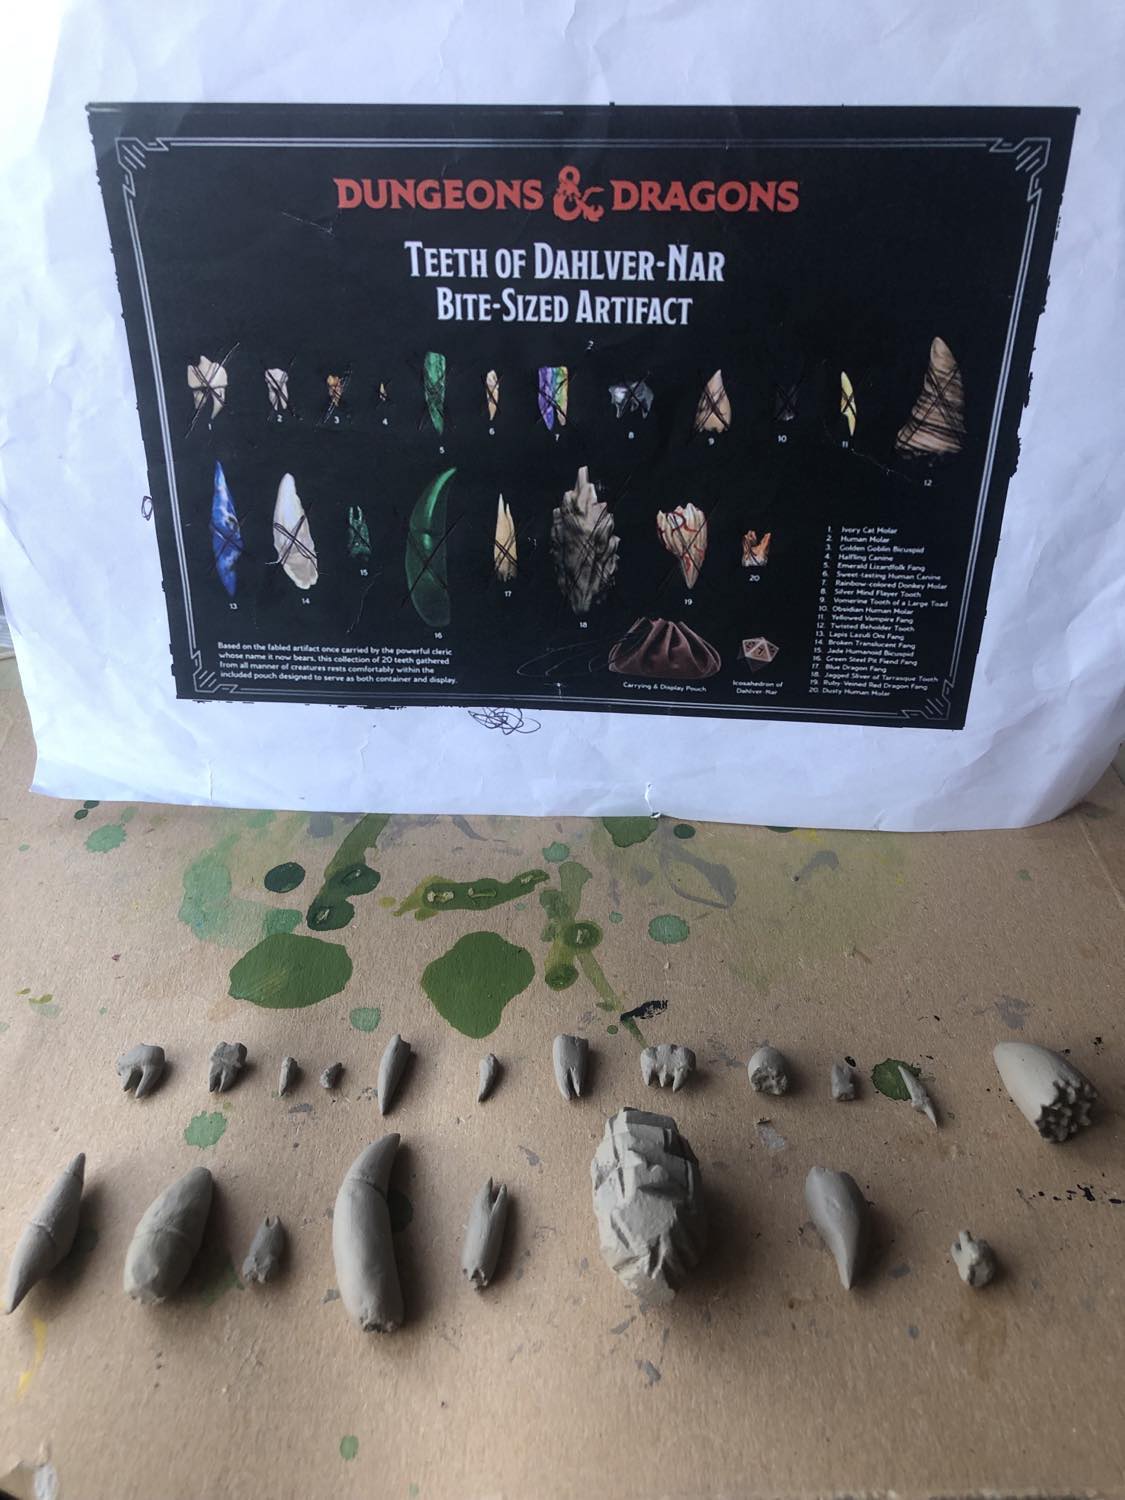
Now, what really drove me to start this was... just the weird way that the Teeth of Dahlver-Nar sits. Like the teeth in your mouth when you implant them lol. So it had to be made. It could also be bought for 70 quid, but... that's 70 quid, and this... isn't lol.
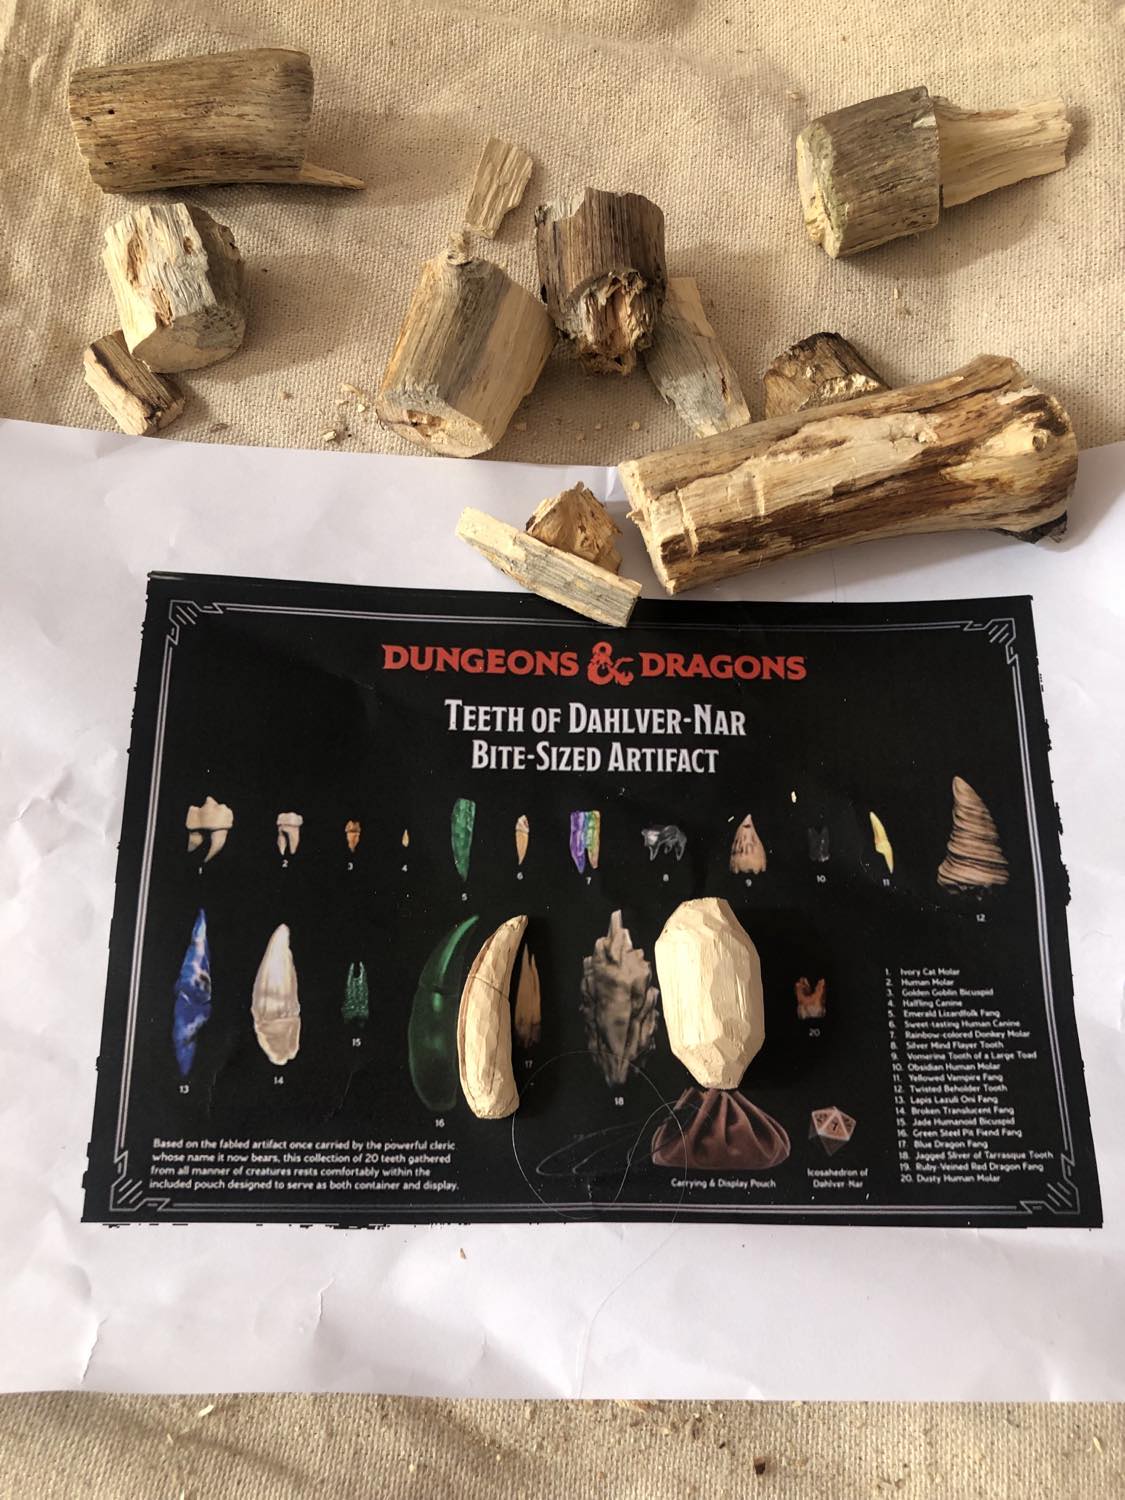
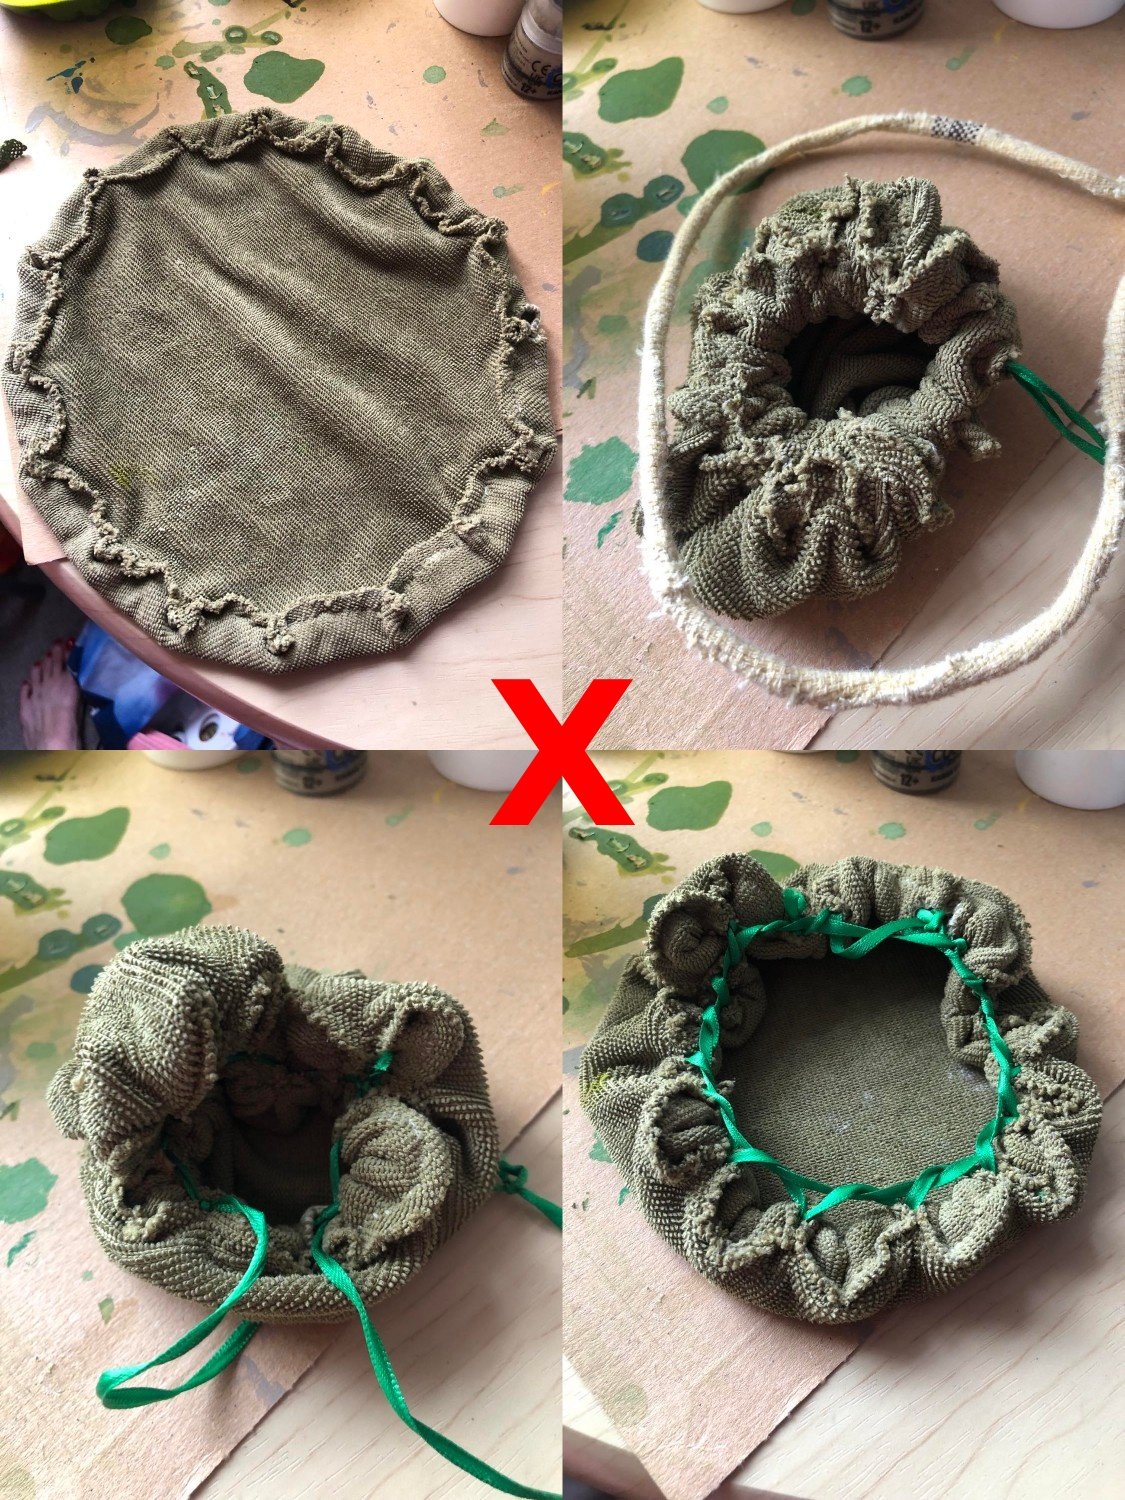
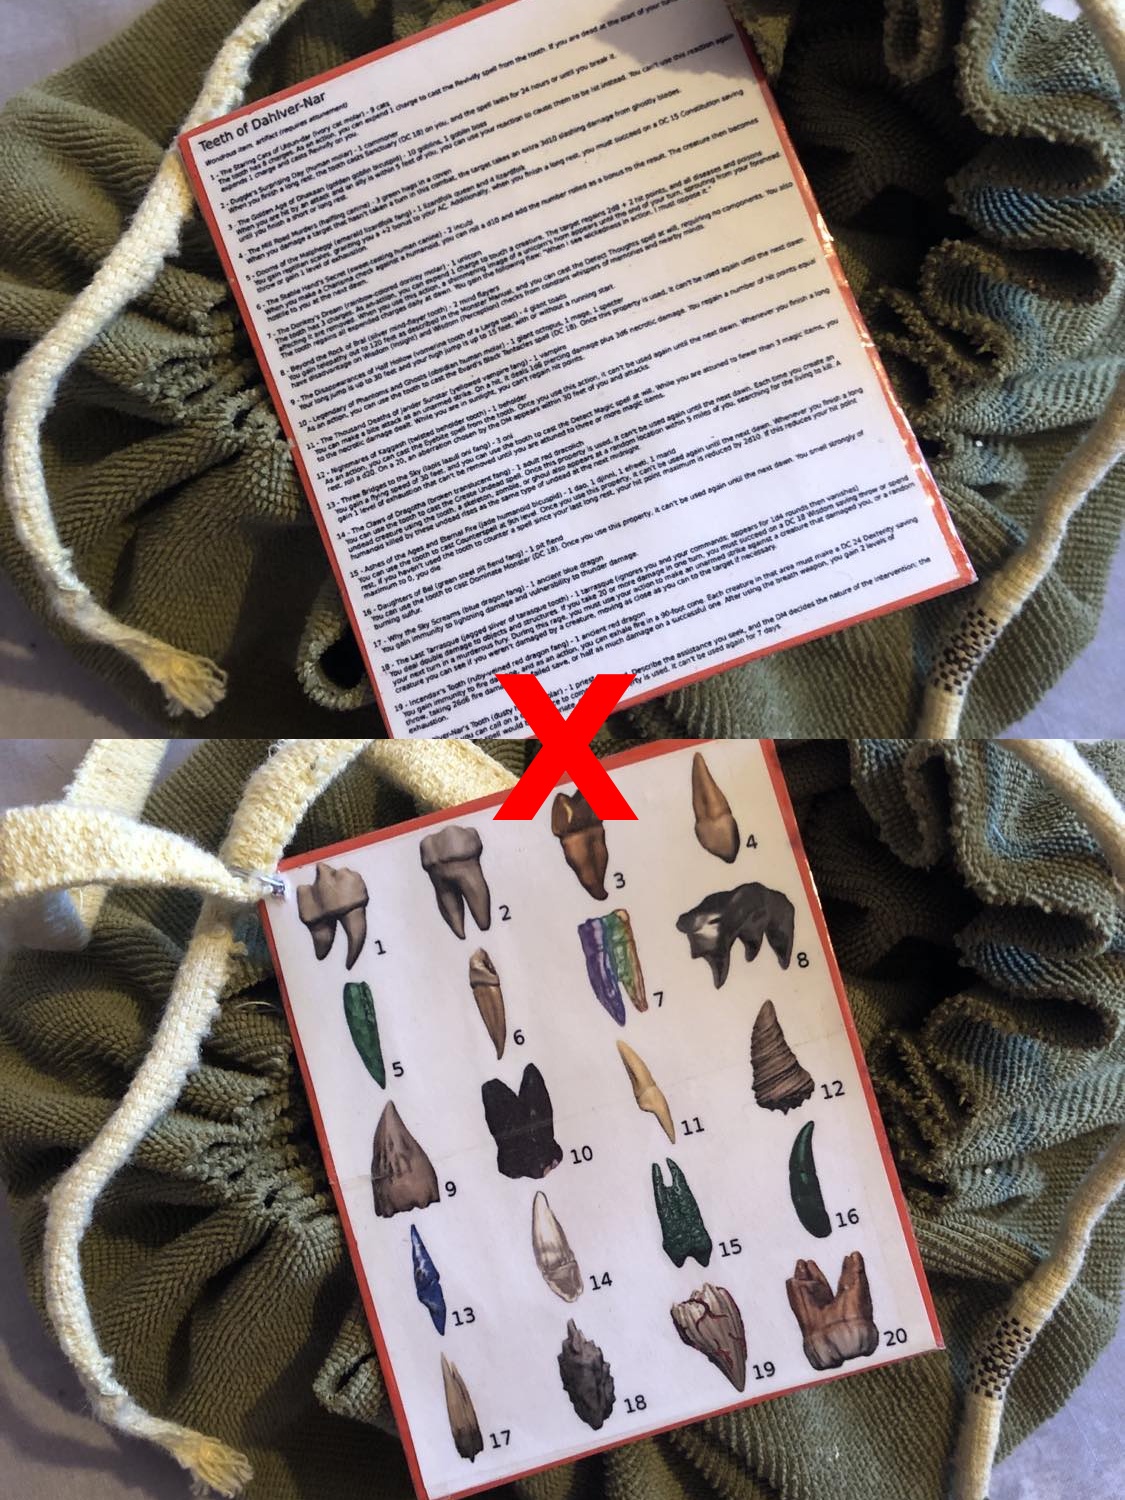
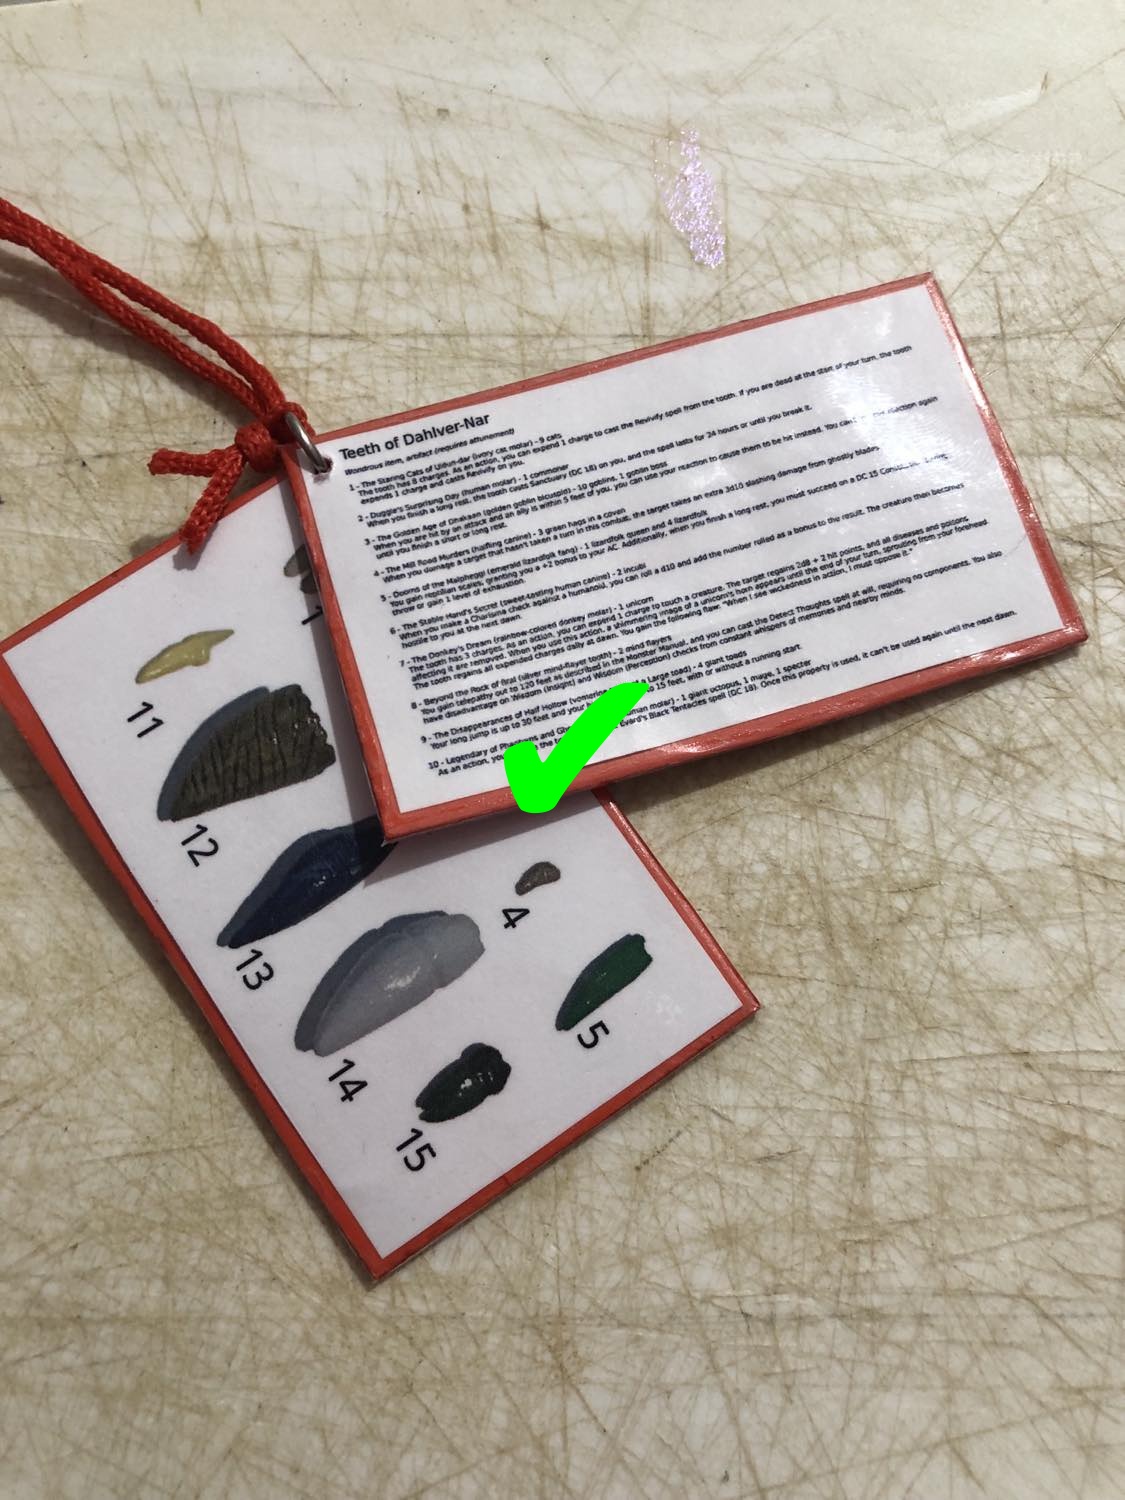
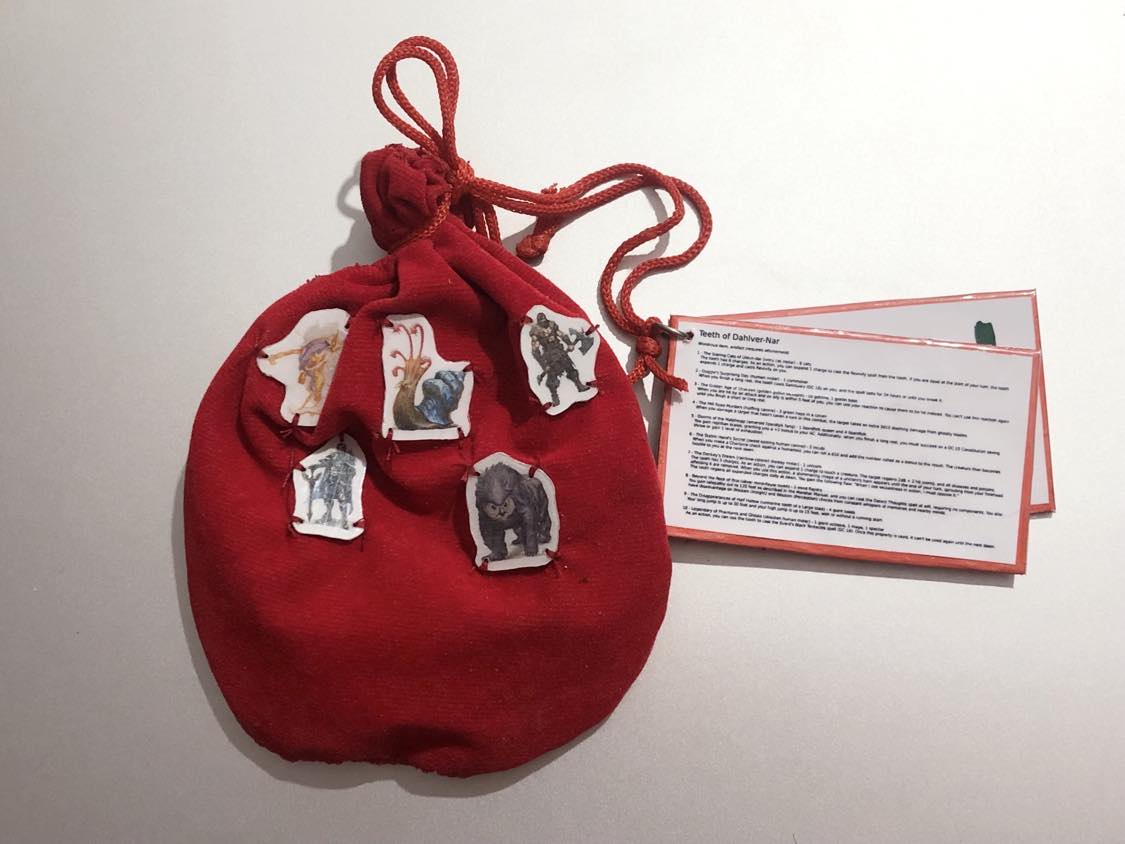
So we started with scraps! The first thing (since I didn't have access to an oven to dry clay) that I came up with to make was an instruction card (later modified to a smaller one). I decided to make that red, using the spare card that came with the Dungeons & Dragons Adventurer magasine, to go with well... the *thesaurus morbid* ghastly nature of this item. Also I found an old branch in the park to start carving the teeth from, why try to make them out of clay when I have carving tools! And so the carving began in like... January 2024, and then was waylaid for a while. And then took off again a fair chunk of time later, as tends to happen with some of my projects lol. During that time though, I printed out the instructions (later split in half to be smaller on a double-sided card) in tiny-print, though that last link I'll leave as the default images of the teeth, since the final version for myself will have actual photographs of my carved teeth themselves. If you're making your own, it's best you work off of the original images. But anyways, we originally tried making the pouch out of a glorious putrid-green rag that I found on the ground when returning from the grocery store lol, but it seems that fabric was too thick to actually close properly as a pouch! Then we tried using a small jute pouch that I dyed green and put an inner liner in to keep the tiny teeth from poking through, but that was TOO small. So of the scrap pouches that I have kicking around (yah I know the official item is supposed to be in a leather pouch, but I neither have a leather pouch, being vegan don't want to use a leather pouch, and honestly I just think the putrid green or the later gory red just fits the feel of the item better), I found this worn red one that I'd been keeping miscellaneous coins and buttons in between moves, and decided that the colour fit just as perfect. A *thesaurus gory* ghastly red, oh hey, we get the same thesaurii as morbid, convenient! So after edge-lining the pouch to eliminate the inner seams from hiding teeth from the tooth-puller (gods I love this item lol), I decided on a way to make the "images of heroes and whimsical creatures" stitched onto the sides.
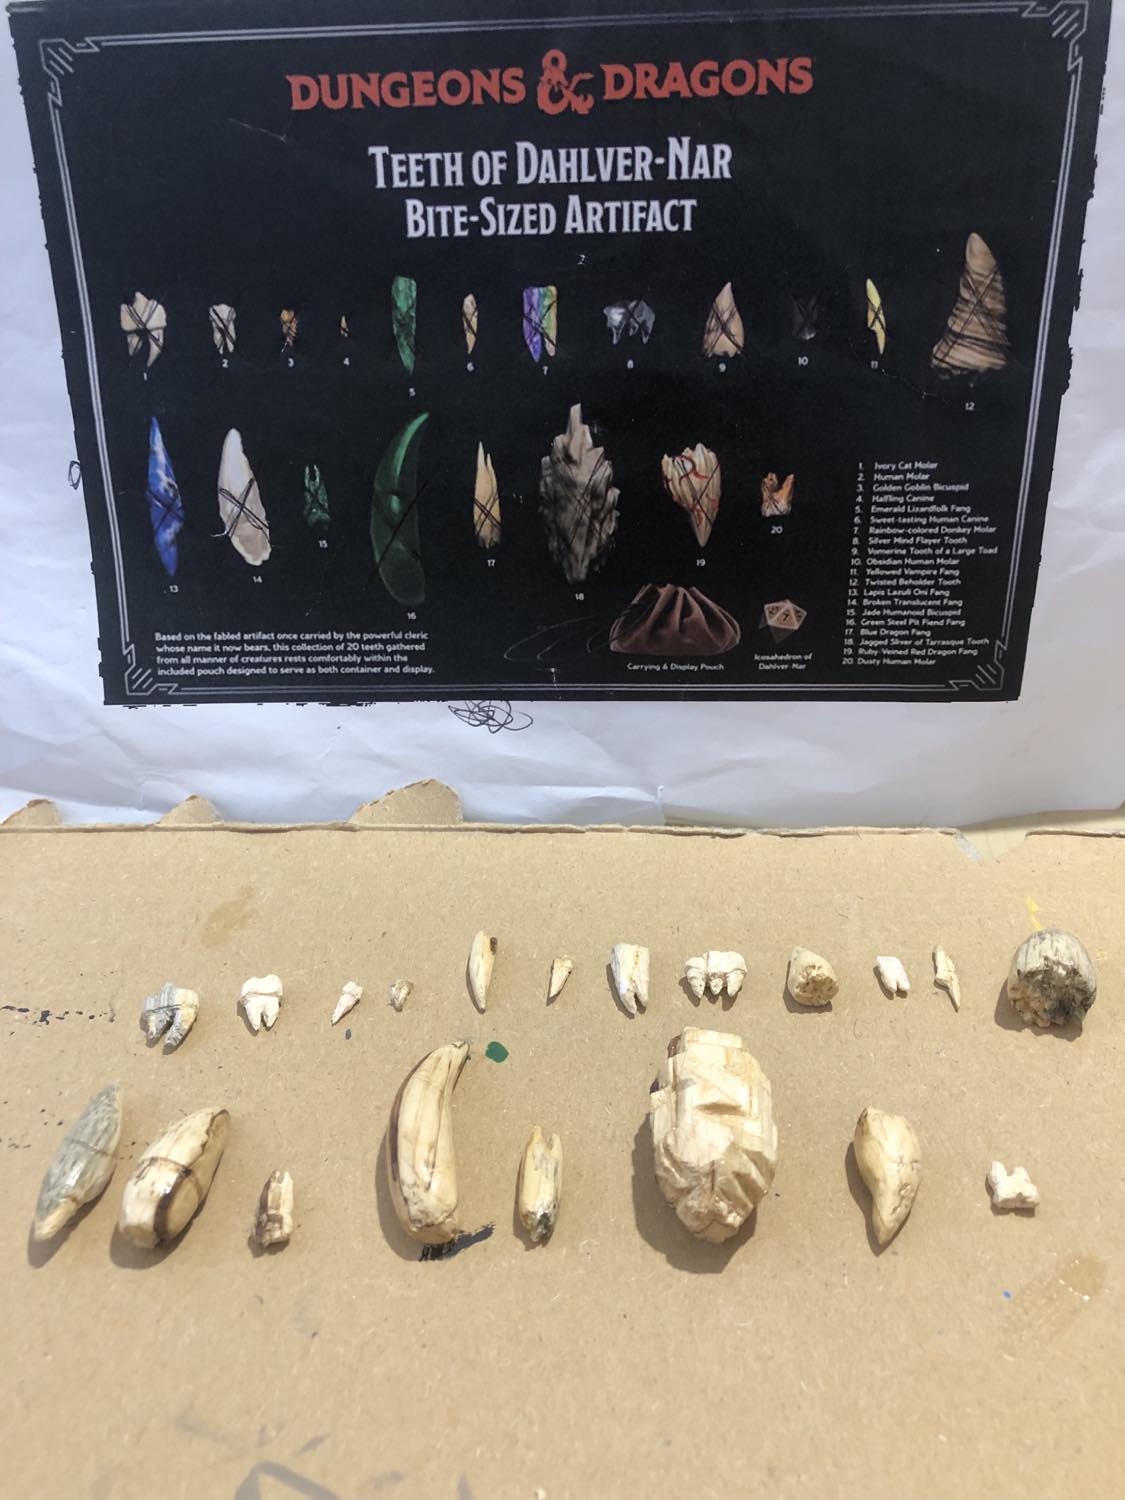
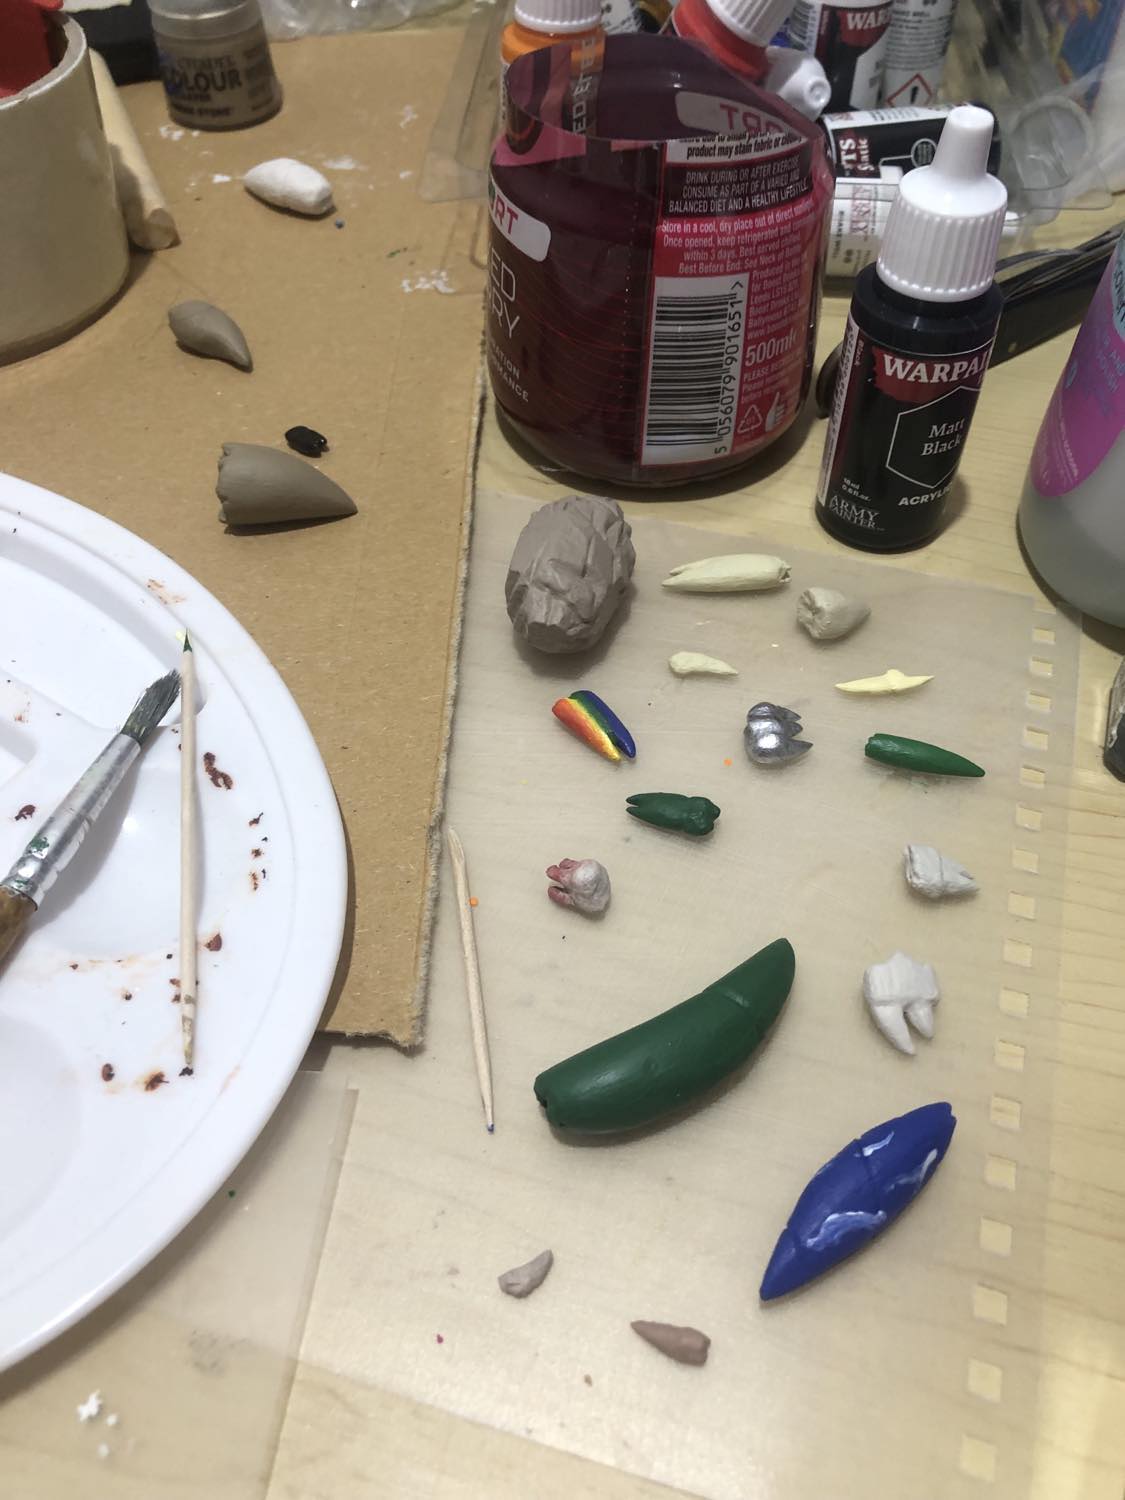
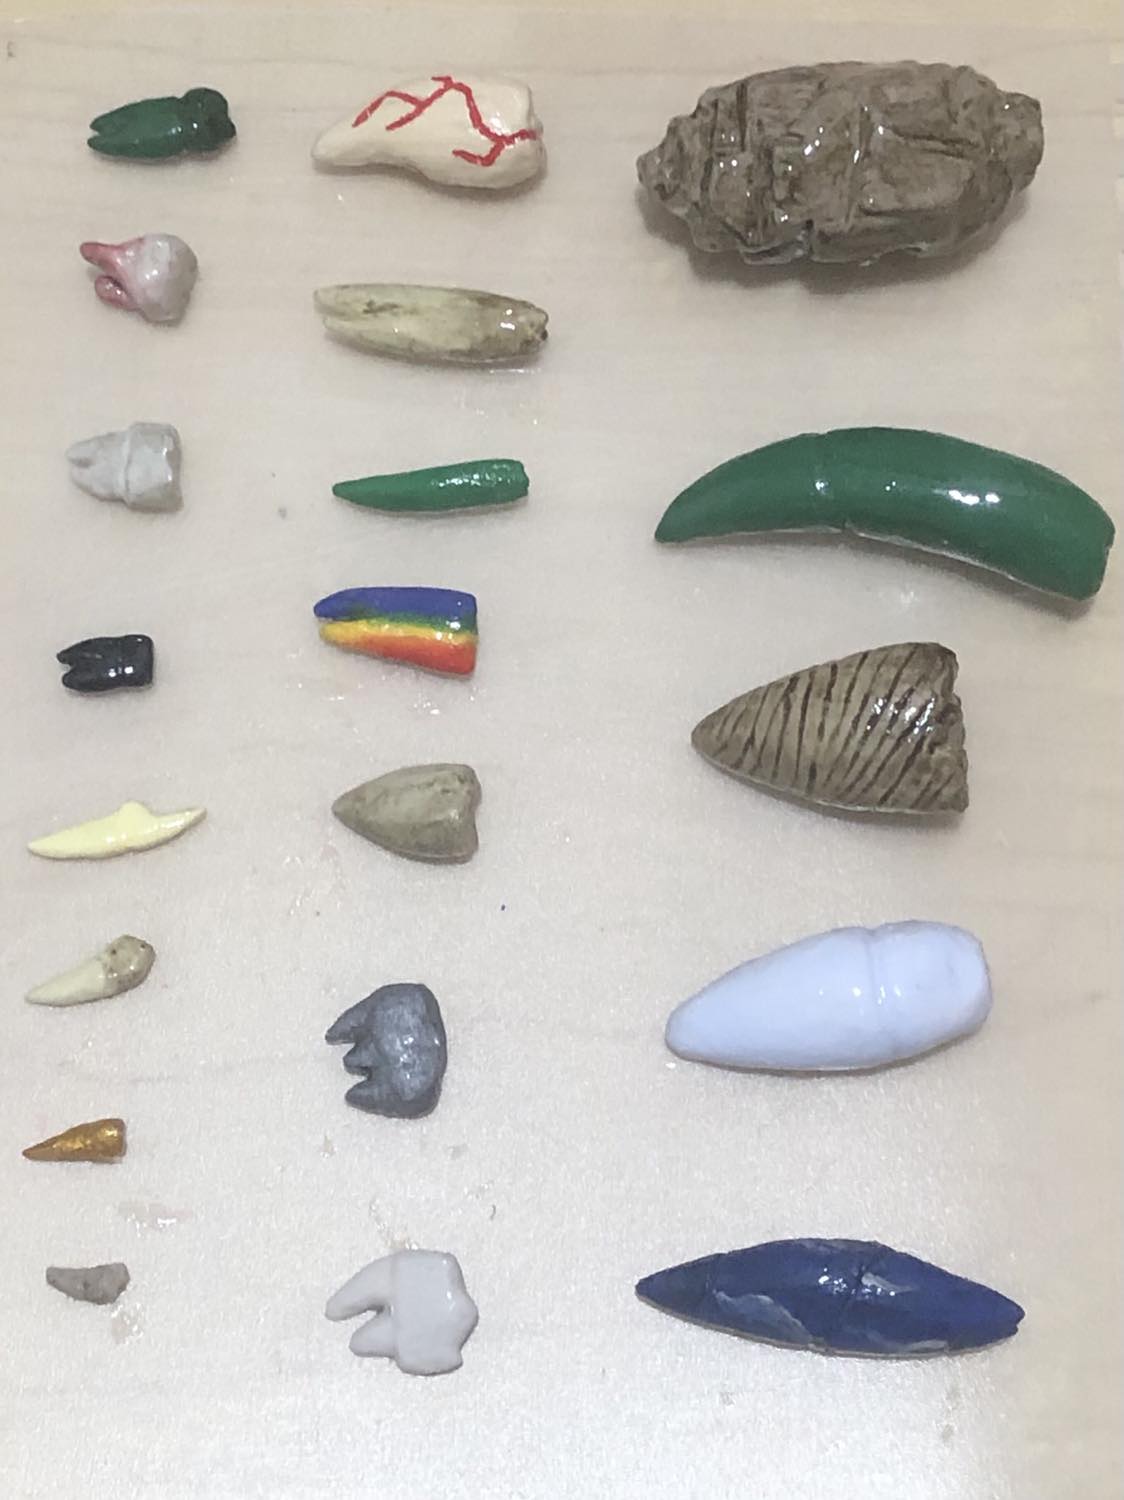
But I get ahead of myself! Yah this project went all over the place back and forth, the teeth first! Amidst the pouch shenanigans, we had finished the teeth! Carved, primered, and after eventually getting new paints (oy, I was just sick of my decades old original ones), we painted the teeth! OH that rainbow one turned out amazing! And thank you warpaints for including a wash in your starter set, that really brought out the ones that from the original image looked like they could use it, that tarasque shard, that twisted beholder tooth! OH, like GOLD, much like that goblin bicuspid, thank you again warpaints for including both the gold AND silver metallic paints in the set. So... epic. Each received two coats of nailpolish topcoat for protection and strength (and a week of drying as learned from the cube), and wonderful, my macabre, disgusting d&d item comes closer and closer to completion!
Man I love this item, it's just so bizarre lol
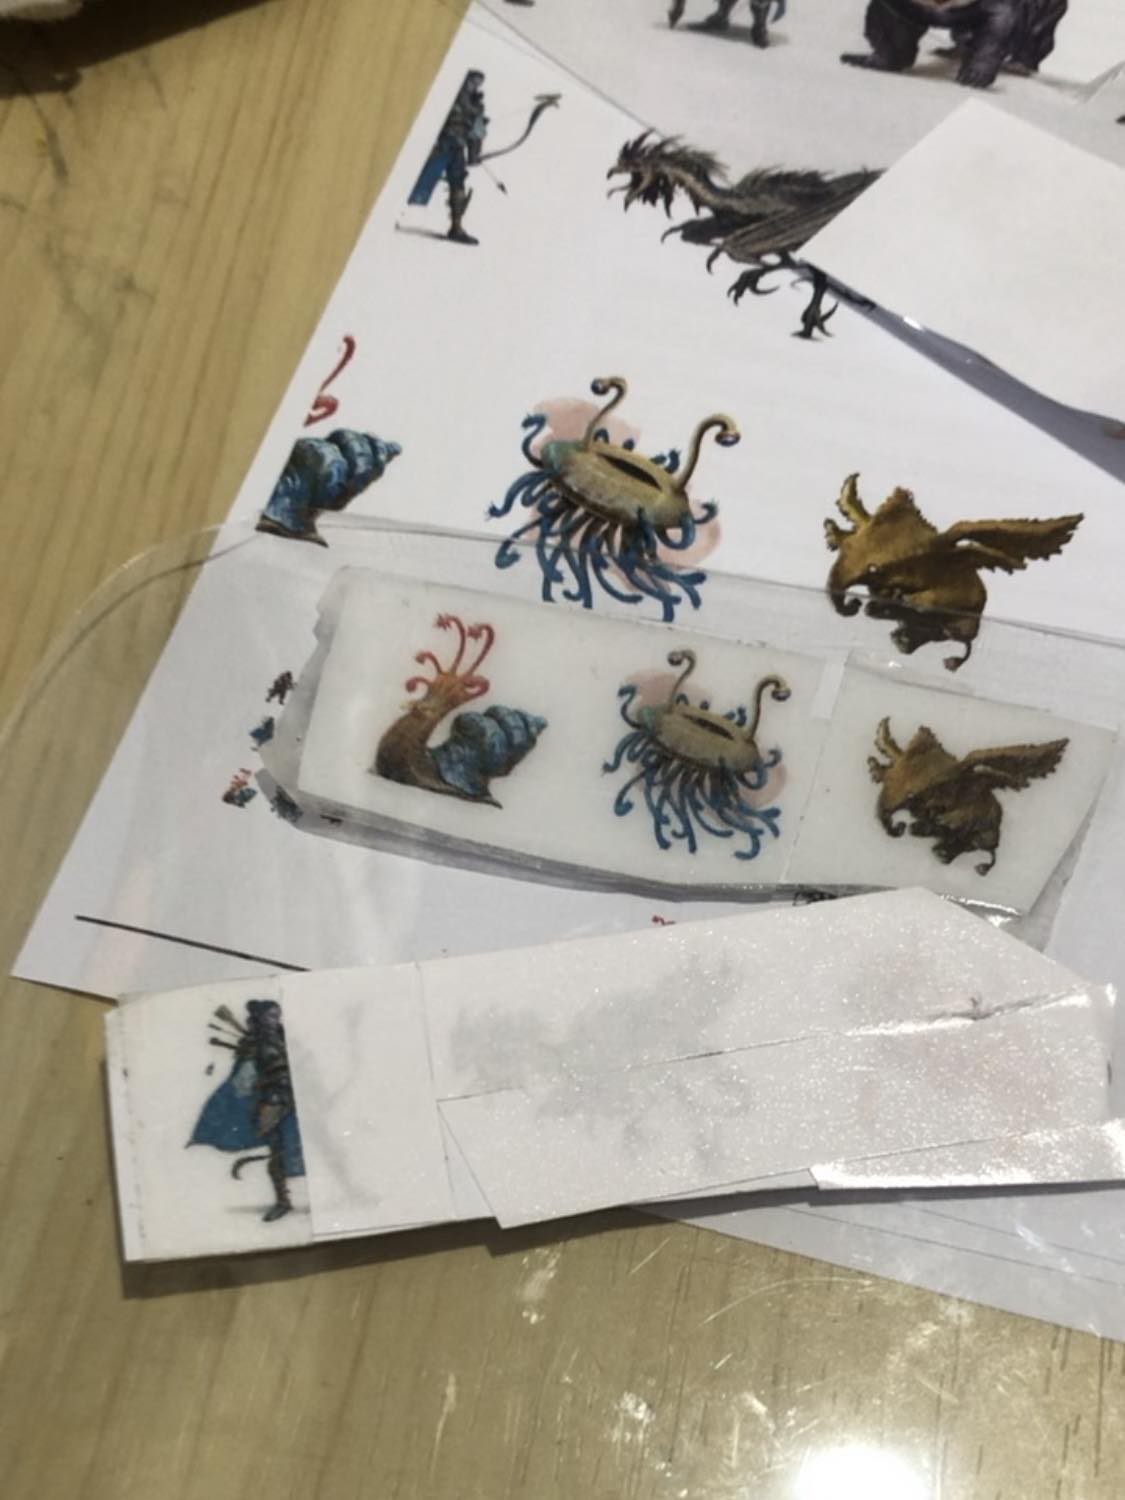
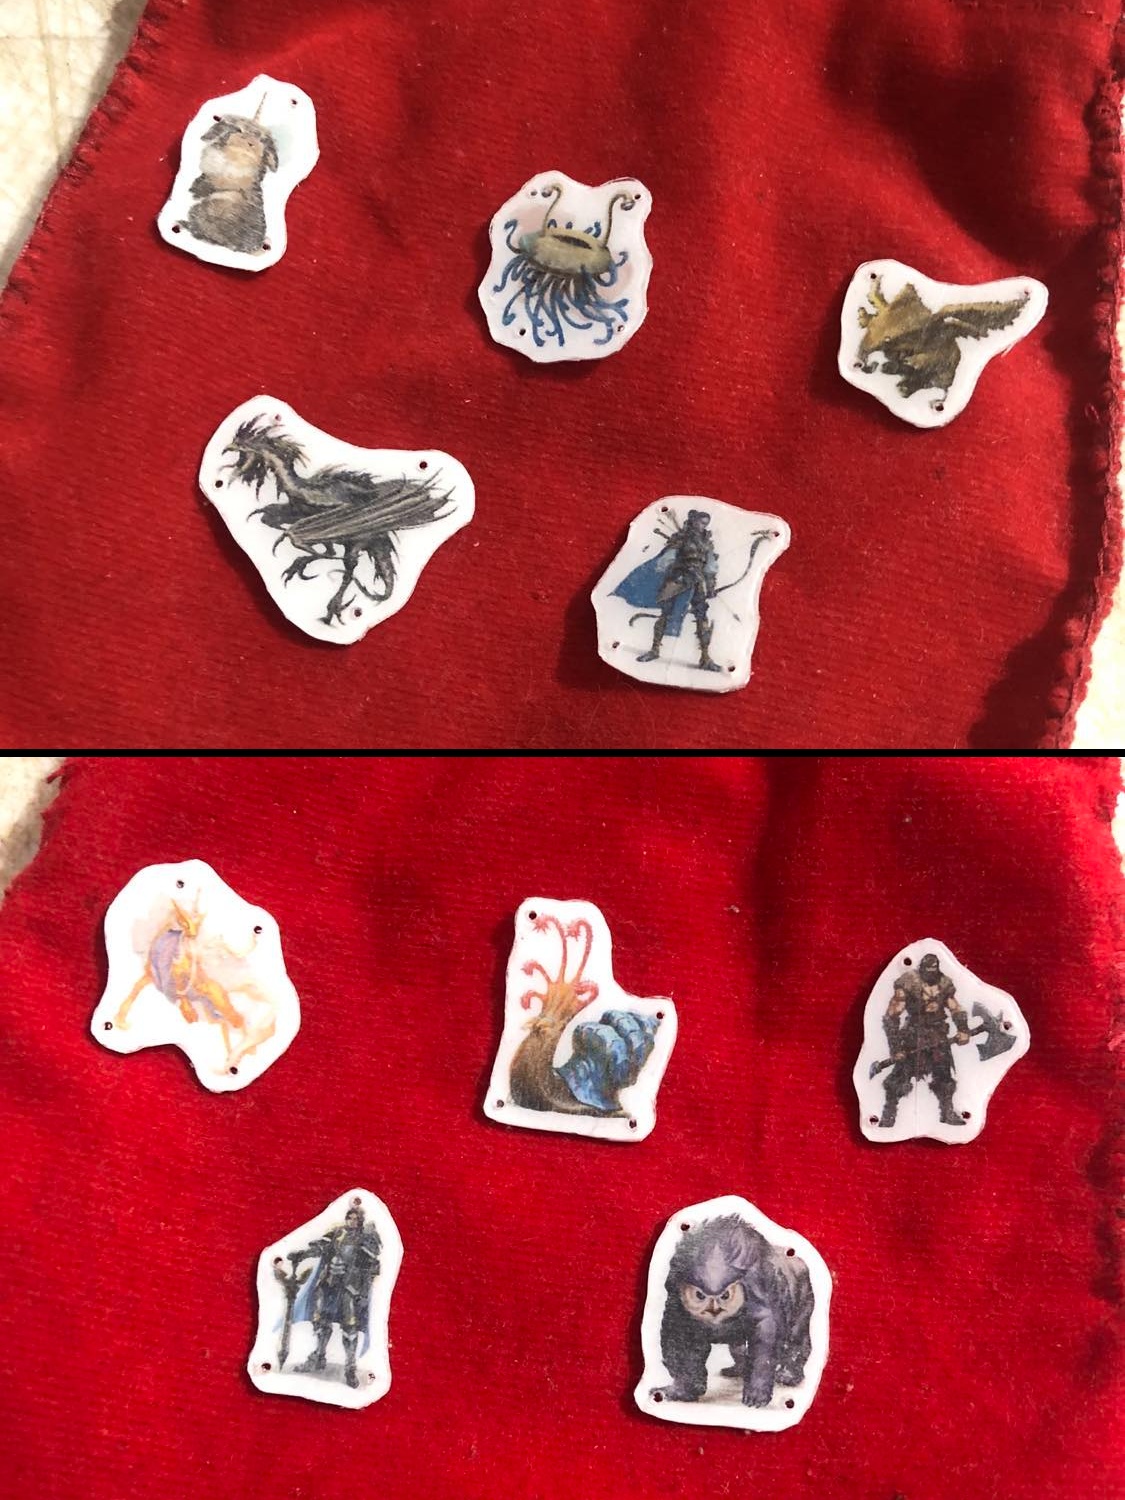
But anyways, whimsical creatures! We need whimsical, fanciful creatures to stitch onto the pouch (as per the wiki)! I basically searched online for whimsical dnd creatures and found a list of cute creatures, that'll do! Also a few others, and some heroes. We have an Almiraj, the rabbit unicorn, Flumph, that octopus looking happy creature, a Hollyphant, a flying fuzzy elephant, a Ki-rin, a celestial unicorn, an Owlbear, because of course, a Flail Snail, you cute spike-wielding snail, a Cockatrice, you just look awesome, and some heroes, a barbarian, ranger, and paladin, ten of them to kinda stitch around the side. Ah, but how does one stitch these onto the pouch without an embroidery machine? I pondered this point for a while, and eventually came up with double-sided taping them to clear plastic, sandwiching clear plastic on top as well, drilling a few holes in the pair, and stitching those plastic patches onto the pouch, perfect!
And thus it came to be, and the pouch was completed, and the teeth were completed, and the smaller instruction plaque was completed with proper photos of these teeth specifically (though arranged 1-5, 11-15 kinda style to even the sizes). I'm glad I double-side taped the face of the images as well (trimming the factory tape edge for cleanliness), which made cutting them out extremely easy. After neatly trimming them out, I used a tiny drill bit to drill out the holes, and proceeded to use a little bit more double-sided tape to arrange them onto the bag, and then stitched them into place.
And with that... the Teeth of Dahlver-Nar is complete! :D :D :D
Finished October 2, 2024
...
...
Aw yeah you can pull a tooth!
